
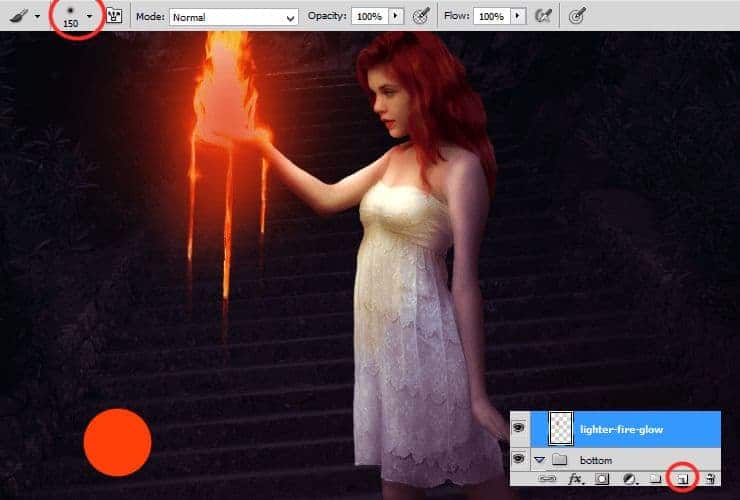
Change blending mode of this to Screen, decrease opacity to 50%.

Step 50
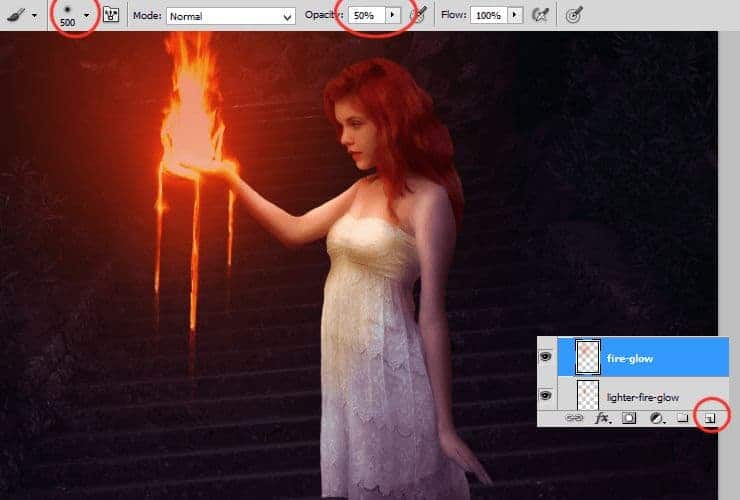
Next glow. Next layer (Shift+Ctrl+N or shortcut). The same color. Even bigger brush size (soft, 500px, opacity around 50%).
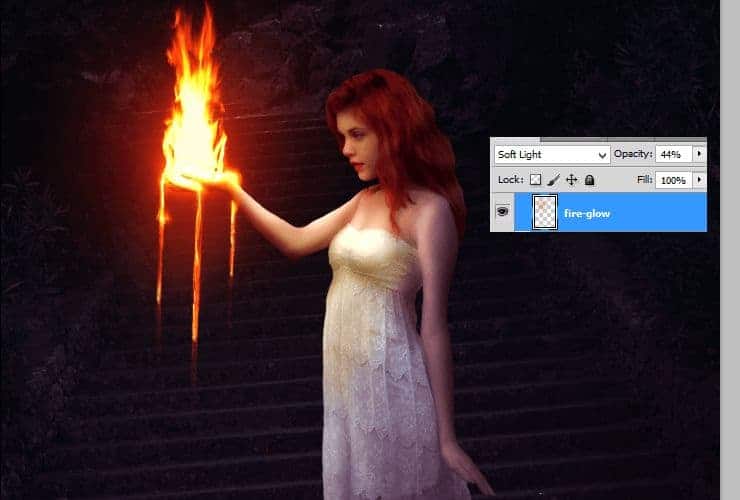
Decrease opacity – 44%, change blending mode – Soft light.
Step 51
Something more interesting than before – you’ll create particles from fire. Add New layer (Shift+Ctrl+N or shortcut). Use small hard round brush (ex. 5px) with white color. For better effect, use brush with dynamic size. Make brush strokes, like falling particles.
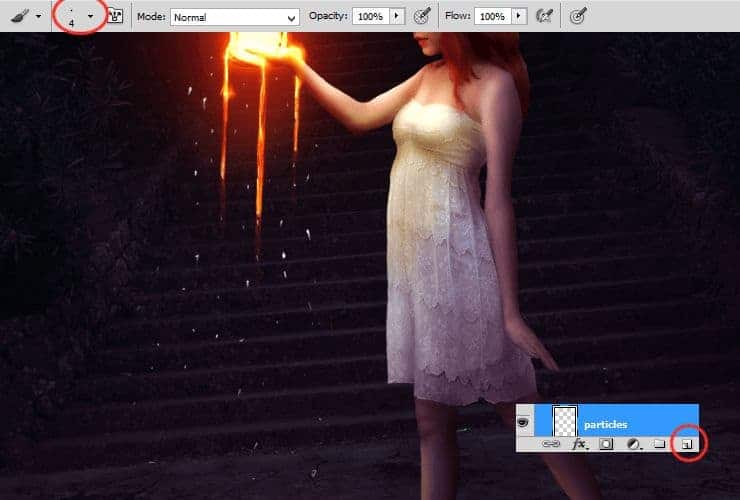
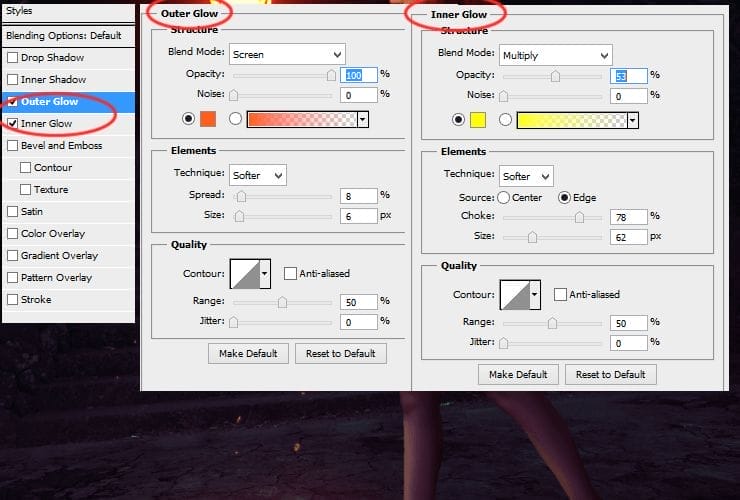
Right-click on it and choose “Blending options”. Check Outer glow and Inner Glow.
Step 52
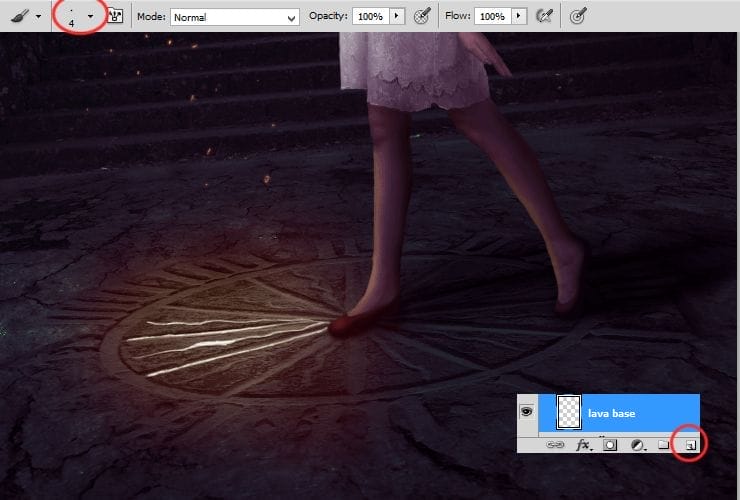
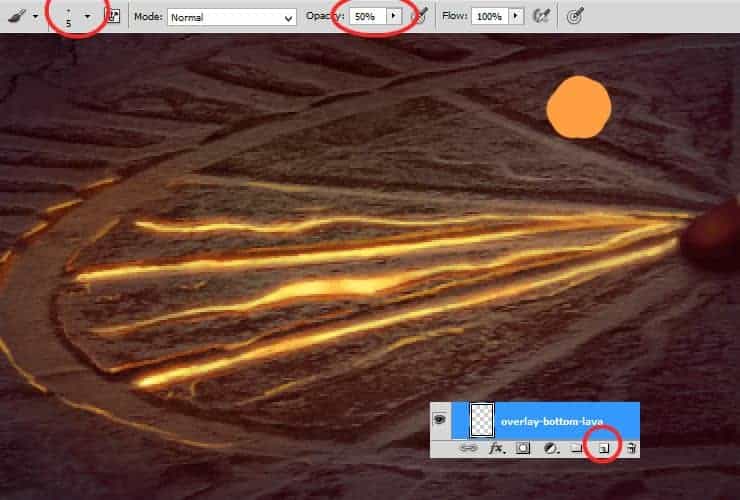
Now it’s time to make lava on bottom. It’s very similar to making particles. Add New layer (Shift+Ctrl+N or shortcut). Use the same brush settings as before. Draw base of lava by long strokes.
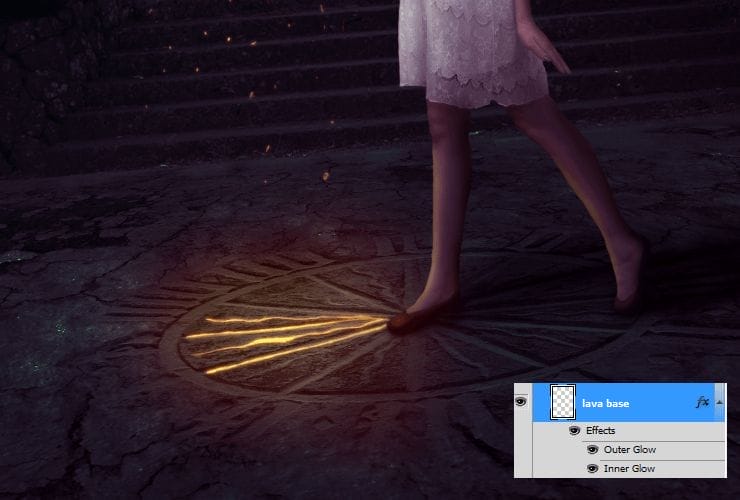
Then, just go to previous layer – with particles. Right-click on it and choose “Copy layer style”. Then go to last layer, right-click on it and choose “Paste layer style”.
Step 53
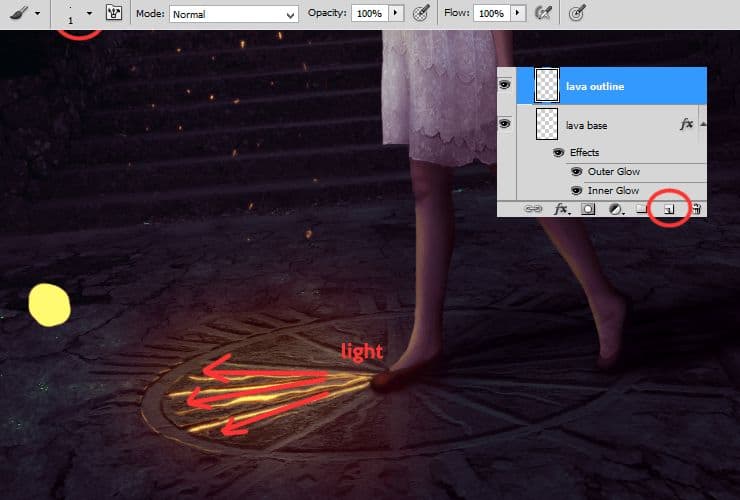
Add new layer (Shift+Ctrl+N or shortcut). Use 1px soft round brush with dynamic opacity, set #fffa70 color and draw highlight on the edges of clock from fire.
Step 54
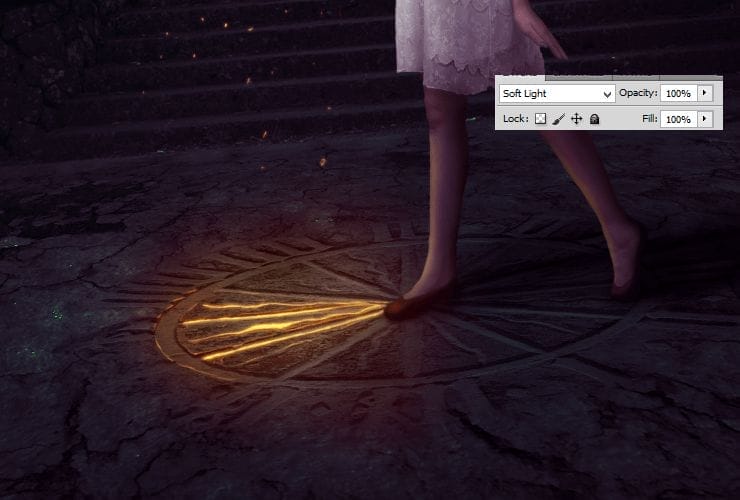
Now you’ll set colors around lava. Add new layer (Shift+Ctrl+N or shortcut). Choose soft round brush, set #fdbe2f color and work with dynamic opacity. At first set opacity of brush to 50%. Draw something like piece of pizza (everybody loves pizza). Then, set opacity of brush to 100% and draw on arc of clock.

Change blending mode and opacity – Overlay, 26%.

Step 55
For better effect, you can duplicate layer (drag and drop on “New layer” symbol or go to Layer > Duplicate layer…) with highlights of clock (see step 53) and blur it (Filter > Blur > Gaussian blur) (blur around 0,2px). Then, change blending mode of this layer to Soft light.
Step 56
You can add some shadows to your lava. Add new layer (Shift+Ctrl+N or shortcut). Use soft round, around 5px brush and set its opacity to 50%. Use darker color (#ff9f41) and draw shadows on lava.
Change blending mode of this layer to Overlay.
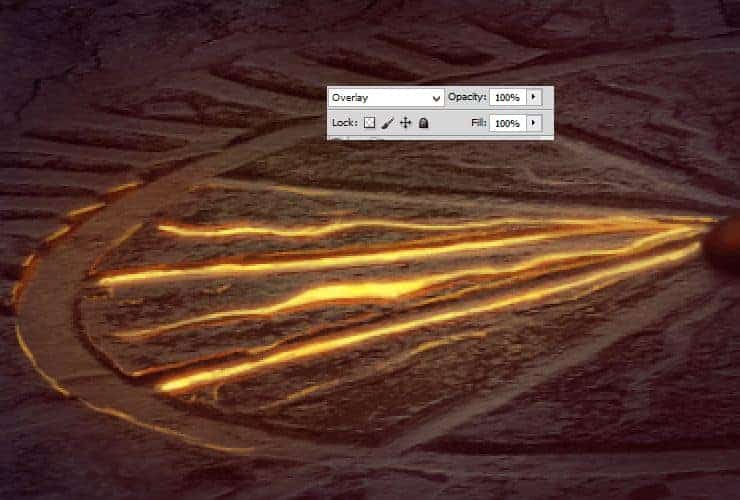
Duplicate this layer – drag and drop on “New layer” symbol or go to Layer > Duplicate layer…, then change blending mode of duplicated layer to Multiply.
8 responses to “How to Create a Fantasy Photo Manipulation with Fire”
-

thanks for an awesome tutorial. wish i could post what i made of it on here :(
-
The end result is nice, but waaaay too many layers!
So sick of making layers… Need to find better methods.
Thanks. -
why u dont use Photoshop cs6 for this tutorial? It’s hardly to understand while Im using CS6
-
Link of ”Grunge map” had died. I dont understand step 4, how to do it ??
-
Diego Armando
-
link to Grunge maps Weird 0001 2 (L) cgitextures is broken. Tree sidebar PNG is a pay file. Love your tutorial. Thank you
-
amazing
-
Nice
Leave a Reply