Fill the path you’ve just drew with White color by right click on the path and choose Fill Path, choose White as Content Use.

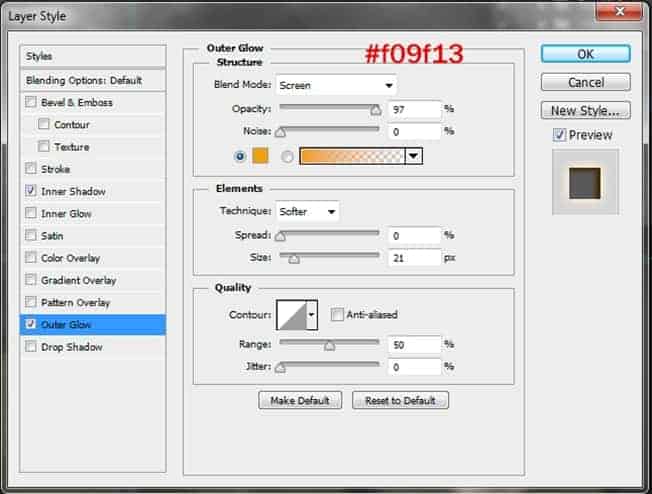
Go to the layer’s Blending Option and do some changes to Inner Shadow and Outer Glow.


After that, go to Filter -> Blur -> Gaussian Blur, apply 1px and this is what we will have

Step 10 – Create A Windowpane
We just can’t leave the bare window like that so that’s why we will make a windowpane. Grab the Rectangular Tool and draw a rectangular shape, fill it with Black.

Repeat the previous step but rotate the shape to horizontal to create a cross shape.

Merge 2 shape layers into one by holding Ctrl + left click on those two and right click, choose Merge Layers. Apply some Blending Option to the layer.
Stroke

Inner Shadow

Color Overlay

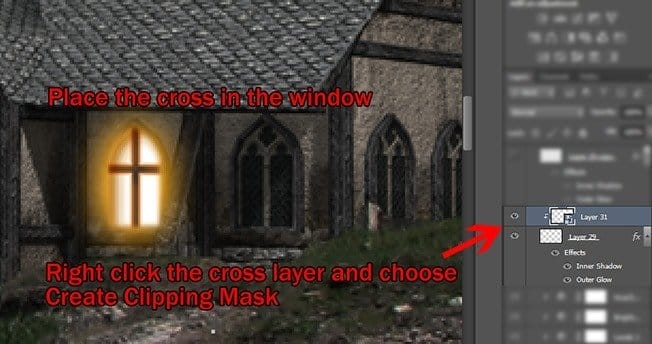
After that place the Cross Shape layer on the window, right click on the layer and choose Create Clipping Mask so that the cross will stay inside the window.

Step 11
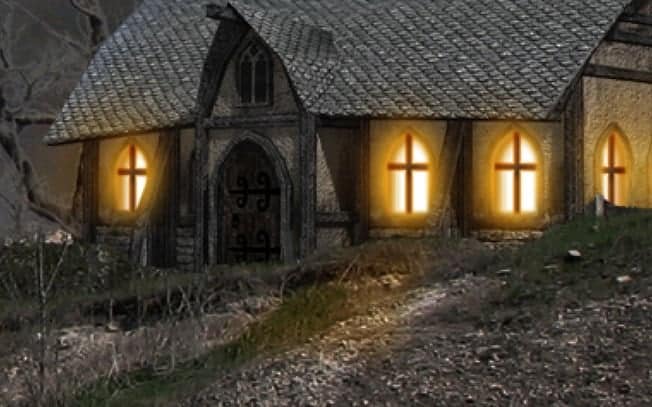
Repeat Step 9 and 10 with all the other windows.

Create a new layer and grab a soft brush with color #f59d12 and paint on all the windows.

Change the Blend Mode to Soft Light, reduce the Opacity to 50 – 60%

Step 12 – Light Reflection From The House
We need to add one more light effect for the house. Create a new layer and get the Rectangular Tool again too draw the following shape, fill it with color #f39e14.

Hit Ctrl + T to open Transform Tool, use Distort to bend the shape like this


Then go to Filter -> Blur -> Gaussian Blur with 3.0px Radius. Change the Blend Mode to Soft Light with 50% Opacity.

Step 13
Duplicate the light we just created and place it near the other two windows.

Step 14 – The Grave House
Place the Grave House image at here.

Change the Inner Shadow in Blending Option of the Grave House to create a blue light reflects on it. This will serves as reflection for the light source we will create later.

Brightness/Contrast

Here is the result

Step 15
Open the Fence image, use Magic Wand Tool and select all the white part and delete to extract the fence.

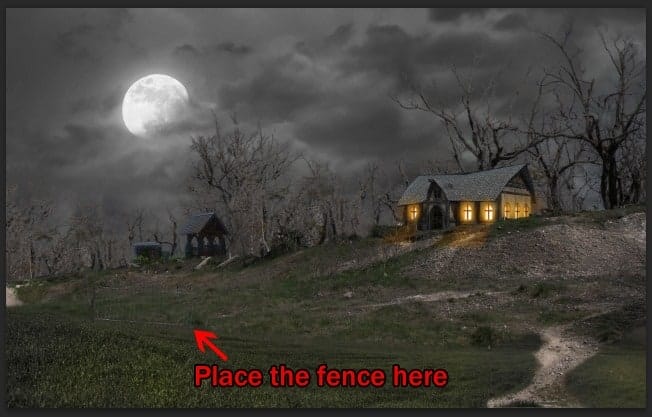
Place the fence on the hill. Friendly reminder : turn it to Smart Object before proceed.

Duplicate the fence a few times and place it along the hill.
21 responses to “Create a Halloween Photo Manipulation in Photoshop”
-
There are about 3 links that don’t seem to work for me. I can’t seem to know why for example the house. Even the link that Henk posted doesn’t work for me. Very confused and worried as I have to finish a project.
-
Thanks for sharing such informative post its help me to know deeply Photoshop work step by step.those are very useful for me! :)
-
These are beautiful designs! Typography can be so powerful.
-
Best tutorial, great skills!!! Tanx
-
Lovely ANTAKA. Thnkz fr your Tutorial. It really Impressive.
-
mais comment entre sur le prgrame :'(
-
Great tutorial!! However I need some help on Step 18. I am not familiar with using the Perspective tool and I can’t get it to conform to the landscape. Can you give us some tips on how to do this?
Thank You
-
Thank you so much Antaka.
-
I have reahed the stage of lighting the windows in the witch house, I make a new layer and use the pen tool to draw around the window but I cant replicate the yellow light that is supposed to be emmited. I follow the instrutction to the letter and have tried many times. I also dont have the red colour with the brush tool when applying masks. Please help :(
-
Hi Jules,
After you’ve finished drawing with pen, just right click on the draw path and choose Fill Path, you should be able to fill with drawing path with the color in the tutorial provided.
Also, the red color in the layer mask is just a sample for better visual view, its actually the black color you use when masking.
Let me know if there’s anything more you want to know, contact me via my email : [email protected].
Best,
Antaka
-
-
can i have a download link to the full completed photo shop of this project i need to show my class
-
LOL I think I know what class you’re talking about.
-
-
awesome photo manipulation
-
thank you for sharing!!
-
Where’s the link to the witch house?
-
Hi Steve,
Sorry for the mistake, here’s the link to the Witch House stock :
http://atknebula.deviantart.com/art/HOUSE-07-03-328360230
Thanks for pointing out!
-
Post updated. Thanks for the link!
-
Found the house.
For all who is searching for the house:
http://www.deviantart.com/art/HOUSE-07-03-328360230
Hey this is a cool tutorial whitch I am trying to do aswell.
But where can I find this witch house?
Thanks
It seems like you forgot to include the Witch House in the tutorial resources.
Thanks for all the great tutorials!
perfect~~


Leave a Reply