
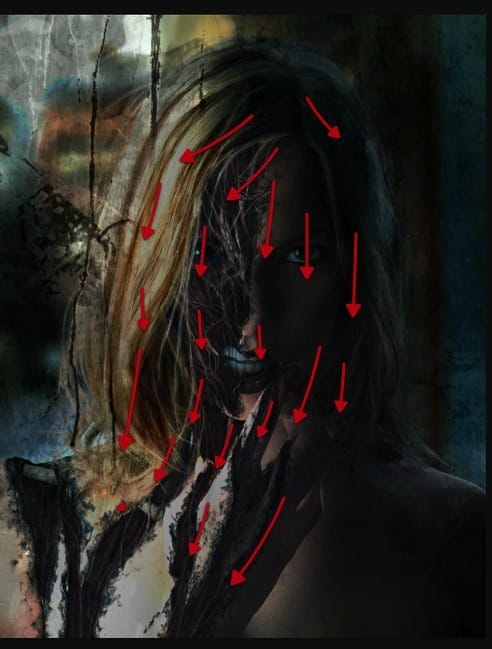
Step 10
Great! now lets go back to this layer and mask off the darkening over the eye with a soft brush that fits.


Step 11
Then create a hue saturation layer and lets adjust it as shown here.

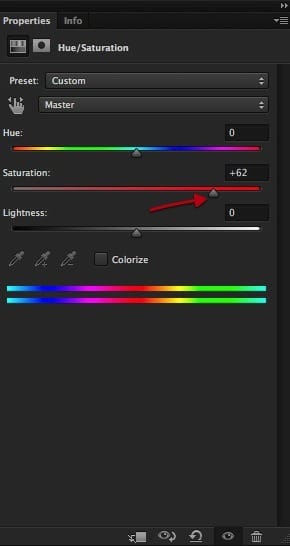
Step 12
And again fill the layer with black and just mask in softly over the eye so its more saturated than the rest.


Step 13
Next lets create a new text layer and select the DIRT2DEATH font, if you don’t have it just search in Google and install it, its freely available, then select a bright blue color for the text.


Step 14
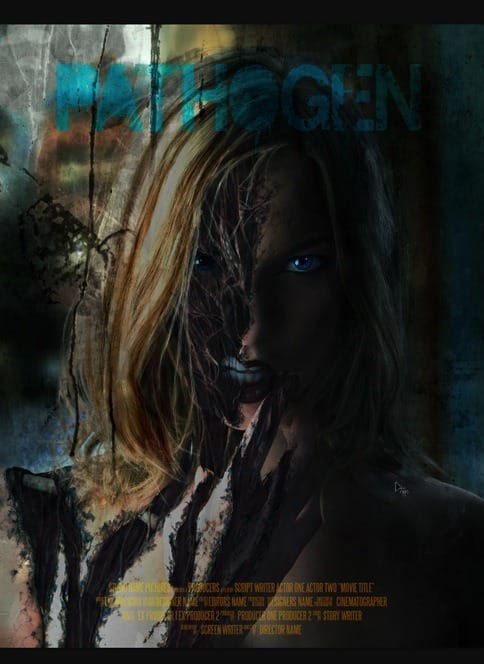
Type pathogen and set the layer mode to soft light and reduce the opacity to 90%

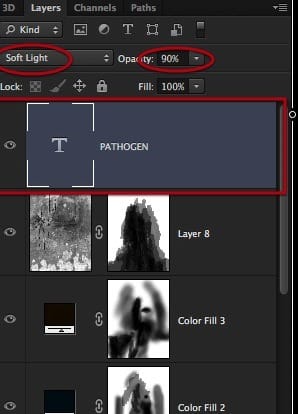
Step 15
Then enter what your imagination can come up with as for the studios, director, producer and such.
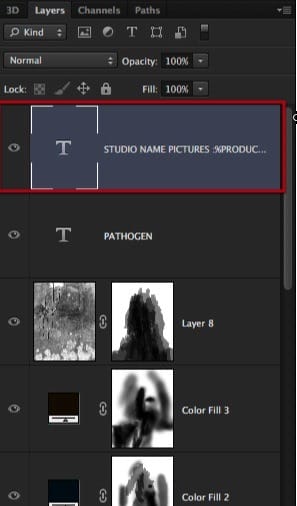
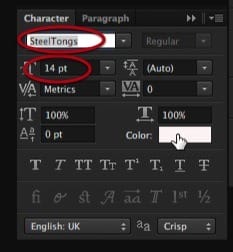

Step 16
Select this bright yellow for the color and arrange the paragraph as shown here.
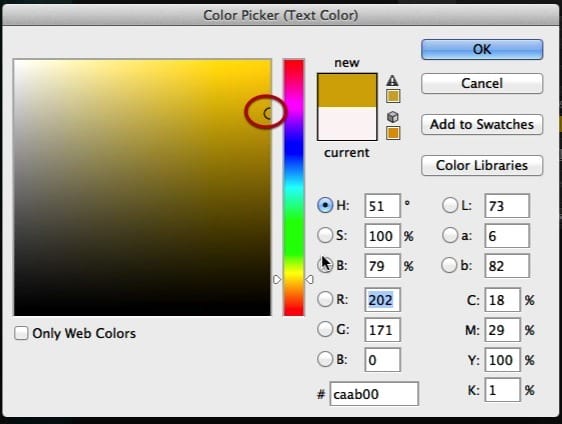
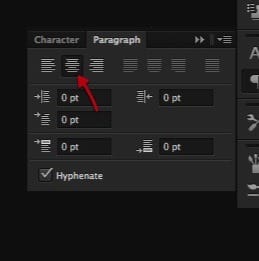
Step 17
Set the layer mode to hard light and the opacity to 61 %
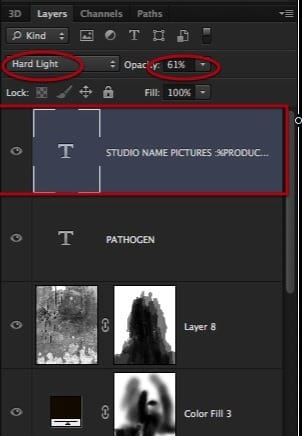
Step 18
Lets make yet another layer and this time drag with the text tool to pre define the paragraph size.


Step 19
This time select this font and set its size at about 11pt


Step 20
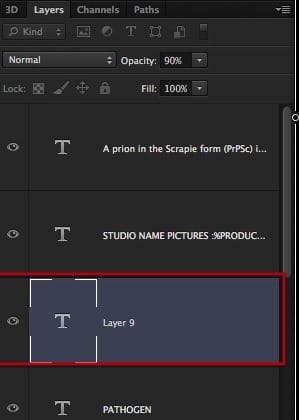
Set the layer mode to overlay and lets do one more text layer.

Step 21
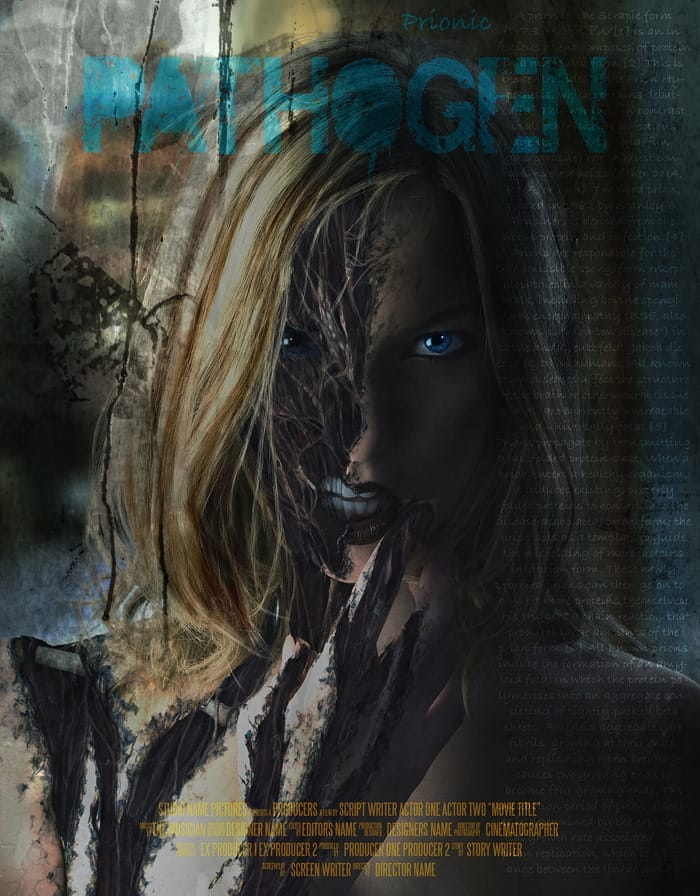
Select Bradley hand font again plus the same blue as the title; finally set the layer mode to soft light. And that is it! we have finished up our image with a nice poster look.


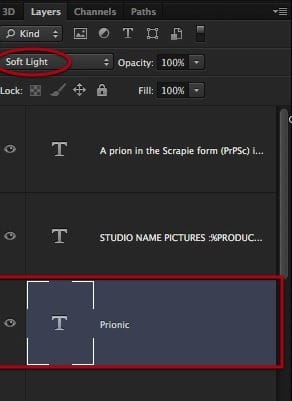
Final Image
Hope you have enjoyed making this fun image and poster, and learned some nice stuff alongside. If you have any questions you can send me a mail and I will try ASAP to give you a hand, thanks for your patience and support.
18 responses to “Create a Horrific Flesh Eating Movie Poster in Photoshop CS6”
-
how can i get adobe photoshop
-
Great, thanks for all the helpful info!
-
wow,its a nice work.Thanks for sharing such informative post its help me to know deeply Photoshop work step by step.
-
v nice
-
amazing work ever !
-
Cool! I will try this one. Thank you for sharing this tutorial on how to photo manipulate.
-
i burst out laughing here:
https://www.photoshoptutorials.ws/images/stories/Pathogen_C070/ScreenFlow169.jpg
-
Its a good work I’ll try to make this effect with my own gets..
-
I cannot download the brush, anyway anyone could tell me how to set it, so it fades on both sides…
Also the other brush.
Preferebly with sreemshots….
Thank you. -
Looks easy but it is really hard. Need to start all over again.
-
it looks like it should have a hat
-
indeed
-
-
Cool beans
-
Nice tutorial but I feel that after step 17 it looks overdone. Also the zombied area of face could be more dark and reddish that would look more natural. By the way extremely well written tutorial.
-
I’m really liking the tutorials here! But did you really have to use a stock photo of frogs humping each other?
-
They are just sitting on top of each other… I want to believe!!
-
-
good
-
This is amazing! Premium quality tutorial here but the videos should be sped up. You’re not kidding when you say it’s 10 hours!


Leave a Reply