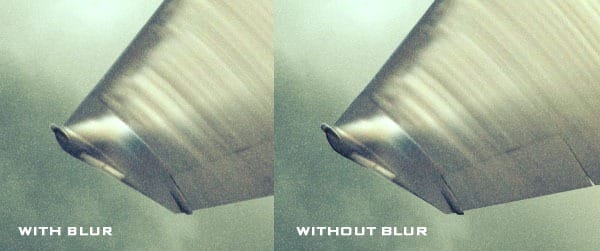
- Blur tool (R): By using this tool you can blur sharp edges such as the wings of the aircraft which will make it look even more realistic.
- Dodge tool (O): For highlighting the brighter areas of the aircraft, it is best to use the Dodge tool.
- Burn tool (O): You can use this tool for darkening areas that you want to hide or to create shadows.
Select the Blur tool (R) and go easy on blurring the edges of the aircraft, don’t go overboard!
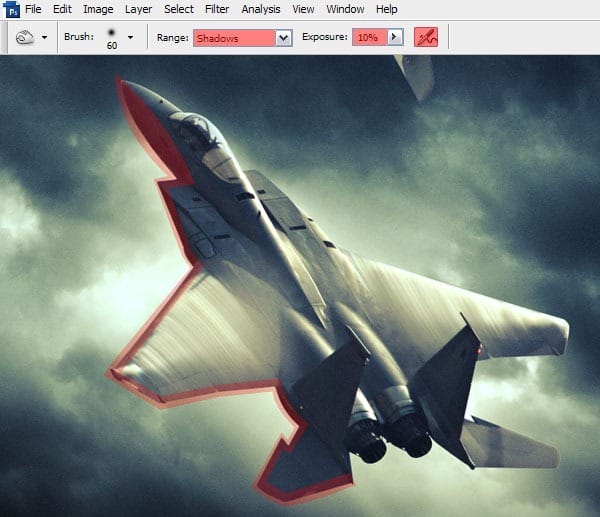
Next, select the Burn tool (O) and set the Brush Mode to Shadows, set the Exposure to 10% and check the ‘Set to enable airbrush capabilities’ box on. By using these settings you can create a subtle difference when using the Burn tool. You need to ‘burn’ the shadows on the left part of the fighter jet image.
Step 5
Create a new layer and name it ‘Afterburner’ and drag this empty layer on top of the left fighter jet image. Grab a Soft Round brush of100px, go to the color palette and select an orange color (#fe8900). Click twice on each jet engine to give it a nice glow and set the Layer Mode to Linear Dodge (Add).

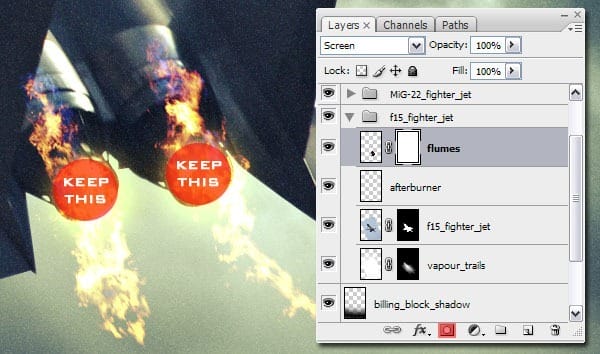
Download the ‘Fire Flumes’ image and open it up in Photoshop. Pick the first and fifth flume and cut them from the original stock photograph. Drag these on top of the ‘Afterburn’ layer and set the Layer Mode to Screen. You can rotate and scale these as much as you want or place them exactly like the image below.

With the ‘Flumes’ layer selected, click on ‘Add Layer Mask’ in the bottom of the Layer menu. This way we can easily undo any mistakes that are created on the flumes layer. Grab a black Soft Round brush of 50px and start masking everything away that’s outside of the jet engines.
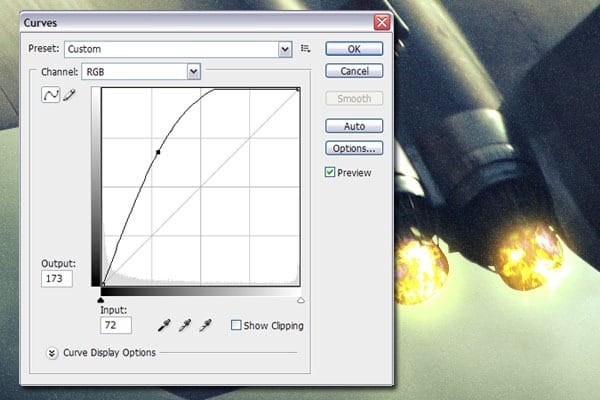
To intensify the heat of the flumes, go to Image>Adjustments>Curves and put the settings exactly as shown below.
Step 6
I’m still not entirely happy with the aircraft as it looks like it is rather flat. So what we’re going to do is adding new vapor trails but on top of the wings. You can simply copy the ‘Vapor_trail’ layer we did earlier, drag it on top of the flumes and set the Opacity to 60%. For organizing purposes, you should rename this layer to ‘Vapor_trail_left_wing’. When moving this layer around by using the Move tool (V), you’ll see that the layer has a sharp edge. We can use this to align it with the wing, have a look at the images below.
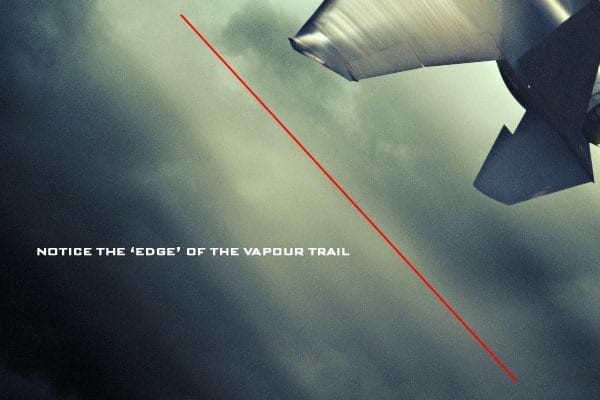
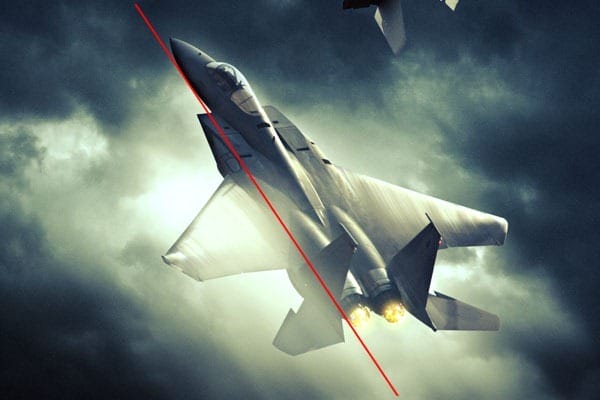
You can mask away any white areas you don’t like or think it looks too much. For the right wing you should create another copy of this layer, press Ctrl + T and right-click within the image and click on ‘Flip Horizontal’. Rename this layer to ‘Vapor_trail_right_wing’. Rotate and place this layer on the right wing as you would like. Because we’ve put this layer on top of the aircraft the lower part of the plane still looks flat. We can fix this by making the upper tail wings looking less 2D, create a path around the left upper tail wing, right-click and click on ‘Make Selection…’ and click OK.
2 responses to “How to Create an Intense Movie Poster in Photoshop”
-
the links don’t work :( i really want to do this tutorial :> thanks!
-
just great…


Leave a Reply