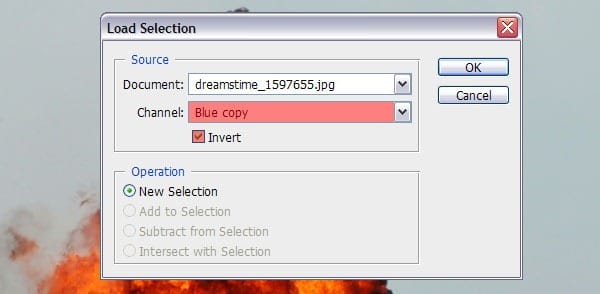
When you’ve done this, you will notice that the mask you have just created will be turned into a selection. Click on the Add Layer Maskicon and voila! A masked explosion has been created.
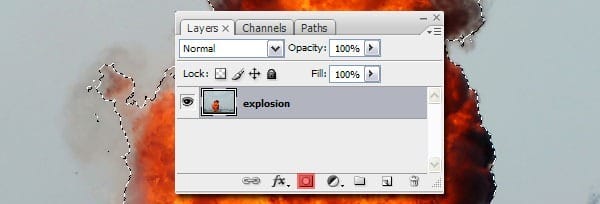
Now that this Layer Mask is done, drag it over to our poster canvas on top of the MiG-29 layer. Try to scale and rotate the explosion as shown below.
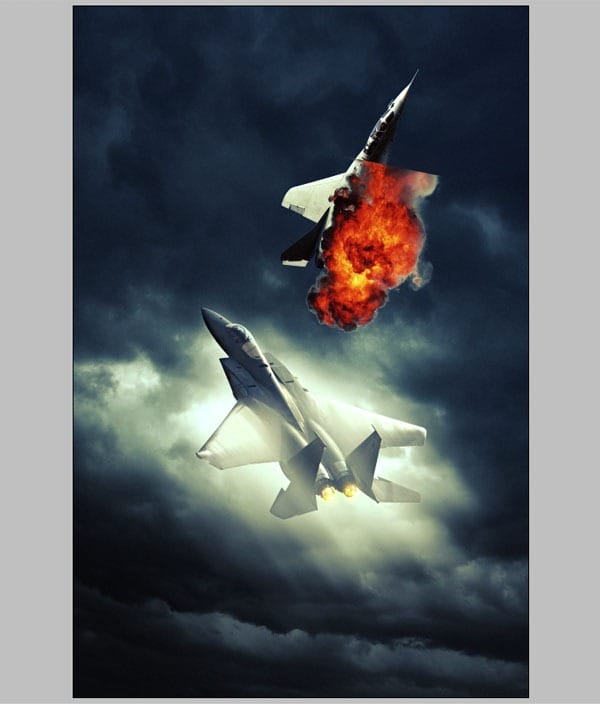
In the image below you can see I didn’t do a really good job masking the explosion but we can fix this. By clicking on the Layer Mask thumbnail, we can still edit the mask by using black and white colors. It still doesn’t have to be perfect as we’re going to apply color correction later.
Step 8
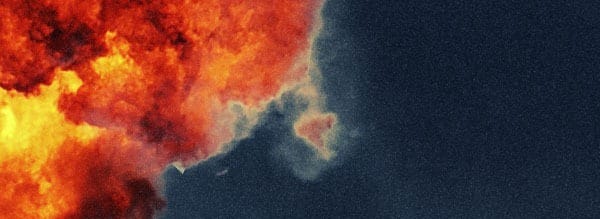
We’re going to start working on the burning wing but first, you need to set the Opacity to 70%. This will help us to see what exactly what we’re going to be editing, have a look below to see how you should place the explosion.
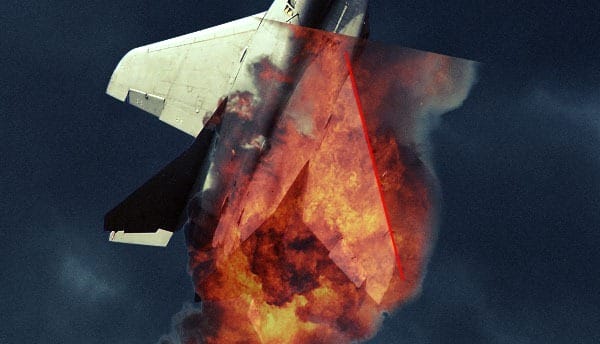
Because of the explosion, I want the aircraft look like it is about to stall and crash down back to earth. This is why the fire (and later smoke trail) looks like it is burning on the wing rather than a fire trail. Grab a large Soft Round brush and start masking away the areas on top of the wing. Do this very gently!
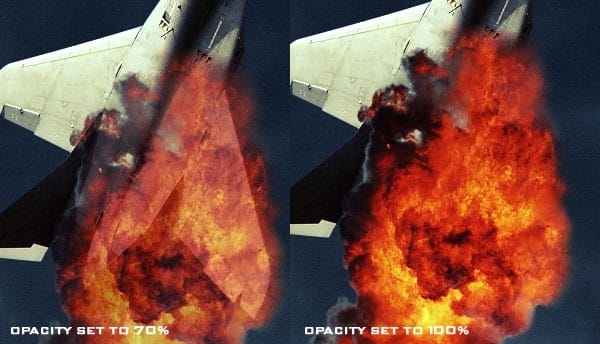
We need to show a large piece of the wing to show through the fire so create a rough path around the right wing using the Pen tool (P), make a selection and create a copy. Drag this copy above the explosion layer. As mentioned before, masking is all about subtlety and you need to do this with patience! By creating a copy the wing got ‘cut’ from the other Layer Mask so you will need to add a new Layer Mask to the copy. In this case you can vary between brush sizes and brush opacity as we need to make it look as realistic as possible. This is my result:
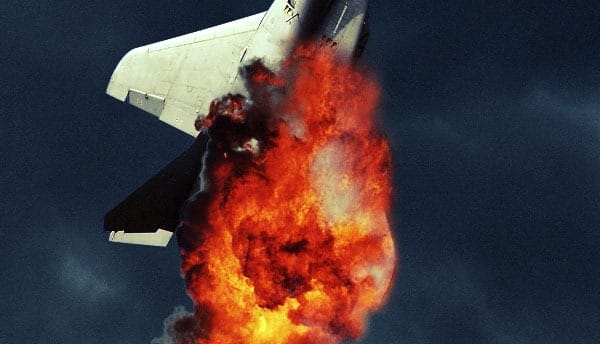
Download the ‘Smoke Cloud’ image and open it up in Photoshop. We need to mask this exactly like the explosion image. If you’re experiencing any trouble, try adjusting the settings yourself. Once you’re done masking, drag it into our poster document and drag it under the explosion layer but on top of the aircraft layer. Resize and rotate the cloud as shown below.
2 responses to “How to Create an Intense Movie Poster in Photoshop”
-
the links don’t work :( i really want to do this tutorial :> thanks!
-
just great…


Leave a Reply