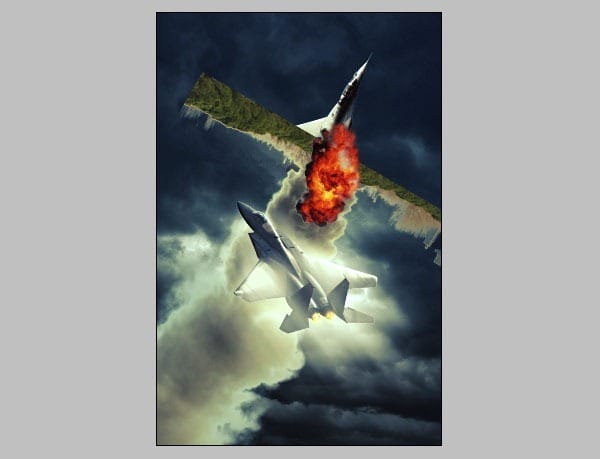
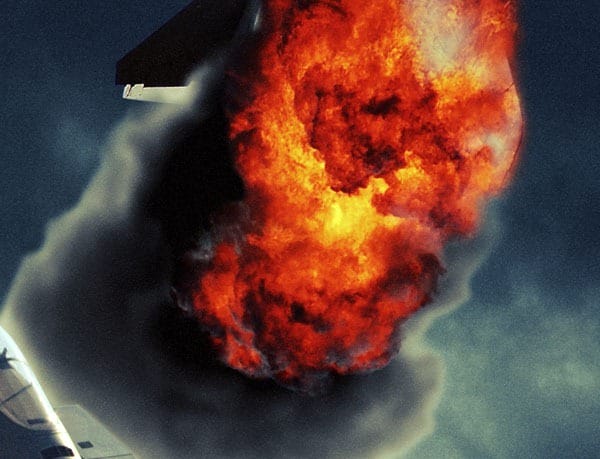
The cloud still has some spill left from the masking but we can hide this by simply desaturating it. Press Ctrl + U to bring up theHue/Saturation menu and set the Saturation to -100. Click on the Layer Mask thumbnail and remove any leftover spill. Grab the Burn Tool (O) and set the Range to Shadows and the Exposure to 35%. With the Burn tool you can darken up the smoke cloud, this is especially handy to blend the explosion with the smoke cloud. Switch between those layers to blend them perfectly.
Step 9
We’re finally ready for some color correction. Let’s start of by selecting the Explosion layer, go to Image>Adjustments>Color Balance. Set Brightness to -55 and Contrast to +25.

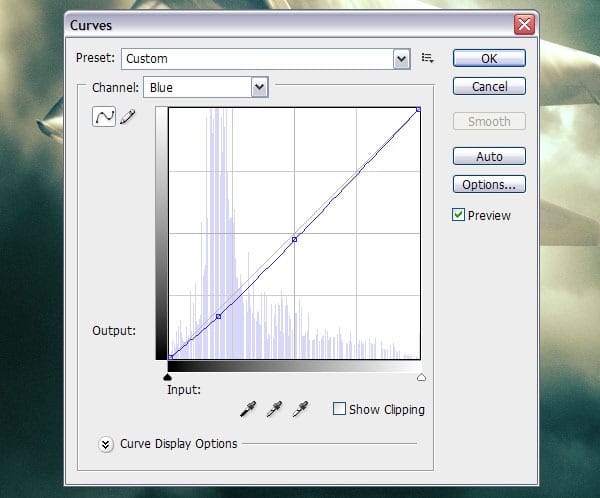
Personally I think the overall poster colors look a bit bland so I’m going to add a new Curves Adjustment layer with the following settings. Try to place these as shown below.
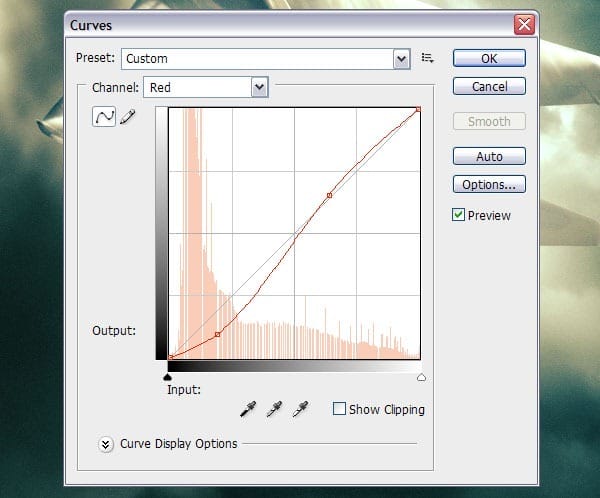
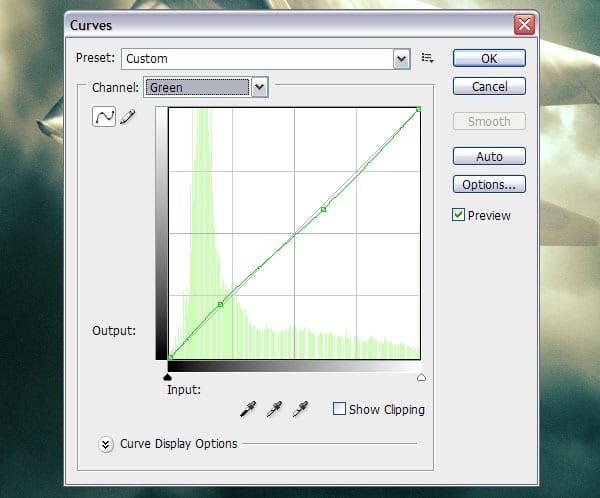
When you’ve followed my instructions, you should have something like this.
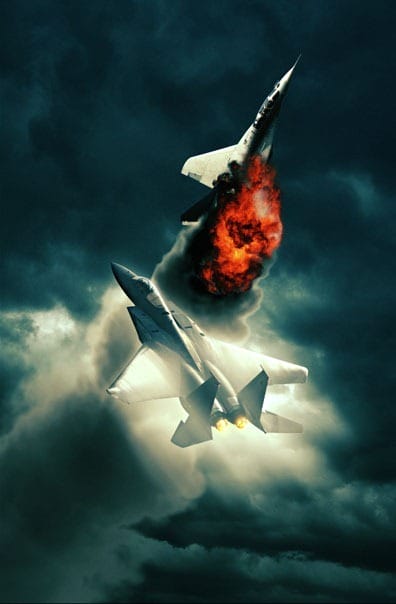
At this point the poster is almost finished but still needs some tweaking. I’m missing sparks, vapor trails and text. Later this week I will publish a tutorial on how to create the typical billing block in Photoshop but let’s focus on finishing this image.
Step 10
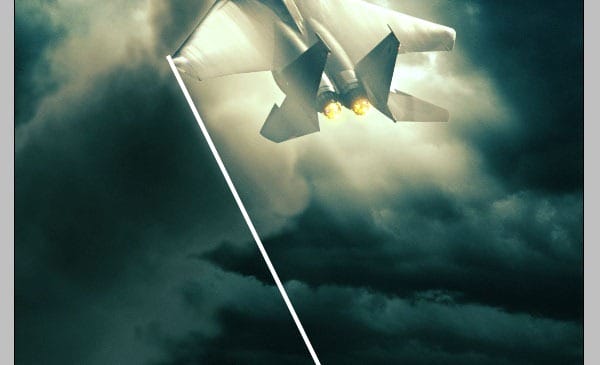
Create a long and narrow white rectangle and rotate it so that it lines up with the angle of the F15 wings.
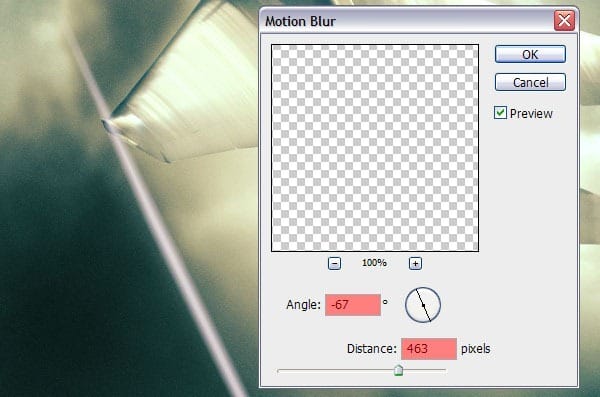
Go to Filter>Blur>Motion Blur, set the Angle at -67 and the Distance at 463.
Set the Layer Mode to Overlay and the Opacity to 30%. Remove the leftover part on top of the wing. Once you’re done with this, create a copy and drag it to the other wing.
Step 11
Open the Flumes image, drag it into our composition and set the Layer Mode to Screen. Focus on the smaller sparks surrounding the flumes, these will be used for the explosion. Create a selection around the sparks you want to move over to the explosion. Use the Move tool to drag them over to the explosion, place and rotate them anywhere you want.

Final
![invasion_final_poster[1] invasion_final_poster[1]](https://cdn.photoshoptutorials.ws/./images/stories/a89f15bdf885_13947/invasion_final_poster1.jpg?strip=all&lossy=1&webp=82&avif=82&w=1920&ssl=1)
2 responses to “How to Create an Intense Movie Poster in Photoshop”
-
the links don’t work :( i really want to do this tutorial :> thanks!
-
just great…


Leave a Reply