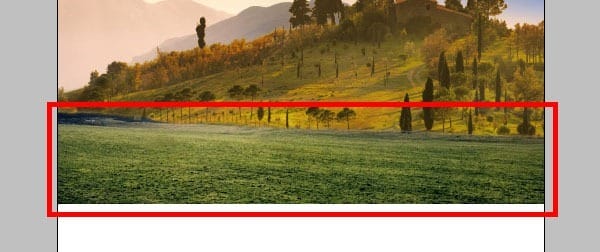
Step 23
With the copied land layer selected, go to the bottom of the Layer Menu and add a Color Balance Adjustment layer. By default, thisAdjustment layer opens in the Midtones Channel which we will need to change to blend the photographs together.
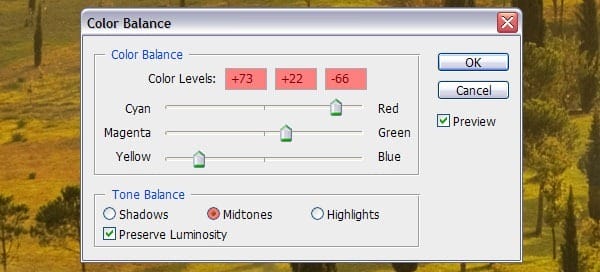
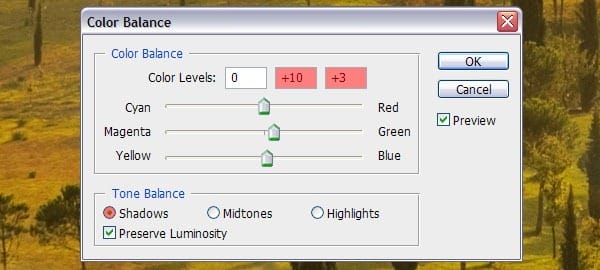
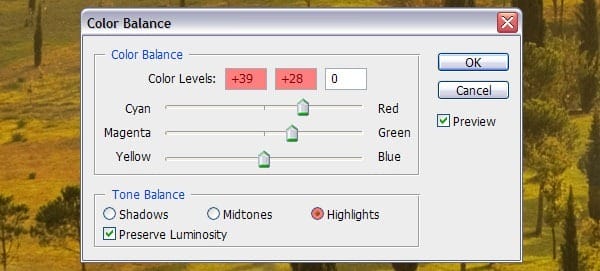
Step 24
Select the original Langdale layer and add a Layer Mask to the image. Grab a large Soft Round brush and paint away the entire right side of the clouds and atmosphere area.
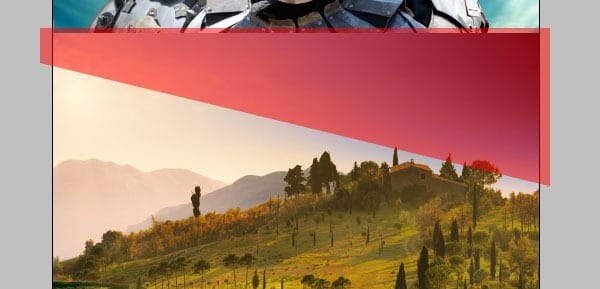
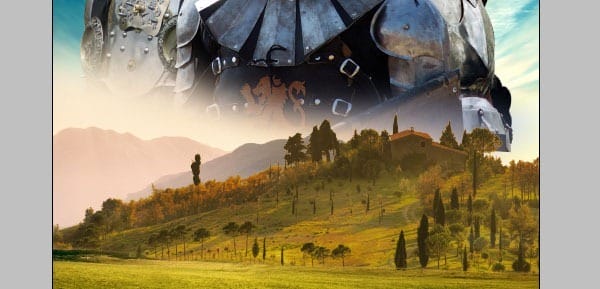
You might have noticed that the shield of the European knight is cut off but that won’t be a problem as it will be blocked from our view in the next steps.
Step 25
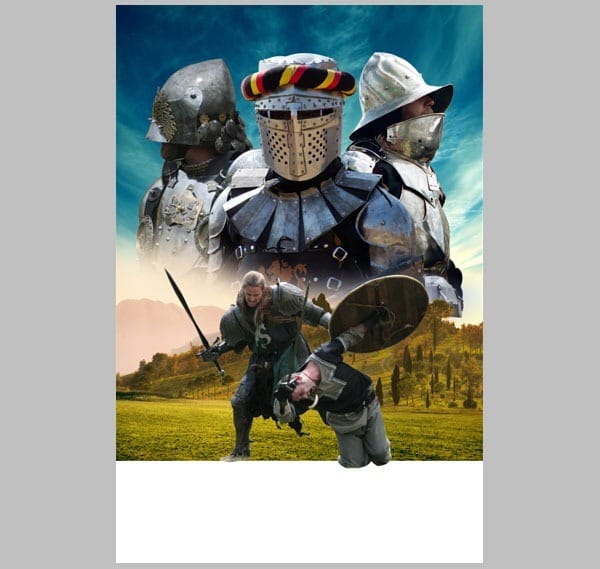
Download and open the Renfair Stock Battle image in Photoshop and cut out the left and middle knight by using the Pen tool (P) again. This image is slightly problematic as both knights have their feet and legs in the grass which prevents us from creating a clean mask. Just cut around their limbs and around the head of the long-haired knight as there is no way we’re going to get a clean mask. Scale the image as shown below.
Step 26
Now we are going to add a small army on both sides of the battlefield. First download and open the Medieval Knights photograph and cut them out by using the Pen tool (P) and place them on the left side of the poster. Repeat this step with the Knightly Tournament photograph but place these on the right.
Step 27
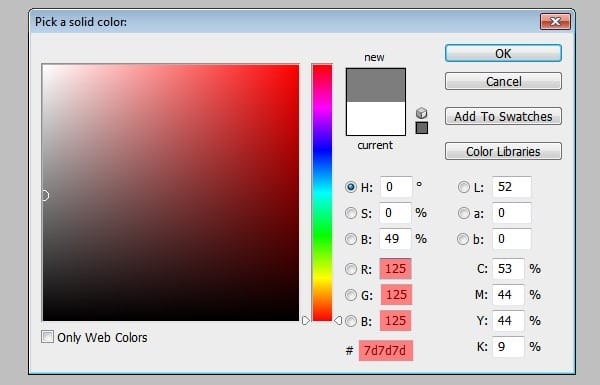
Click on the Create New Fill/Adjustment Layer icon in the bottom of the Layer Menu and select create Solid Color. The Color Picker pops up and you need to enter the following settings:
Step 28
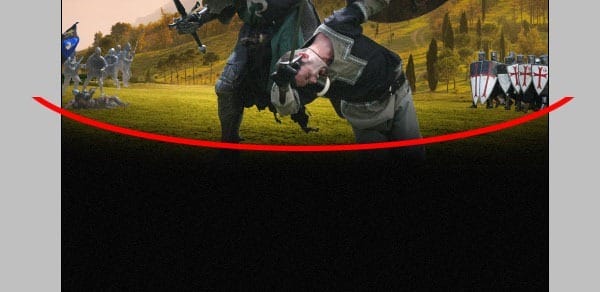
The composition is coming along nicely but we also need to add a black area at the bottom of the poster to act as a transition between the poster art itself and the typography for titling and the billing block. Create a new layer and name it ‘bottom_black_billing’, put this on top of all the layers, use a large Soft Round brush (yes, I love that brush!) and gently paint towards the bottom of the landscape and fighting knights in an oval shape.
Step 29
If you haven’t done so already, you really should start organizing at this point as it might get confusing. Simply create folders for every element in the composition (Top_Knights, Landscape, Sky etc.). For even better organizing you can give every single folder a different color by right-clicking on the layer visibility icon, then choose your color of choice.
3 responses to “How to Create a Medieval Movie Poster in Photoshop”
-
could you plz make the psd available again
-
Link has been fixed. Thanks!
-
-
thanks Blog


Leave a Reply