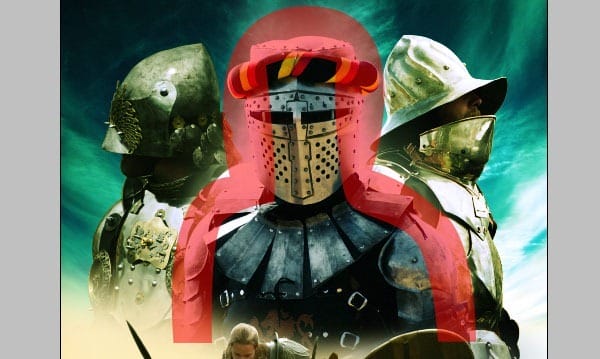
Step 36
The images all have a bit of hard line around them because we’ve used the Pen tool (P) but you can get rid of this but using the Blur tool (R) on the Layer mask.
Step 37
Repeat steps 31, 33, 34, 35 and 36 for the knights on the right and left but hopefully at this point of the tutorial, you will implement some of your own color variations and techniques. Get rid of what you like or add something else of what you think benefits the composition. At this point I have added a few more Color Balance Adjustment layers to all three knights and did more tweaking and this is my result at this point of the tutorial:
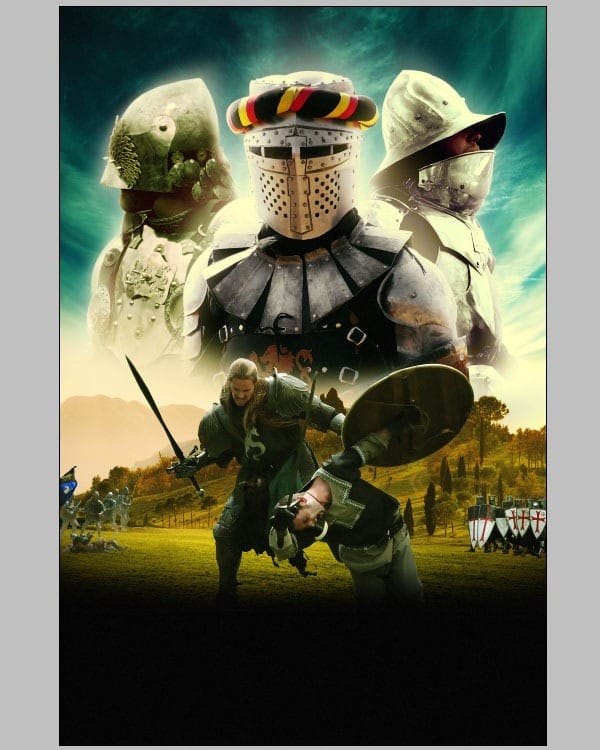
Step 38
At this point I’ve added a Color Balance Adjustment layer with the following settings:
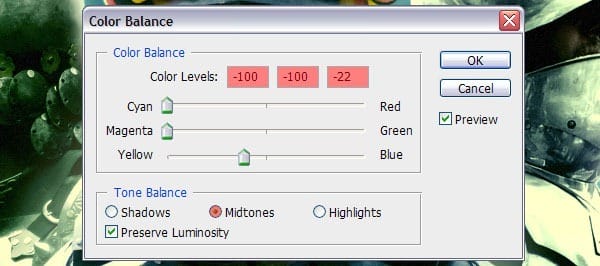
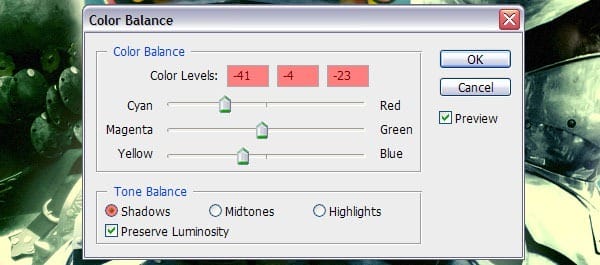
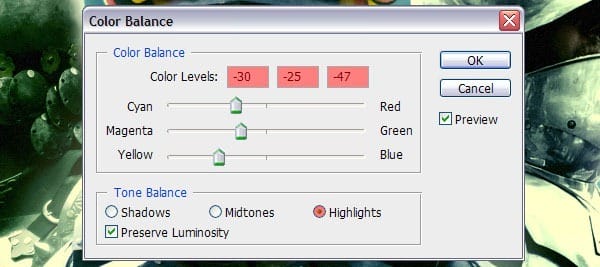
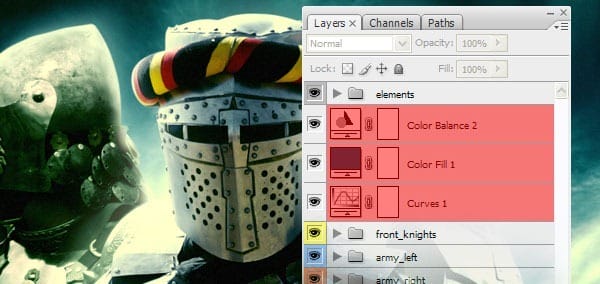
I’ve also added a Color Fill Adjustment layer (#004762) at the top of all the layers to get a good idea of where I’m headed with this poster. Order of layers:
Step 39
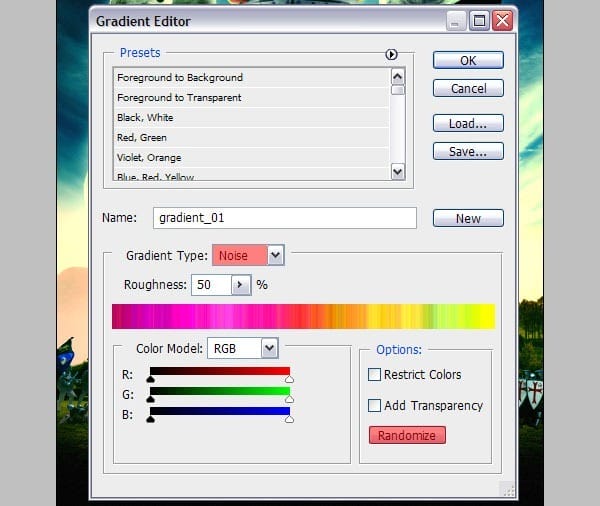
On top of these layers, create a Gradient Fill Adjustment layer and click OK. Set the Layer mode to Hue and the Opacity to 20%. Double click on the Gradient window and change the gradient from Solid to Noise. Click on Randomize to see a different gradient you like and click OK. This way we’ll get a gradient with a huge amount of color.
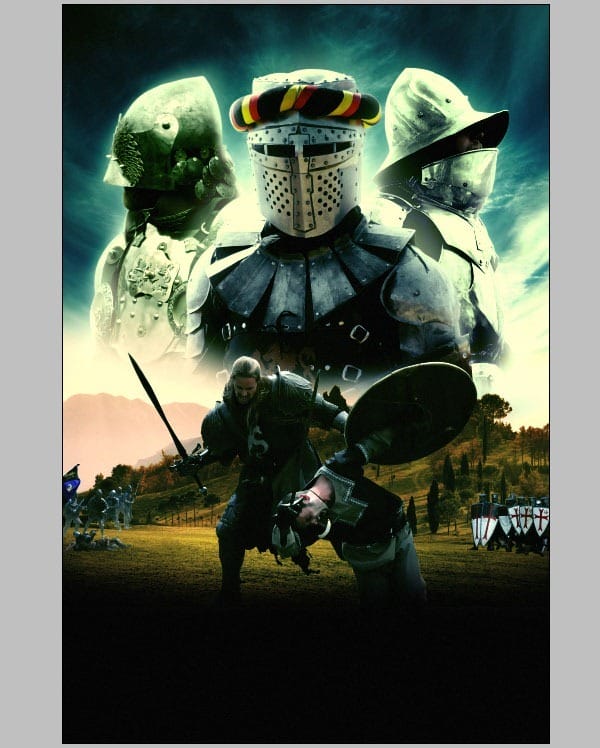
Big change, isn’t it? The middle of the poster looks very dark but we’re going to fix that now.
Step 40
Select the ‘Renfair Stock Battle’ layer, add a Brightness/Contrast Adjustment layer and set the Brightness to +55% and click OK. Right-click on this layer and select ‘Create Clipping Mask’. Use the same methods we’ve used on Step 35 to make it look the way you want. Use the Smudge tool to create strands of hair on the long-haired knight.
Step 41
At this point, I think the Tuscan landscape looks a bit too dark and the color isn’t very exciting. Select the top layer of the Tuscan Farm landscape, add a Brightness/Contrast Adjustment layer and set the Brightness to +32 and the Contrast to -10 and click OK.

Only the landscape should be affected by this Adjustment layer but currently it is not, we can edit this by painting on the top of the mask with black as shown below.
3 responses to “How to Create a Medieval Movie Poster in Photoshop”
-
could you plz make the psd available again
-
Link has been fixed. Thanks!
-
-
thanks Blog


Leave a Reply