Step 42
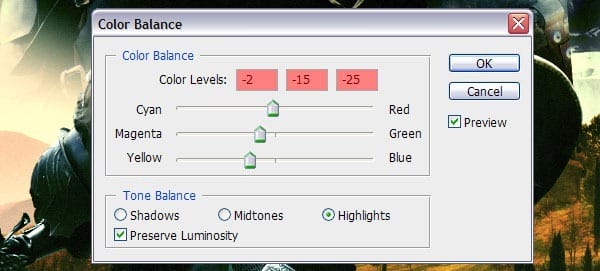
We’re getting close now but I’m still not happy as I want the colors to pop a little more. Add a Color Balance Adjustment layer and play with the sliders to get the tint you want or enter the settings shown below.


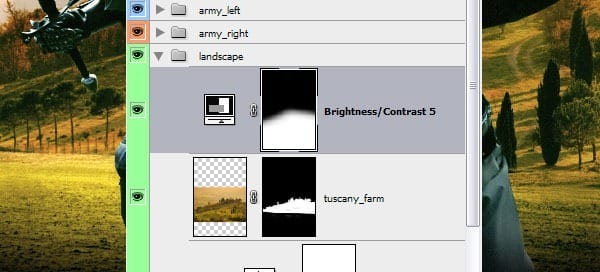
Once you are done, paint on this mask as we’ve done with step 41.
Step 43
It’s time to work on the small army on the left. Because the image is a lot brighter at the bottom, we can edit this easily by using the Burn tool. Grab the Burn tool (G) and make sure the Range of the brush is set to Midtones and the Exposure at 50%. Now you can start darkening the lower parts of the knights.
Step 44
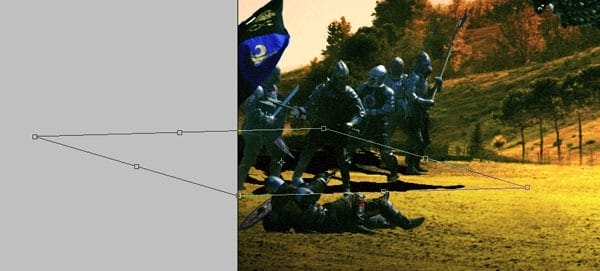
Create a copy of this layer and make it all black by using the Hue/Saturation menu and drag it below the knights, this will be part of the shadow. Press Ctrl + T, right-click on the selection that is made and select the option Distort. Try dragging one of the points to create a believable shadow, it doesn’t have to be placed correctly as you need to apply a small Gaussian blur, adjust the effect your own liking.

Repeat Steps 43 and 44 for the army on the right. Apply a Color Balance Adjustment layer and try to match the color tone of the knights with the background.
Step 45
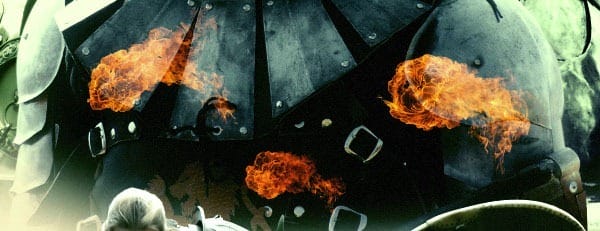
Because I want to add some more spectacle to the composition, download and open the Fireballs image, drag it into our composition and set the Layer Mode to Screen. Resize and divide the fireballs into three individual layers. Because the blending mode of these layers have been set to Screen, they will work best on dark backgrounds so I have placed all three fireballs on top of the European knight folder.

If you are satisfied with the placements of all three layers, then go ahead and merge them. Photoshop will automatically revert the Blending Mode to normal but you will have to set it back to Screen. We will get back to this section later.
Step 46
Now it is time to start working on the title of this fictional poster. For this type of work I have decided to use the Old English Text MT which is an old school font that really fits the whole medieval style. If you have followed every step of this tutorial, then you probably used the original resolution as shown in Step 1 so type the name Infictus with a size of 405pt.
3 responses to “How to Create a Medieval Movie Poster in Photoshop”
-
could you plz make the psd available again
-
Link has been fixed. Thanks!
-
-
thanks Blog


Leave a Reply