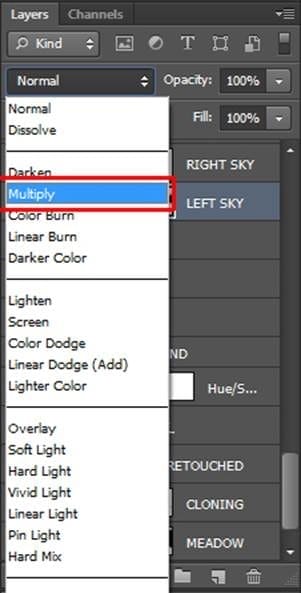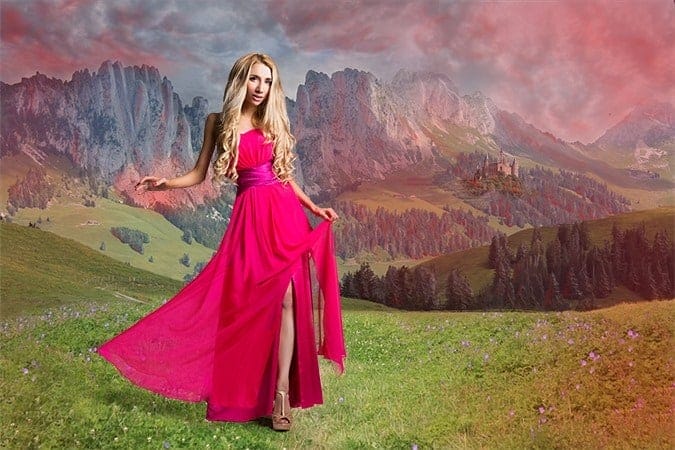
To blend it even better add layer masks to both layers. Grab the Brush Tool (B), select some soft round brush and pick black color. Paint over the areas of sky which you want to have invisible (= mostly edges of photos of sky). You should get something similar to the picture below after this step.

Step 7 – Adding Lighting
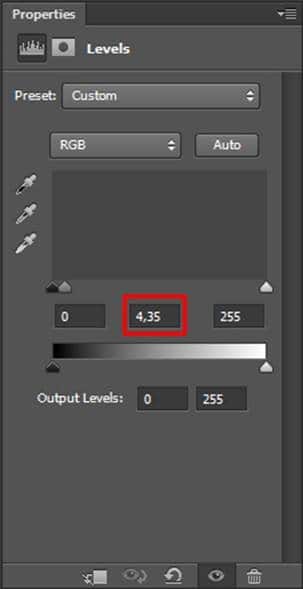
In this step you’ll start creating more interesting and dramatic lighting and you will continue with it in some of the following steps. In this step you’ll focus on adding more distinctive highlights on those parts of the image where light hits. Add new adjustment layer Levels and set the Input Levels on 0; 4,35; 255.

After adding the adjustment the whole picture is really bright. But you want to brighten only certain parts of it. To hide the adjustment grab the Paint Bucket Tool (G), pick black color and fill the layer mask of this adjustment layer.
Grab the Brush Tool (B), select some soft round brush, lower its Opacity on 5% and pick white color. Paint over the areas you want lighter. You can get the inspiration on the following picture. Areas where you should paint are highlighted with red color.

Step 8 – Local Darkening
Now its time to darken some parts of the image. To do that add new adjustment layer Levels and set the Input Levels on 0; 0,15; 255.

Fill the layer mask of this adjustment layer with black color to hide the adjustment and then grab the Brush Tool. Use the same settings as in the previous step and paint over the areas which should be darker. Take a look at the following image for inspiration.

Step 9 – Increasing Contrast of the Background
Photo of a woman has higher contrast than the rest of the image. You’ll balance it by increasing contrast in this step. Add new adjustment layer Levels on the top of all layers and set the Input Levels on 20; 1,00; 235.

Woman should have the same level of contrast as before the adjustment which means that you have to hide adjustment in that area. Activate the mask of WOMAN by Ctrl + clicking on its layer thumbnail.

Click back on the adjustment layer Levels you’ve added moment ago. Click on its layer mask. Grab the Brush Tool (B), set the Opacity on 100% and pick black color. Paint inside the mask to hide the adjustment there. After you’re done press Ctrl + D to deselect it. Your photo manipulation should be similar to the one below.
12 responses to “Create This Striking Fairy Tale Photo Manipulation in Photoshop”
-
you have done a good work…….
-
Nice technique. Really useful…thanks for the post…
-
Cool! Tot luv the tutorial…
-
Super
-
thanks for the tutorial
it really helped me :) -
Thanks for this tutorial Jarka
-
Thank you for this tutorial creative well explained.
My realization:
http://www.chez-mireilled.com/article-paysage-conte-de-fee-avec-photoshop-119754637.html -
hye
-
Estupendo, me ha gustado mucho y ya he hecho una prueba. Gracias
-
nice
-
Super tut I will have to try this
-
hey
-


Leave a Reply