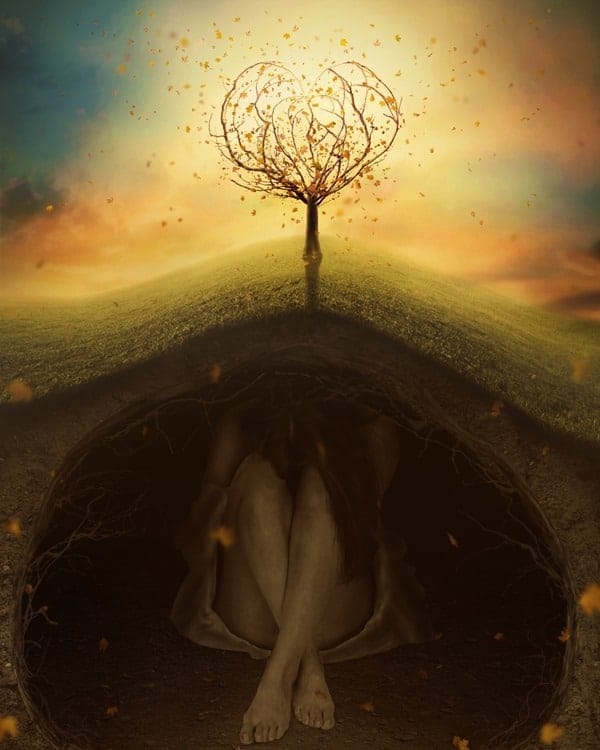
Learn how to create this amazing surreal underground scene with a heart created from branches and scattering leaves! This photo manipulation tutorial will teach you various techniques such as blending, complex masking, painting, working with groups, and more.
Preview of Final Results
Tutorial Resources
Step 1
Create a new document with size of 900×1125 px and fill it with black. Open soil 1 image. Use Move Tool (V) to drag it into our black canvas, choose Cmd/Ctrl+T to transform it as shown below:

Step 2
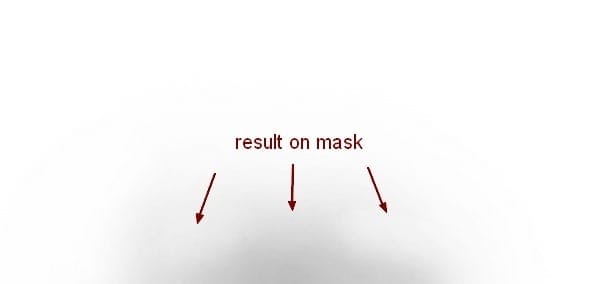
Click the second button at the bottom of Layer Panel to add mask to this one. Use soft black brush with opacity about 60-70% to erase some parts of the underground. You can see the result on layer mask and result on picture:


Step 3
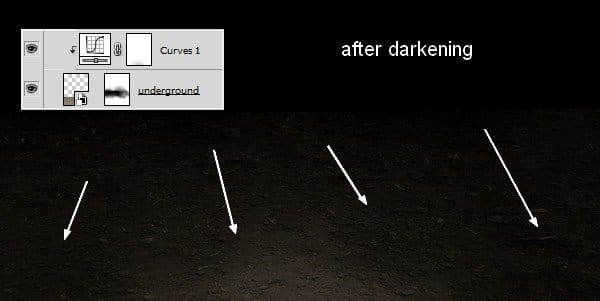
To darken this underground, I used a Curves layer with Clipping Mask. On underground layer, choose Layer-New Adjustment Layer-Curves:

On Curves layer mask use black brush with opacity about 10-15% to reduce the lightness on the part near foreground:
Step 4
I added a Levels layer to change the contrast a little:

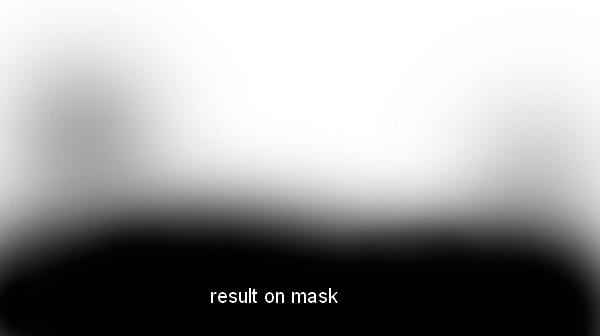
I used black brush to erase the foreground:

Step 5
I made a Hue/Saturation layer to reduce saturation of the underground:

Step 6
Isolate model from background and place her on the underground (feel free use your own stock).
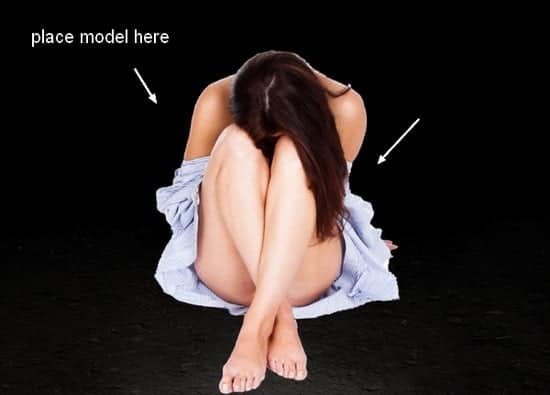
Step 7
I don’t like the shirt model wearing so I’ll repaint it. Make a new layer (Clipping Mask), use hard brush with color #fbfbfb to fill the shirt:

I named this layer “clothes base”. We’ll be adding more details to it later.
Step 8
Use Curves to darken the model :

I added a Levels layer to fix the contrast there:

On Levels layer mask use brush to erase on some part of the model to get proper light and shadow:


Step 9
Apply Hue/Saturation to match her with the scene:

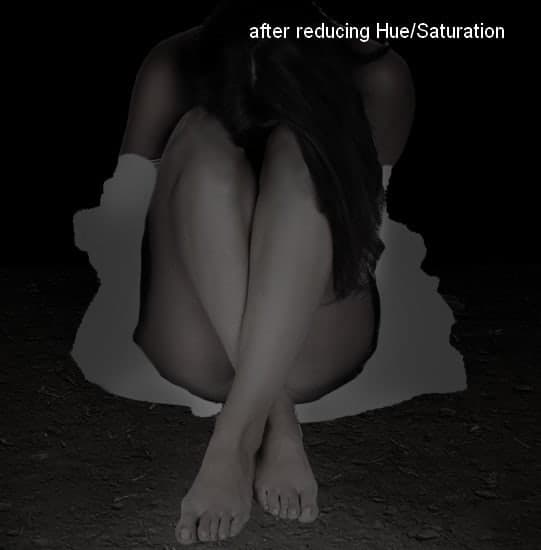
Step 10
Now we’ll pay attention to the clothes. Create a new layer, fill with 50% gray and change the mode to Overlay:

Take Burn Tool (O) with Midtones Range, Exposure about 25-30% to darken the clothes. You can see how I did it with Normal mode and result with Overlay mode:

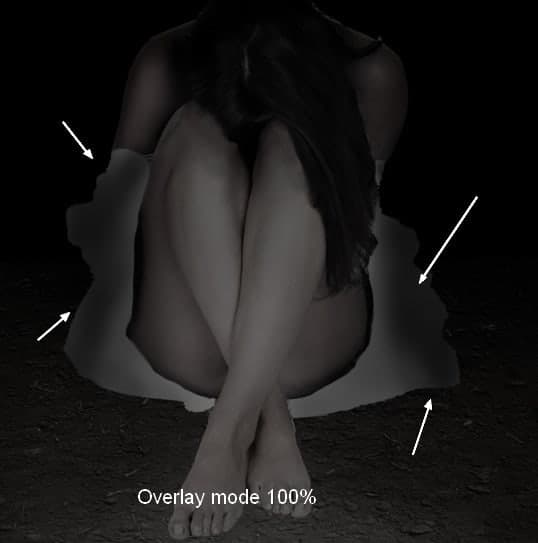
Step 11
Make a new layer with same settings, use Dodge and Burn Tool to create details of the wrinkles for the clothes. I’ve tried to achieve a silky, soiled look (as she is sitting on the underground ) and you can see my results as a reference:
28 responses to “Create a Surreal, Emotional Underground Scene Photo Manipulation”
-
Thanks for that…
-
Unfortunately, the resources are no longer available. There’s a double edge to free stock photos; they’re free, but they tend to disappear. It is still possible to follow the tutorial using alternative photos. You can download the PSD and find the stock photos there as well.
-
Most of the resources won’t download, any tips or can anyone send me a zip file with then in.
TIA
-
Most of the resources won’t download, any tips
-
gooooooooooooooooooooooooooooooooooooooooooooooooooooooooooooooooooooooooooooooooooooooooooooodddddddddddddddddd
-
Great tutorial, All are path instruction for a model very teachable. Thanks for sharing great experience.
-
Great! all Photoshop tutorials are unique. Thanks for sharing your good effective knowledge.
-
Hi, I think the link for the “Branches 1” is not working. Could you give me the alternative link instead? Thank You
-
Sorry about that – the author has removed his/her image. Try using another branch stock here: https://www.deviantart.com/resources/popular-all-time/?q=branches
-
-
awesome tutorial.. make easy to learn, thanks
-
Thanks for the tutorial.. easy to learn
-
The download link of this tutorial is death! :(
-
Please re uploaded PSD file because when i click on download showing 404 error, this is best work for me i want check how did you do this
-
i can’t download the .PSD file
renew link please,, -
amazing!! great to see the amazing work of great experienced art directors!!
-
Thanks Amazing designs, best of luck in your design career!
-
Amazing tutorial! I’ve learned a lot!!! And I like it better to read tut’s so video is not necessary.
-
This is a pro job.
I’m a fan of photoshop and I see that you give real professional lessons.
I admire your work -
You are a genius Jenny
-
verrynic sof
-
You are a genius Jenny
-
I a beginner in photoshop, I know only make the cut: (
Seeing such advanced tutorials I wonder how people are to learn all that -
tutorial very detailed and well explained.
I congratulate you for your work, good job -
nice tutorial thanks
-
Beautiful!! ^_^
-
Is there any easy way to learn photoshop by videos.. its good but little bit confusing../
-
Great tutorial,thank you ^^
-
I will follow this tutorial to see the results.
I am looking for a long time this kind of lesson


Leave a Reply