
Add adjustment layer with Hue/Saturation – green on this stock is too bright and saturated, we want to have dark, gothic mood here. Go to Layer > New adjustment layer > Hue/Saturation or use marked shortcut. Next, right-click on this layer and choose “Create clipping mask” (Alt+Ctrl+G or Layer > Create Clipping Mask).

Step 46
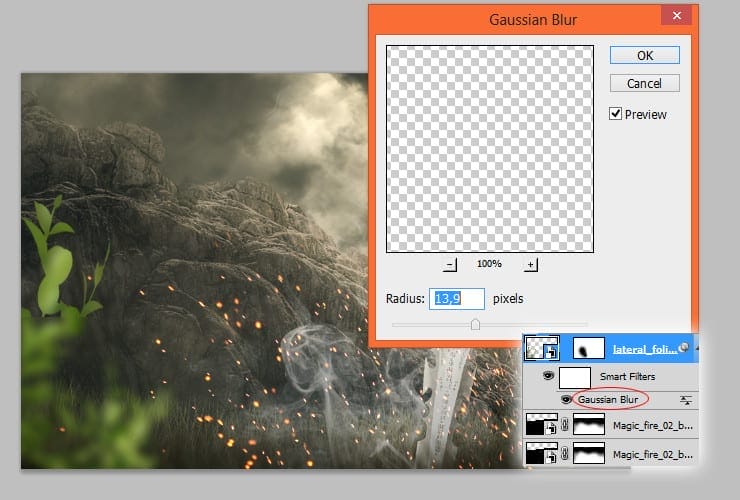
Place again Magic fire stock and set its blending mode to “Screen”. Free transform it as is shown.

Step 47
Add new layer (Layer > New > Layer… , Shift + Ctrl + N or marked shortcut). Choose big, soft round brush and draw glow from the fire. Use #f4aa0a color.

Change blending mode of this layer to Soft light, decrease opacity to 20%.

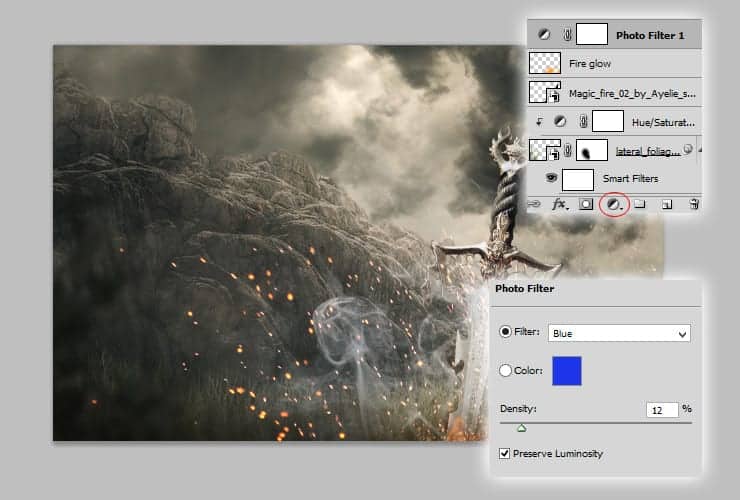
Step 48
Next steps will be optional – You can stop here, or just follow tutorial further to achieve other color effect.
At first, You’ll cool down colors on your picture by Photo Filter. Go to Layer > New adjustment layer > Photo Filter or use shortcut.
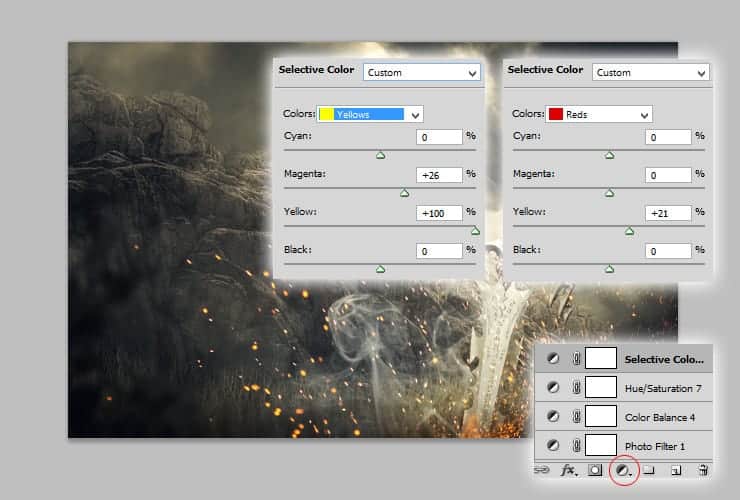
Now, add more blue tones to work. Go to Layer > New adjustment layer > Color Balance or use shortcut.

Decrease saturation. Go to Layer > New adjustment layer > Hue/Saturation or use shortcut.

Fix yellows and reds, by using Selective color adjustment layer. Go to Layer > New adjustment layer > Selective Color or use shortcut.
Now you’ll create on your image purple tones. Add Channel mixer adjustment layer go to Layer > New adjustment layer > Channel mixer or use shortcut.
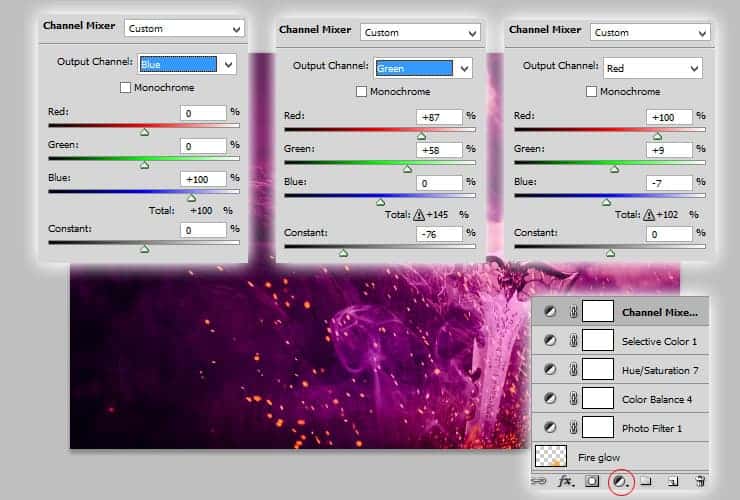
Change blending mode of this layer to Soft light, decrease opacity to 52%.

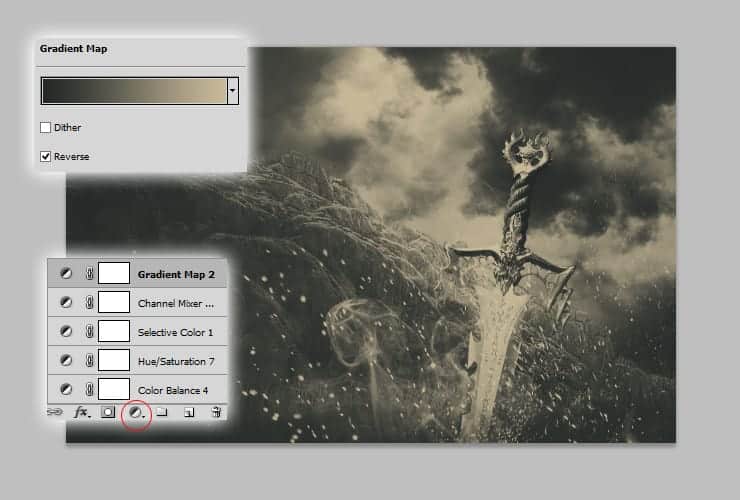
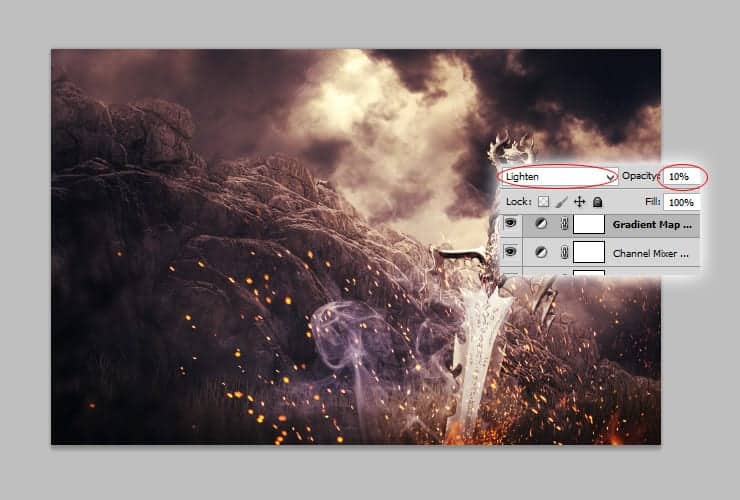
Add ambient lights – In your color picker set colors: #c8b998 and #232827. Then, add new adjustment layer with Gradient Map. Go to Layer > New adjustment layer > Gradient Map or use marked shortcut.
Change blending mode of this layer to Lighten, decrease opacity to 10%.
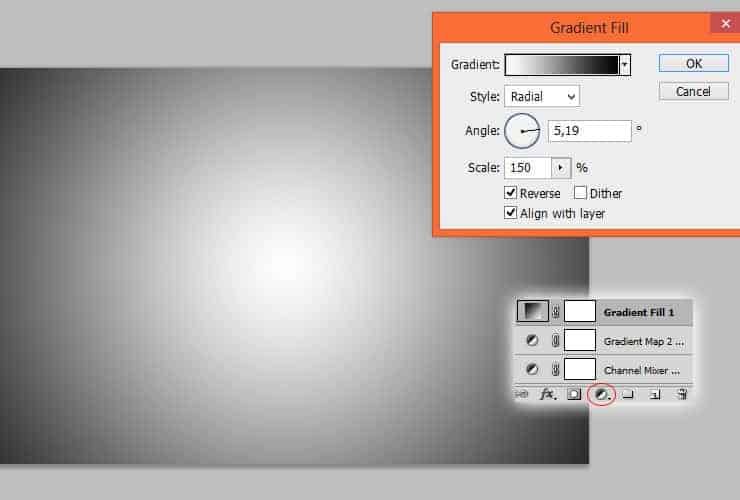
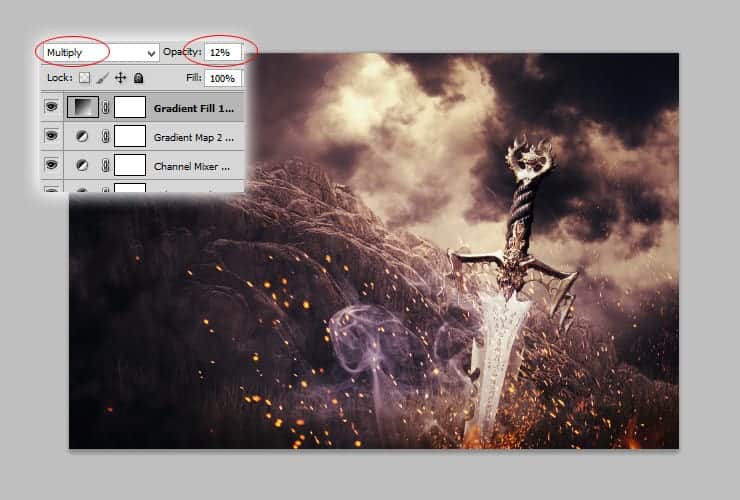
Create vignette filter. Add new adjustment layer with Gradient fill. Go to Layer > New adjustment layer > Gradient fill or use marked shortcut.
Change blending mode to Multiply, opacity to 12%.
Add some curves. Go to Layer > New adjustment layer > Curves or use marked shortcut.
11 responses to “Create This Surreal and Medieval Style of a Battlefield in Photoshop”
-

I can only see step 45 and below. Any help please?
-
battlefield’s missing
-
Can’t see
-
This is an *excellent* tutorial. I’m experienced in Photoshop, but a novice (at best) when it comes to photo manipulation at this level. The steps to this tutorial were baby-easy to follow, and my resulting work was nearly identical to the tutorial’s. Even at individual steps, my canvas matched the photos. Not once did I have to start doing additional work to reach the same point as the tutorial. That’s so rare!
This is really the only in-depth tutorial I’ve followed that doesn’t assume fore-knowledge, shows all the necessary elements, doesn’t skip details, and thoroughly explains steps and processes without over-elaborating. And all that without asking me to pay for stock! Fantastic!
Thank you for such a detailed and well-built tutorial, I’m on my way to see what else you’ve got.
-
Supab
-
Thank you so much! Just a great lesson!
-
Step 50 – rubbish!!
-
Step 48 – Channel mixer – Green – green – -58) Thanks for tutorial, awesome =)
-
nice
-
The link to the Battleground Skies doesn’t work – states it’s invalid.
-
Great!
Leave a Reply