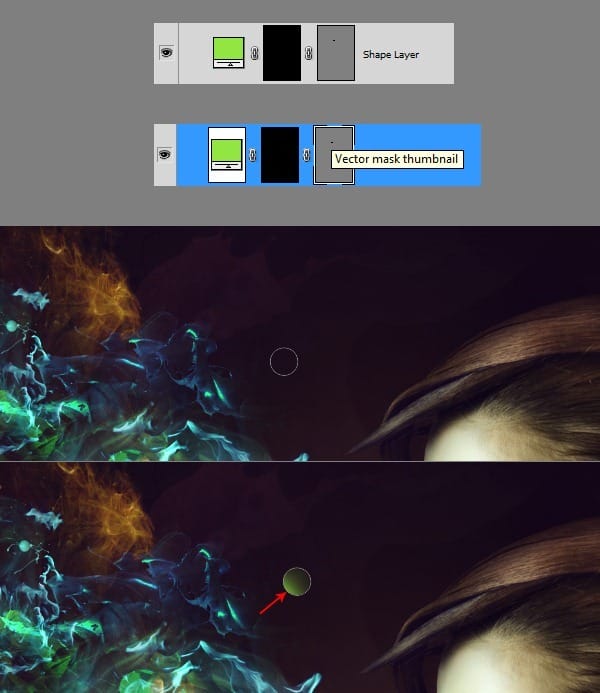
Then, when you find it, just paint as indicated below to reveal a little bit of the green color.
Step 63
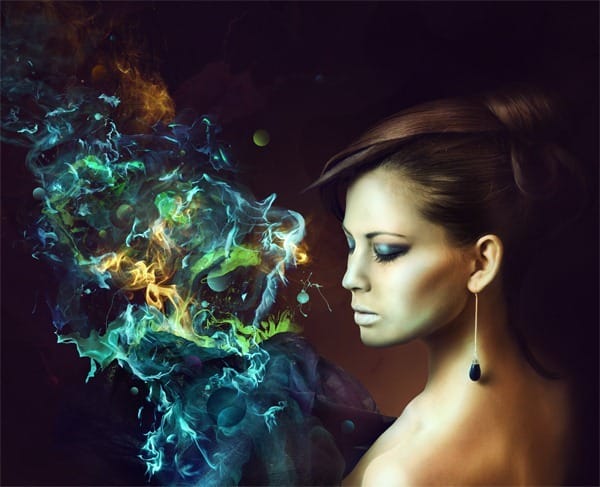
Repeat the previous step as many times as you want and use different colors for the circles. I won’t give you colors to paint those circles, as it won’t make sense. You’re able to change them whenever you want, since they are shape layers. So you just need to experiment here which color works the best in your case. On different backgrounds, different colors will work better. So don’t use bright colors only, vary them!
Step 64
Next go above all layers and create new layer. Use Paint Bucket and fill it with black color. Hit D on keyboard to set colors to default. Then go to Filter > Noise > Add Noise and depending on the size of your document use proper amount of noise. Then change the layer’s Blending Mode to Screen.

Step 65
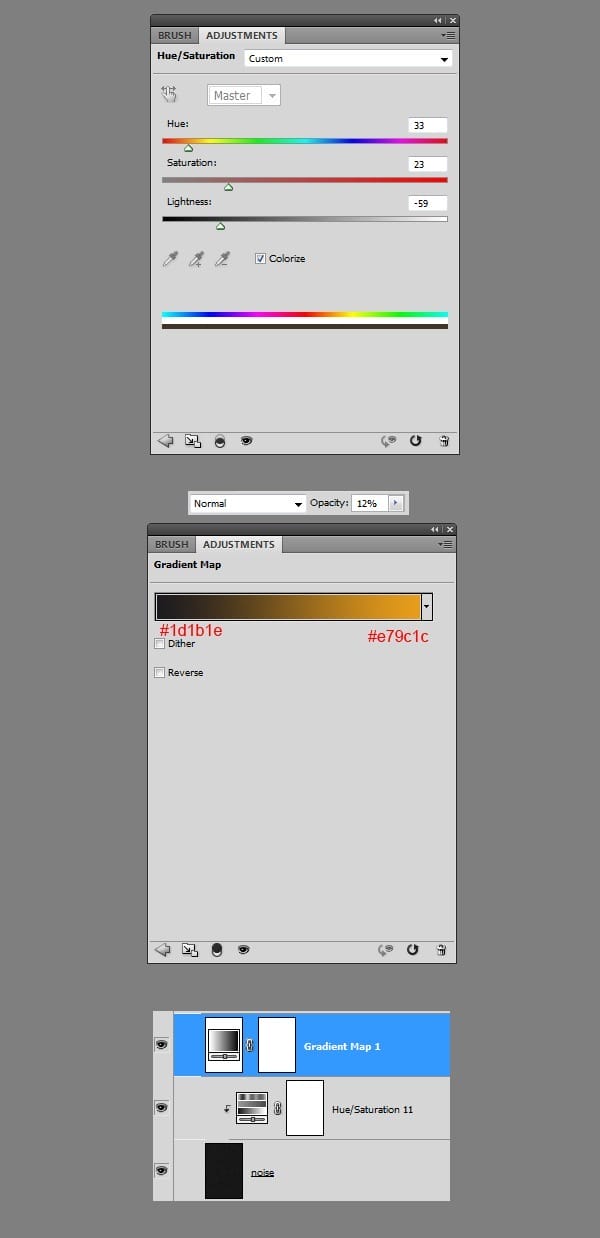
Finally, while you’re still in Layers Palette above the noise layer, add a new adjustment layer – Hue/Saturation (Hit Ctrl+Alt+G for Clipping Mask) and use my settings from below.
Then add another adjustment layer – Gradient Map, and use settings shown below (this time no Clipping Mask, as it’s an overall adjustment)
Step 66
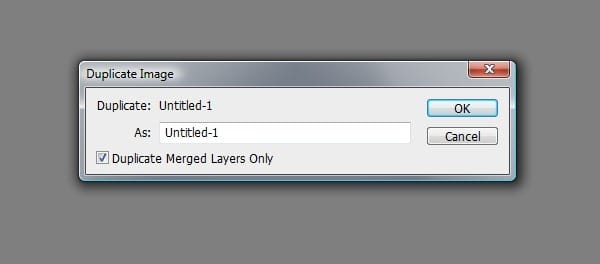
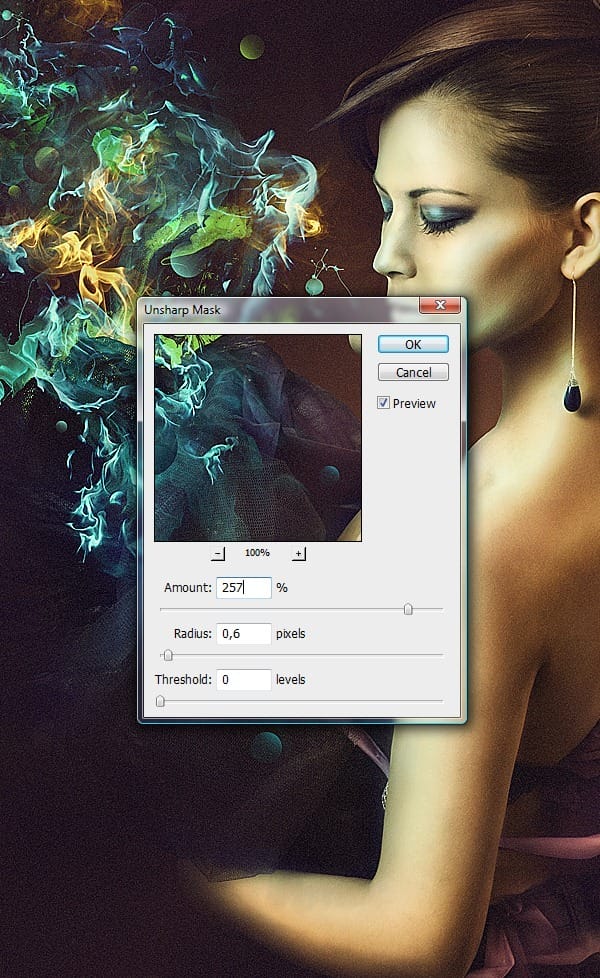
As for the final touch, right-click on the document name, pick Duplicate Image. Then name it as you want, and check Duplicate Merged Layers Only. This will copy the whole document to the new canvas. Then it would be best for you just to downsize the new document and go to Filter > Sharpen > Unsharp Mask.
Final Results
![clip_image002[1] clip_image002[1]](https://cdn.photoshoptutorials.ws/images/stories/7974b2b26ba6_11122/clip_image0021.jpg?strip=all&lossy=1&webp=82&avif=82&w=1920&ssl=1)
Download the PSD
Light Effects.zip | 22.16 MB
Download from Website
About the Author
12 responses to “Create this Amazing Fashion Photo Manipulation with Abstract Smoke and Light Effects”
-
Can’t download the “PSD Light Effects.zip | 22.16 MB (Download from Website)” as it just says “404 Page not found”
:(
-
why is no complete?
-
Bonjour W.P.
C’est vraiment très joli et je vous félicite !
J’essaye de traduire et je le fais, encore merci et si je me trompe, je peux regarder votre .psd, c’est gentil à vous ! -
A very smart approach to explain the things,like your step by step tutorial.
-
Step 7
Select the “model” layer and hit Ctrl+Alt+R (Refine Edge).
Output will create another layer with the settings below applied, so you can just basically delete or just turn off the previous layer. It’s up to you.
Step 9
Grab Brush Tool (B), set it all the way to 100%, but decrease the Spacing to 1% and check the Smoothing option. Again use black color for painting and go to Layer Mask of the “model” layer. Model layer???????????????????????????
In Step 7 you say delete previous layer (layer “model”) because we have another layer (“model copy”).
Step 10
You should achieve similar results to mine if you painted accurately. Now pay attention to the red line surrounding the model. It’s indicating how we’re going to shade her to make her body and clothes blend with the background better. So go to Layers Palette, create new layer above “model” and hit Ctrl+Alt+G, this will create a Clipping Mask (and it should look like you see in the preview below). Above “model” layer? Again???????????
Dude, WTF?????????
-
Great tutorial, i agree with everything that Rickard wrote.
Keep up the good work :) -
This really is a awesome tutorial, im gonna follow it step by step this afternoon. Looking forward to see similair results
-
Wojciech Pijecki (your name, yes?)
Thank you so much, a truly great work, and in my opinion just enough info to be able to do it yourself if you wanted to. I especially liked the chiffon-“trick” and the attention to detail in the little “planets” at the end.
Now for agnes b and photogabe above:
I really can’t believe how inpolite you are being. From what I can see he only skips the most basic stuff. If you look at the first image (end result) you should be able to see that this tutorial will require some beforehand knowledge. To be fair, you are both somewhat constructive in your critisism, but there is really no excuse for that tone of voice.
-
stupid tutorial didnt show us how to do the smoke.
-
yes… it did… there is a next page button which i think you didn’t see lol
-
-
uaua auauauauauusdhat ushdhauusgdhahdgiasdga gidai dgaid is like that the instruction.. your mind and our mind are different, you should be more thourough and use more commond words than intelectual ones, basic stuff in public communication are crutial.. like kindergarden languages… is better to detailed that too confusing..
-
totally awesome


Leave a Reply