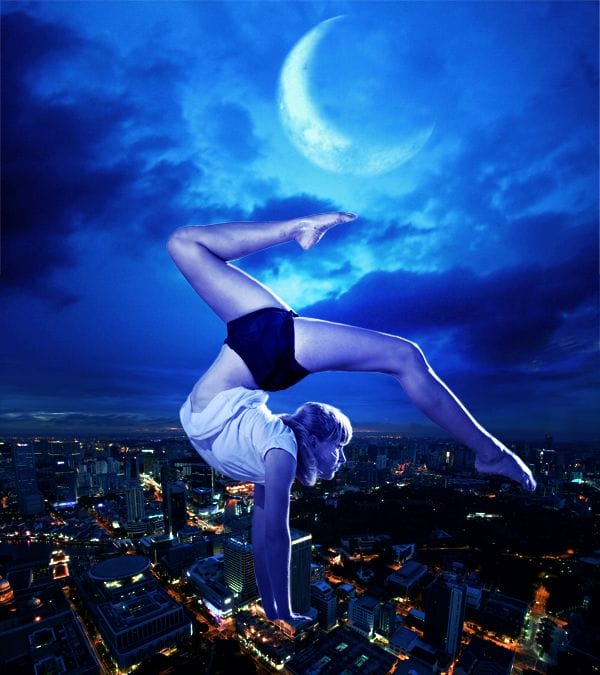
Step 16
To Blend better the Lady we have to add some light behind her. Create a layer under the Lady layer and set it to Soft Light with Opacity 80%. Pick a soft round brush (Opacity > 30%; Size > 900px) and paint some light around her.
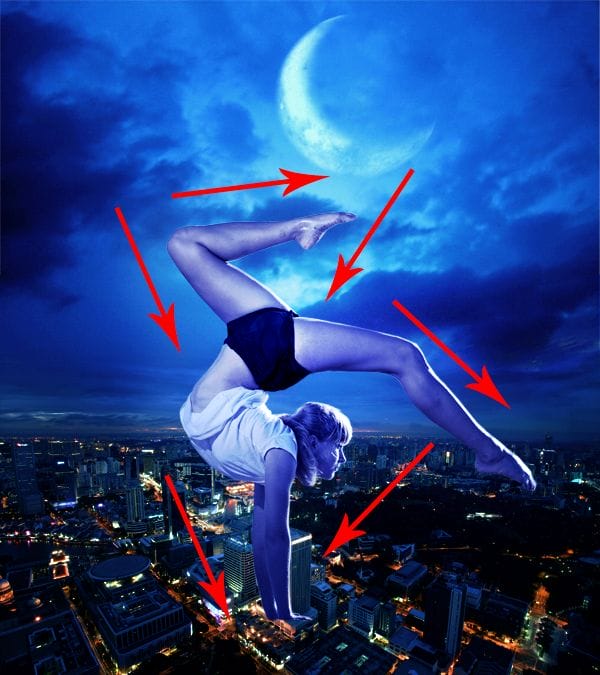
Step 17
Let’s work now on the mood. Add a Selective Color Adjustment Layer above everything with these settings:
- Blues: Cyan 0; Magenta: +6; Yellow: +54; Black +3.
This is the result.
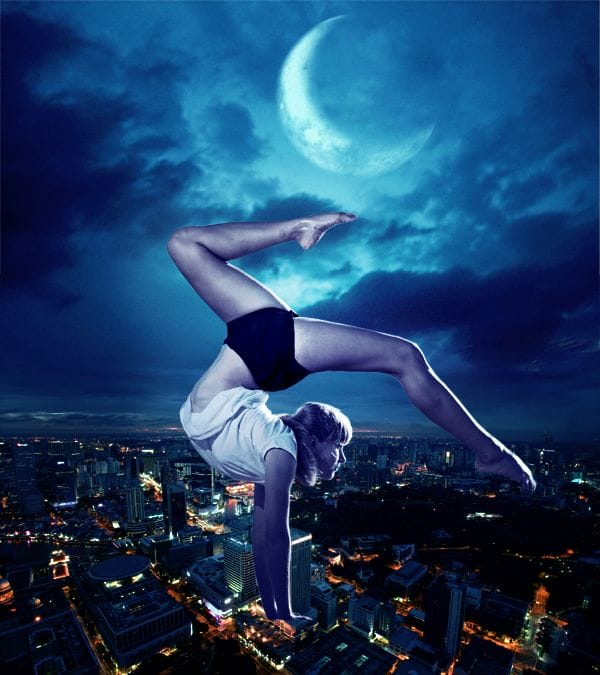
Step 18
Open the ‘Rope’ Stock. Create a layer below the one you made for the light behind the Lady and put there the rope. Resize and rotate it (CTRL+T) until it fits the prospective.
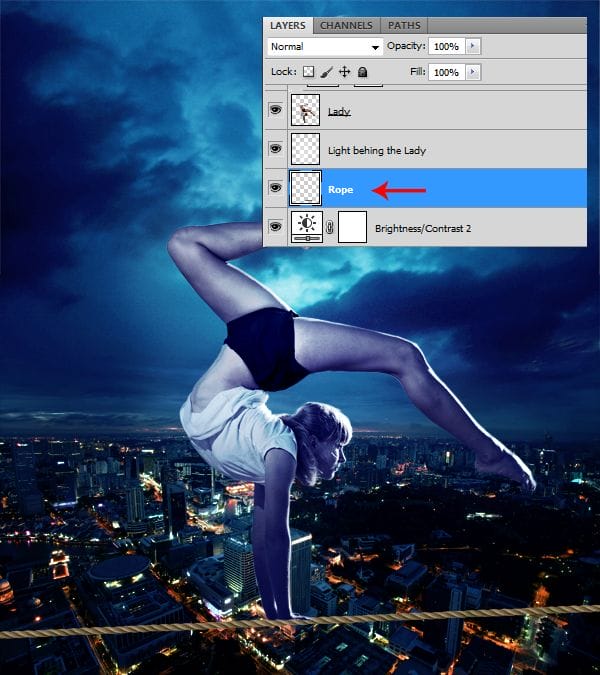
Step 19
Add a Hue/Saturation Layer Adjustment ONLY for the Rope.
- Master: Hue 180; Lightness -21.
Step 20
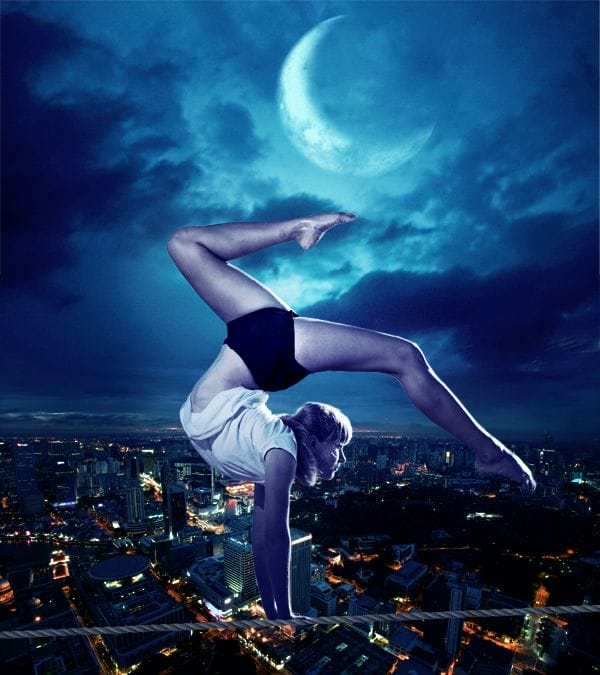
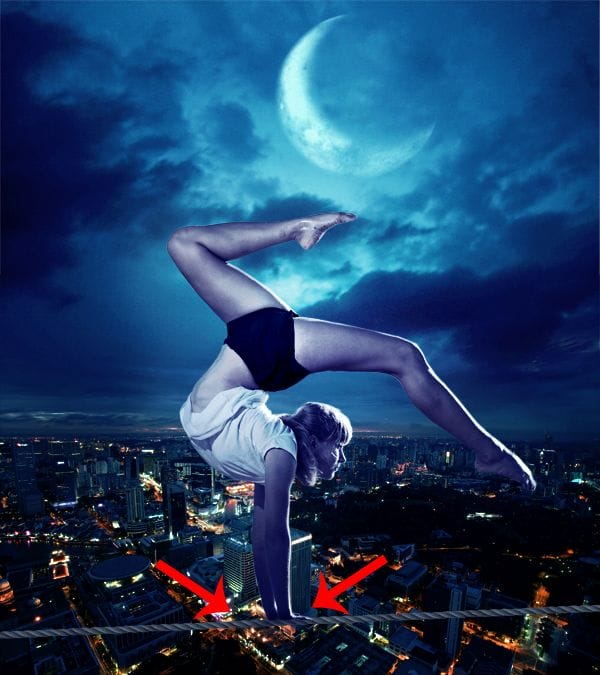
Create a new layer above evrything. We’re going to add some shadow where the lady stands. Pick the color #04083b wirh a soft brush (30% Opacity) and paint some shadow on the rope and the girl’s hands, then set the layer to Overlay.
Step 21
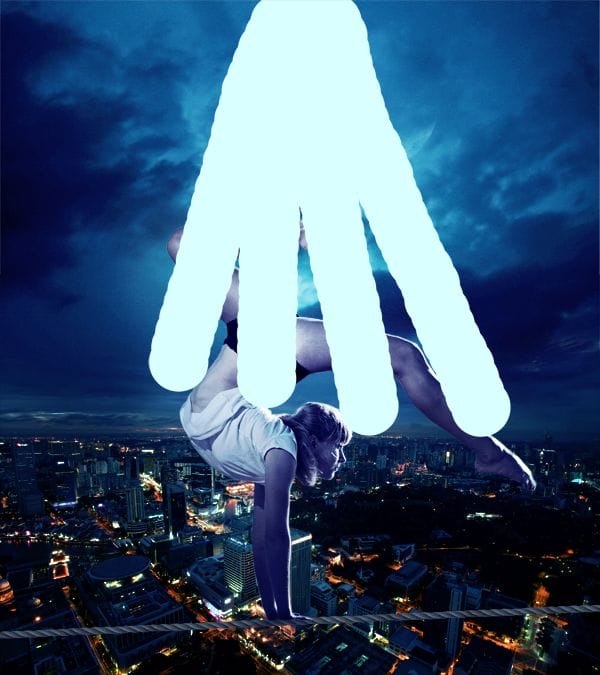
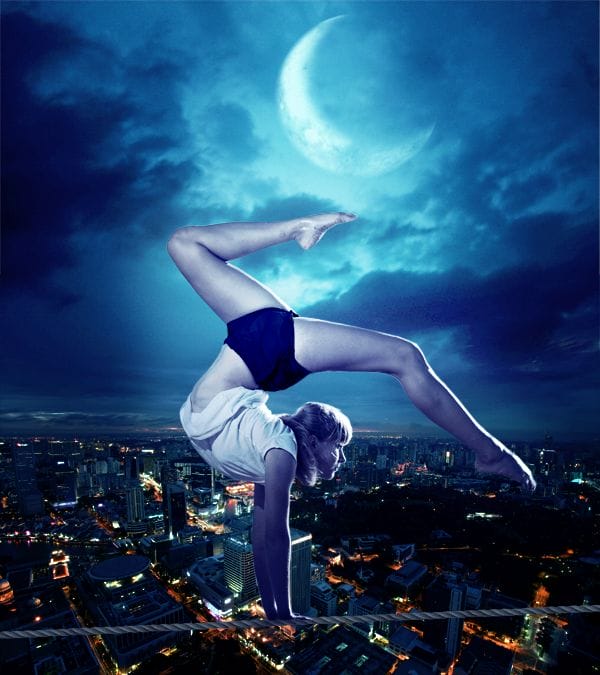
Let’s go with some other lights! Pick the color #daffff. Chose a round hard brush and paint something like the image below.
Go to Filter > Blur > Gaussian Blur and set 250 px.
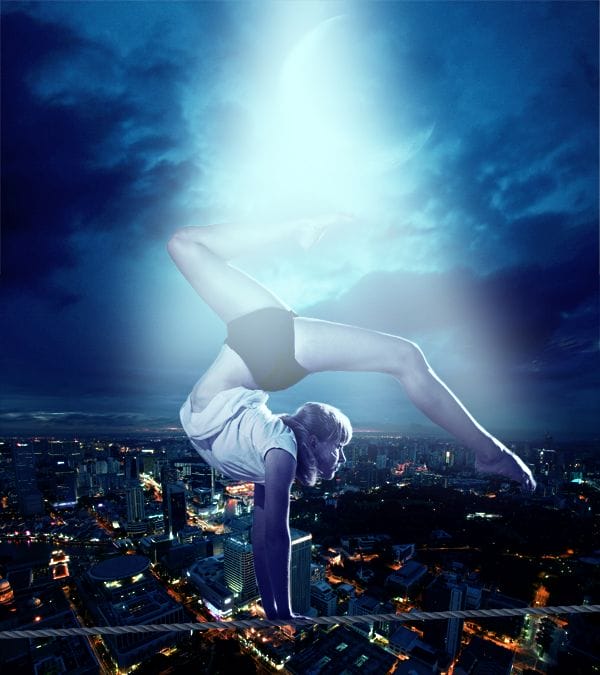
Set the layer to Soft Light and we’ll have this result.
Step 22
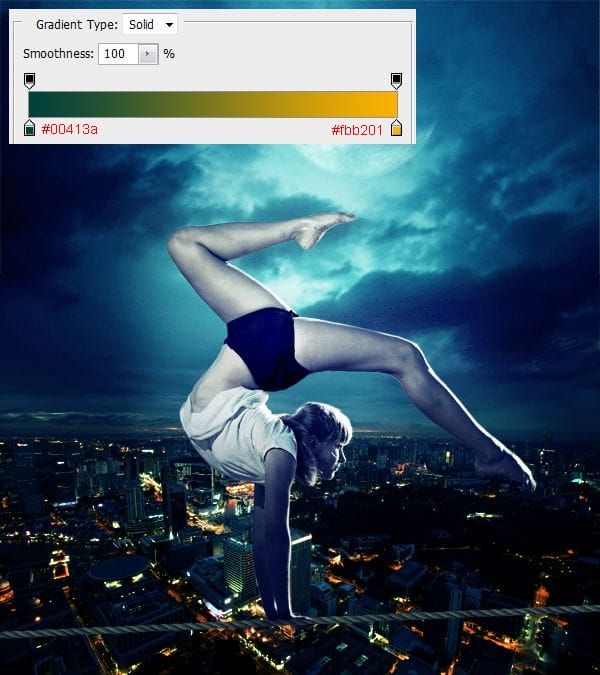
Add a Gradient Map Adjustment layer (Colors are shown below). Set the Layer to Soft Light with Opacity and Fill at 80%.
Step 23
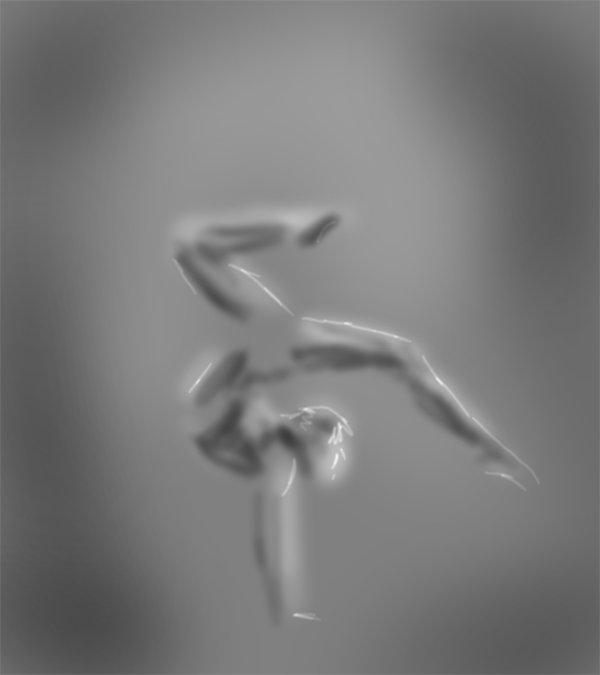
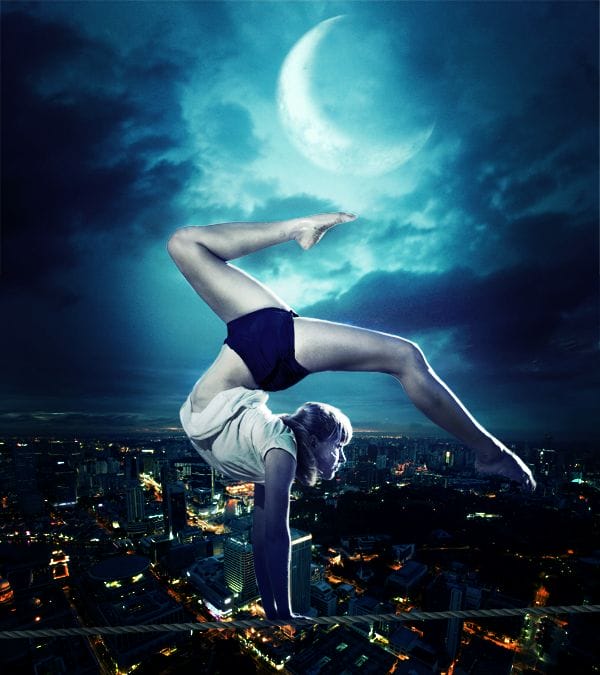
Time to enhance our work. Create a new layer. Go to Edit > Fill > 50% Gray. Set the layer to Overlay. Use the Burn Tool to paint the shadows (Range: Midtones; Strength: 20), the Dodge Tool for lights (Range: Midtones; Strength 20) and highlights (Range: Highlights; Strength 15). Below you can see my dodge & burn.
And this is the result.
Step 24
Add a Brightness / Contrast Adjustments.
- Brightness 5
- Contrast 20
![final-results[1] final-results[1]](https://cdn.photoshoptutorials.ws/images/stories/54dc9418df76_96BF/final-results1.png?strip=all&lossy=1&webp=82&avif=82&w=1920&ssl=1)
Final Results
![final-results[2] final-results[2]](https://cdn.photoshoptutorials.ws/images/stories/54dc9418df76_96BF/final-results2.png?strip=all&lossy=1&webp=82&avif=82&w=1920&ssl=1)
Download the PSD
Equilibrium.zip | 106.38 MB
Download from Website
Tutorial by Fabrizio Panattoni
10 responses to “Create this Breathtaking Photo Manipulation of a Tightrope Dancer in Photoshop”
-
Nice technique. Really useful……….Thanks for sharing
-
Wow, these are really creative! They remind me of those Chip Fosse drawings from Overhauling’. Great work
-
amazing picture
-
Beautiful!! I like it
-
awesome tutorial, thanku so much
i have tried to make this one
http://souravlovesnature.deviantart.com/art/Dancer-In-The-Dark-356856418 -
Simple, and easy… And not a whole list of stocks to download
-
Hi, Nice work i love it,
-
i personally did this and it turned out looking absolutely amazing!!!!!!!
-
Beautiful tutorial! I think it would be helpful if you showed where the tools/layers can be found like the other tutorials.
-
It would be better if the explanation is done with video


 Thank you for reading my tutorial. I hope it helped you to create your own art. If you want to see more artworks made by me, check my art page
Leave a Reply