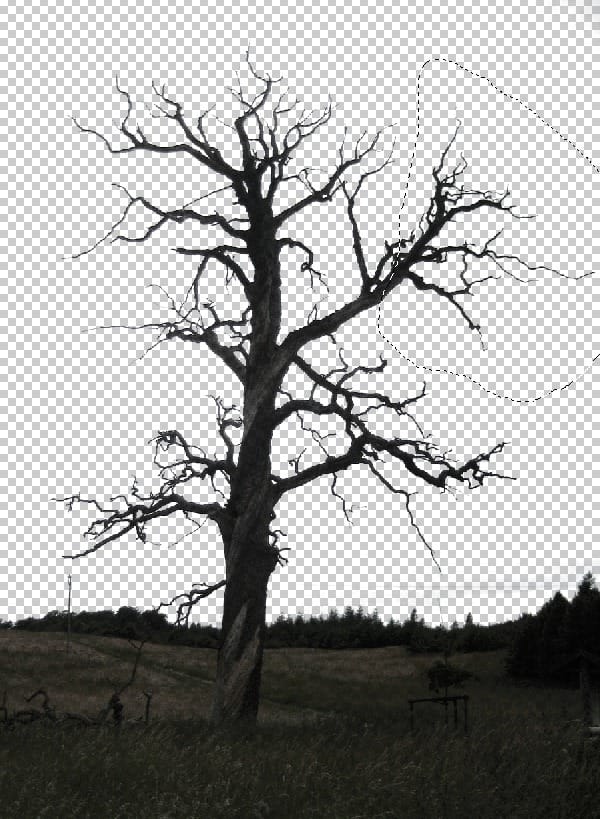
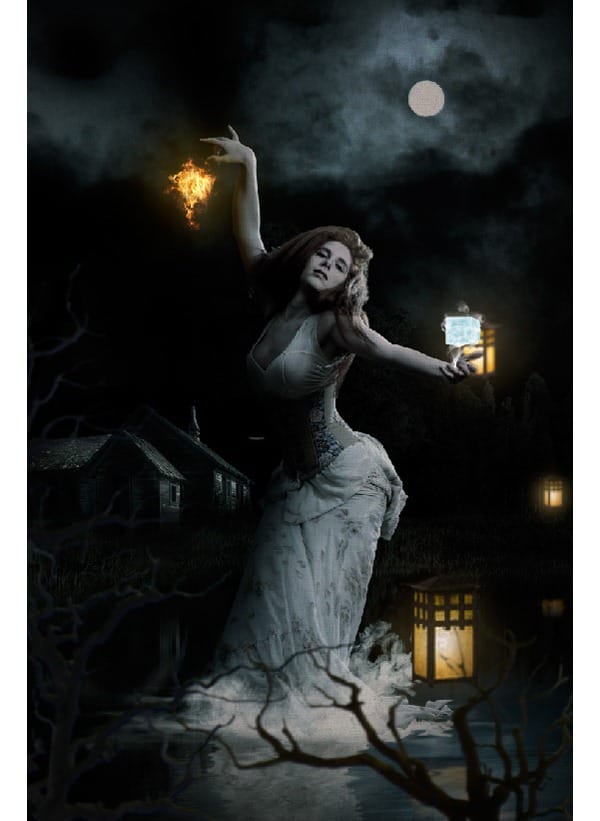
- Using the Lasso Tool (L) mask out a part of the dead tree into a new layer. Then import it on to the working layer and place it on the left side bottom corner as shown.
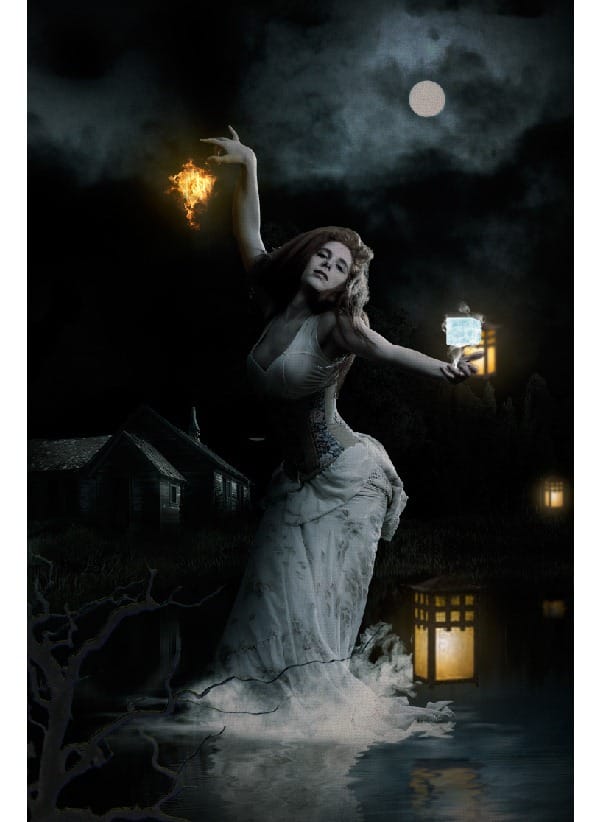
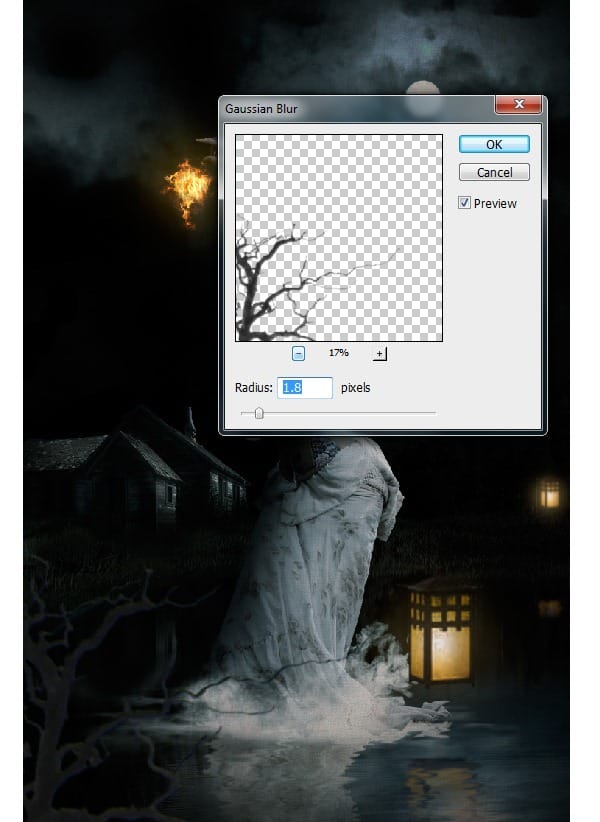
2) Then add a Gaussian Blur of Radius=1.8px to maintain the Depth Of Field (DOF) in the scene.
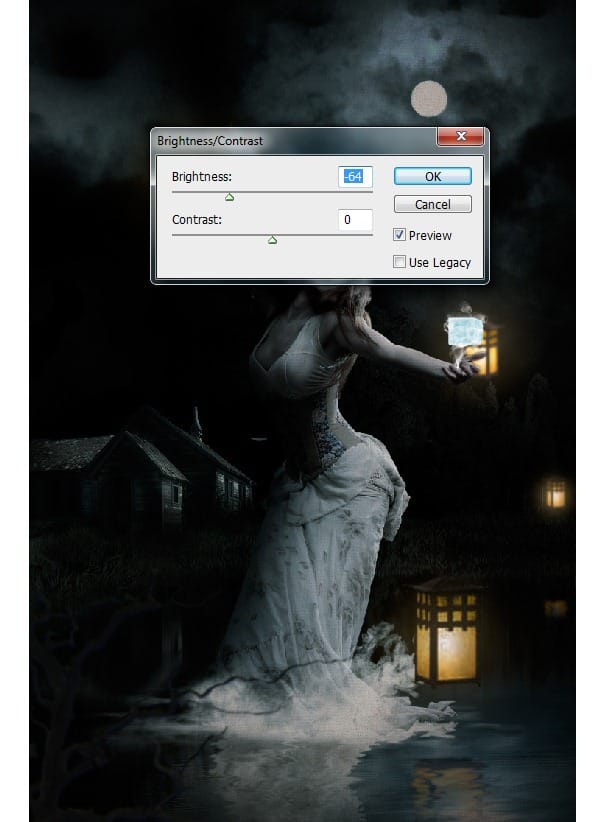
3) Reduce the Brightness of the Dead Branches to blend with the environment in the scene. With the Dead Branches layer selected go to Image>Adjustments>Brightness/Contrast and reduce the Brightness to -64.
4) Similarly add few more branches in the scene as shown.
Step 25
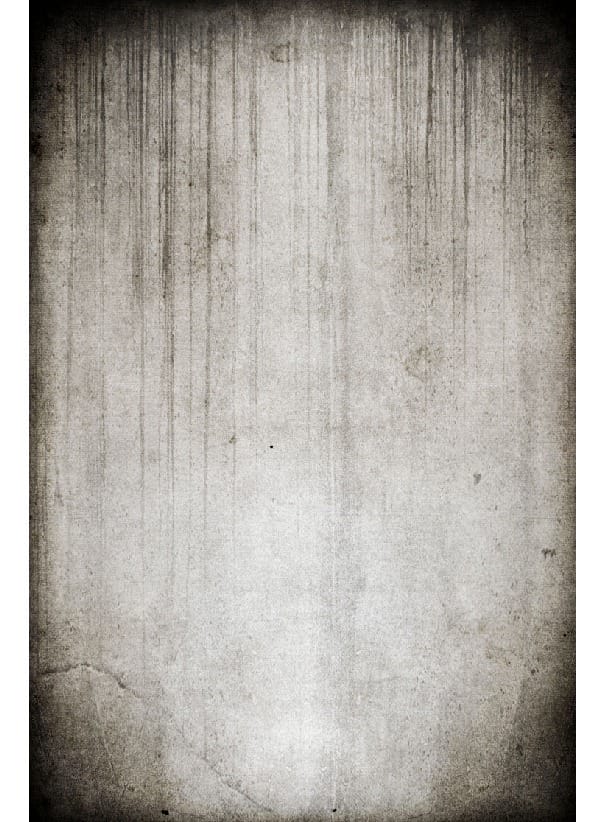
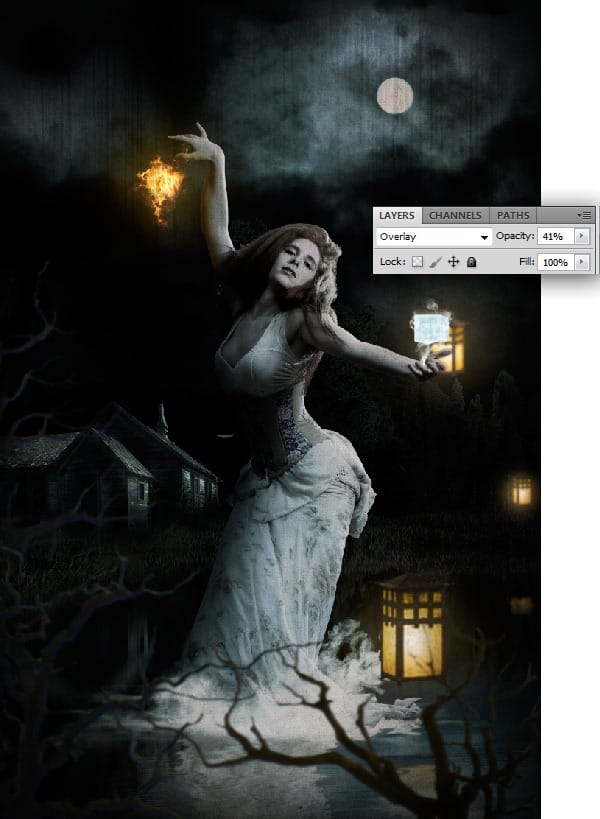
To make the scene look more dramatic we need to add a grunge texture to the scene.
-Import the image of the Grunge Texture on to the working canvas and set the Blending Mode of the layer to Overlay and reduce the Opacity to 41%.
Step 26
In this step we will be creating title plate for the scene.
- Import the canvas texture and cut it in circular shape using the Round Mask (M) and make one half of the texture Black and White as shown.
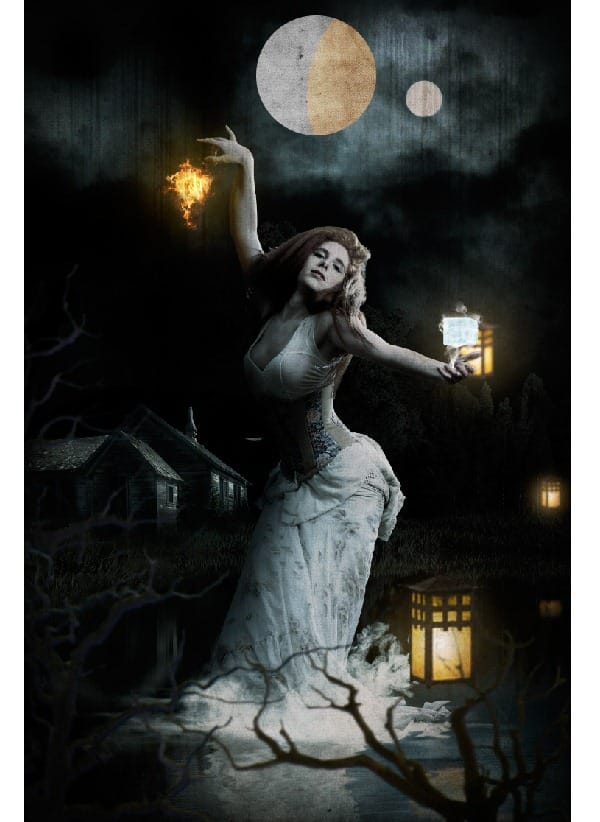
2) Now by using the ‘Times New Roman’ font type in the title Heaven and Hell as shown.
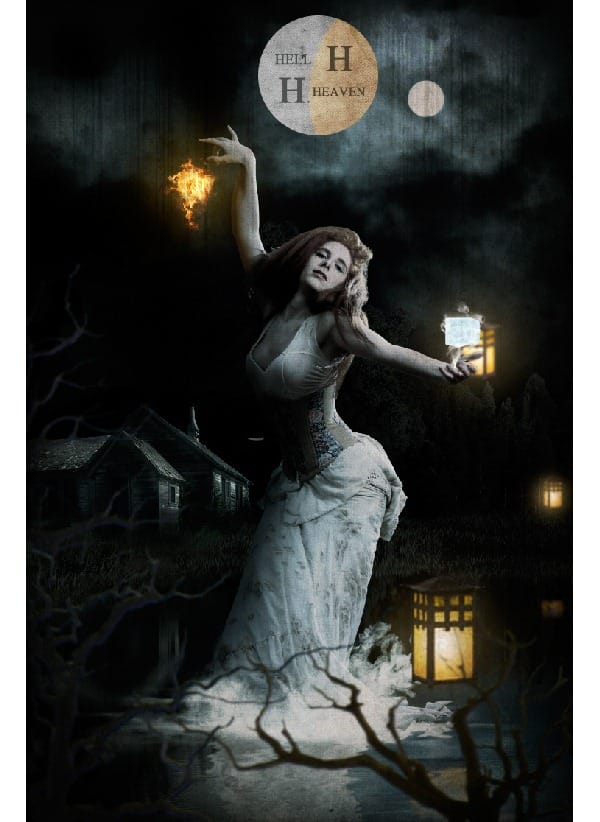
3) Using the soft round brush paint the shadow on the texture as shown.
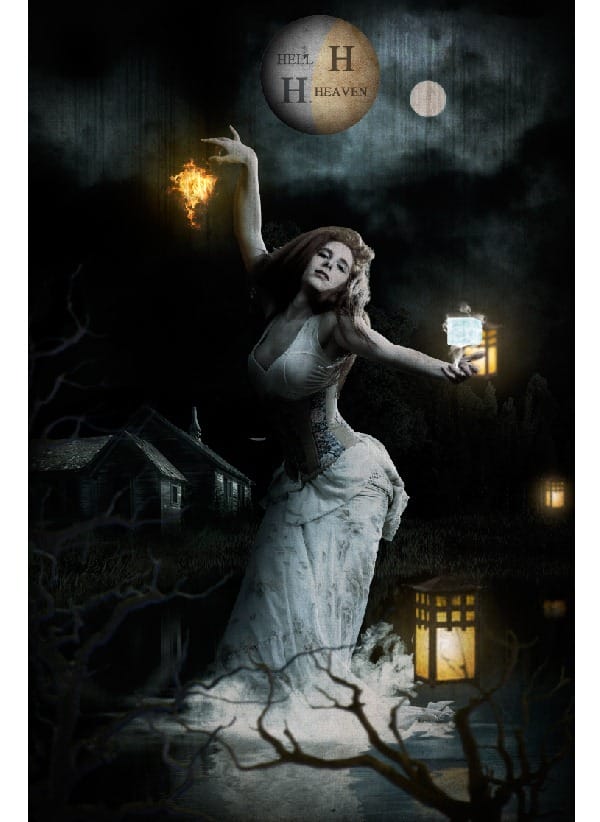
Step 27
In this step we will be creating a frame around the round texture.
- Cut the bottom right corner of the Frame as shown using the Lasso Tool.
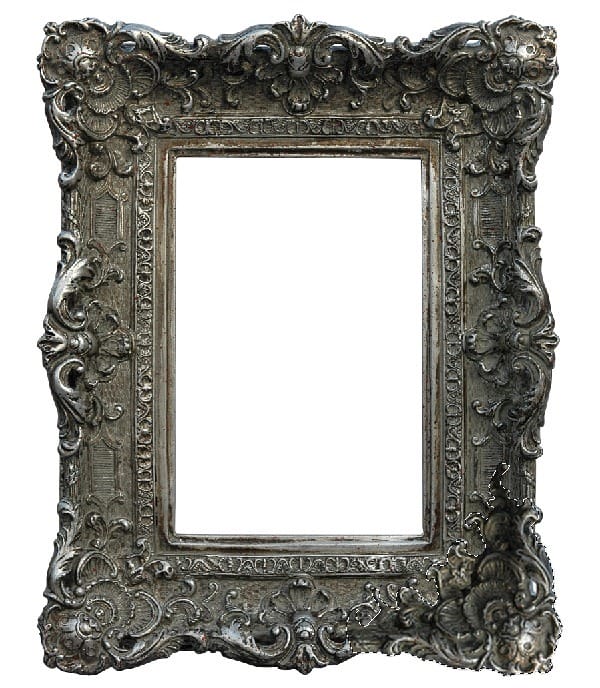
2) Then import the frame design on to the canvas and place it on the texture as shown.
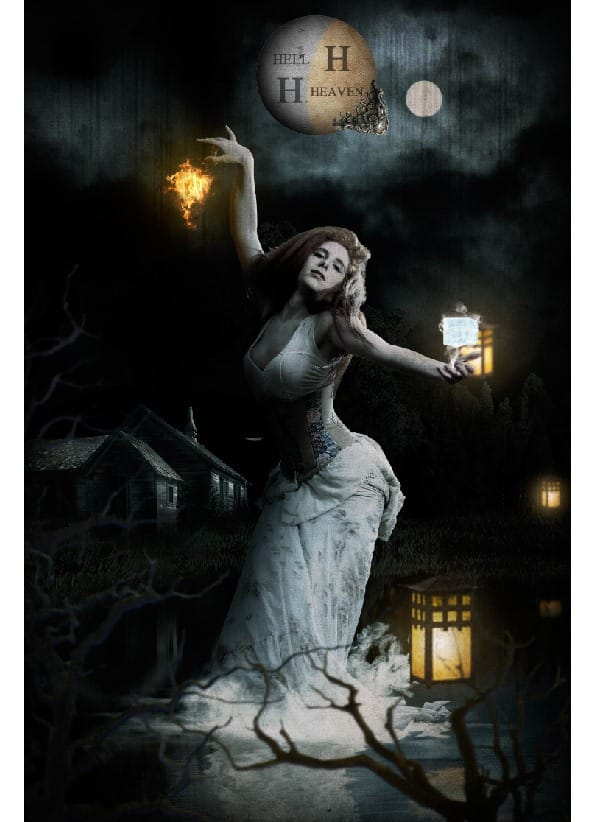
3) Similarly place the design on all 4 corners.
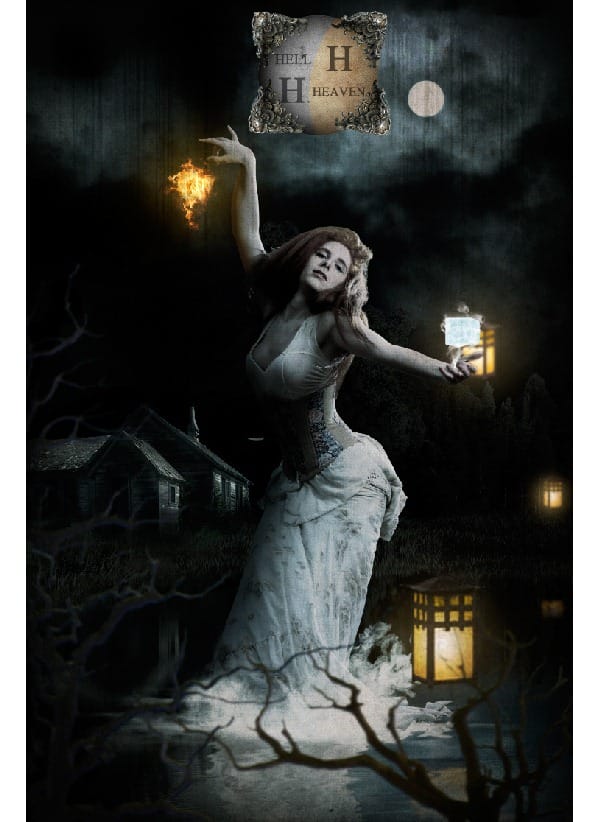
4) Now cut the top middle design as shown.
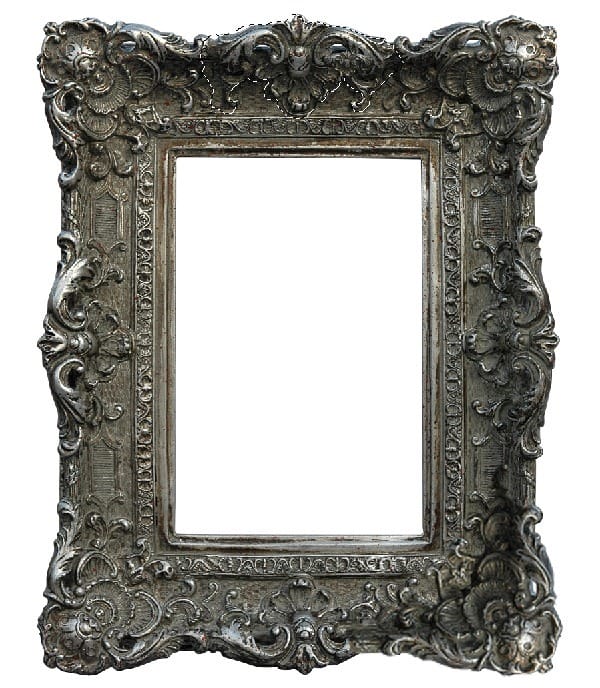
5) Import the second frame design and place it in between the previously placed designs as shown.
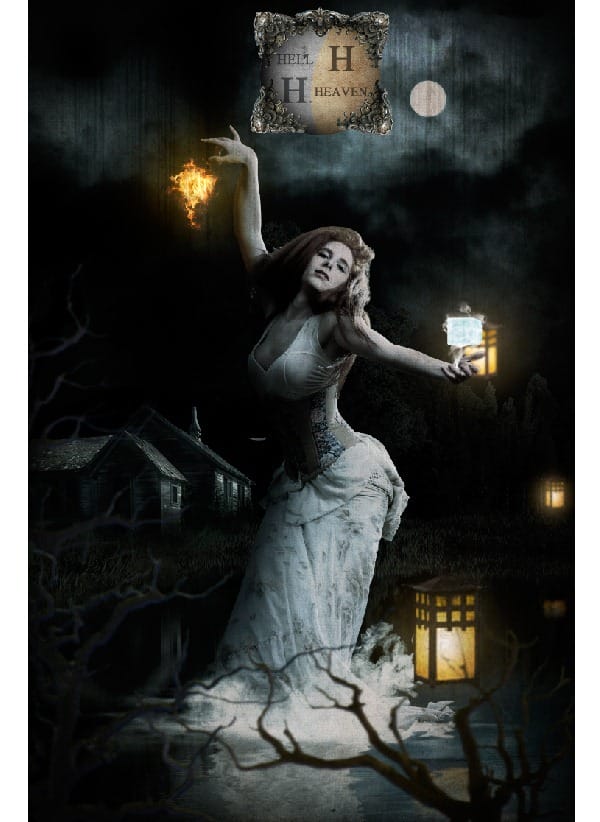
6) Similarly complete the whole frame.
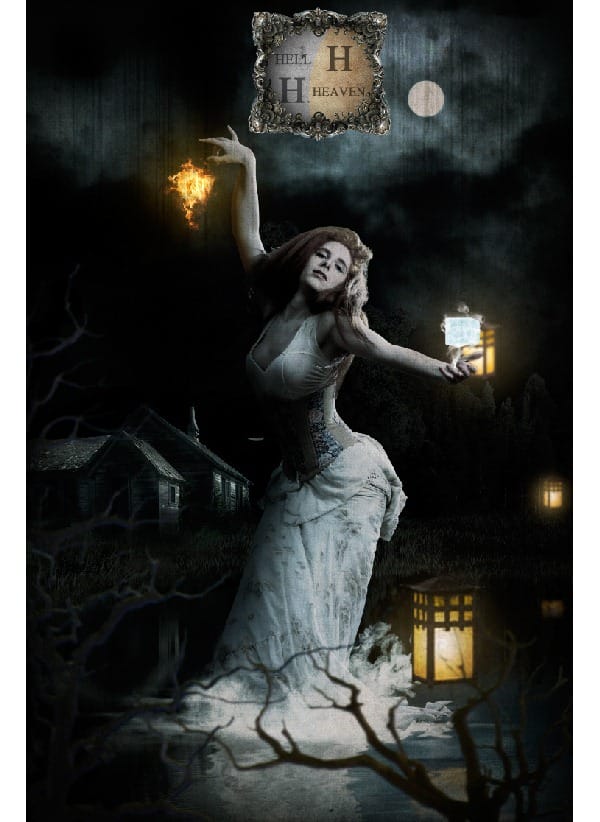
Step 28
1) Now merge all the frame layers and go to Image>Adjustments>Exposure and reduce the Exposure=-0.46 and Gamma Correction=1.00.
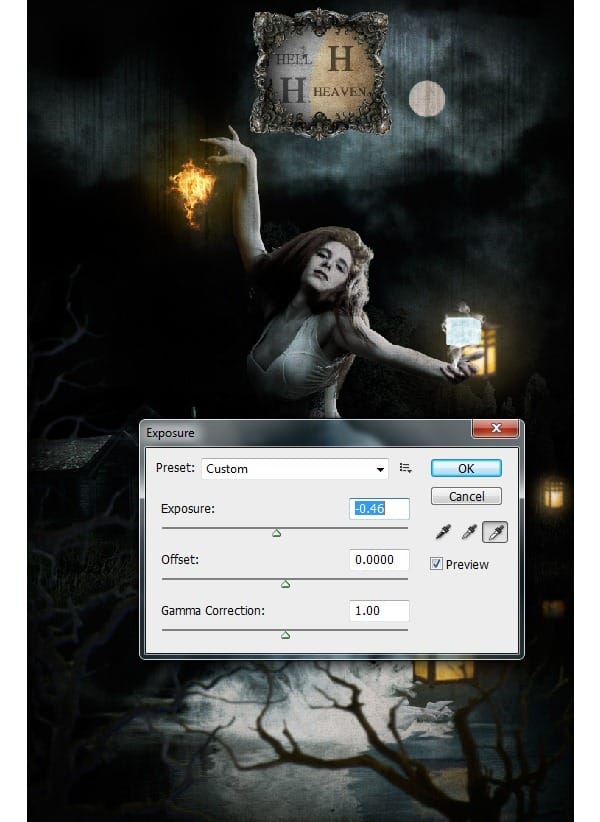
2) Then add dark shadow on the left side of the frame as shown to create a natural depth to it.
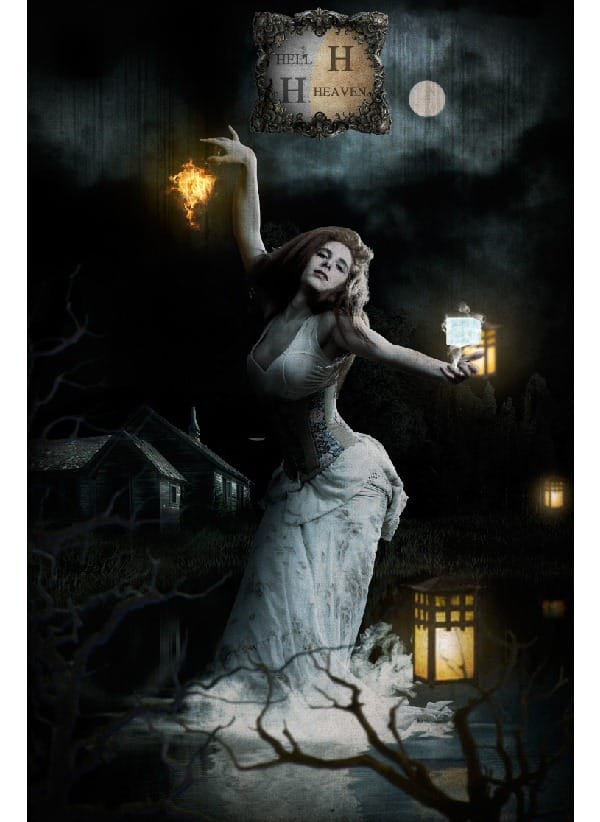
Step 29
In this step we are going to add shadow to the inner part of the frame and also to the outer part.
- Duplicate the image of the frame and make it completely dark using the Levels.
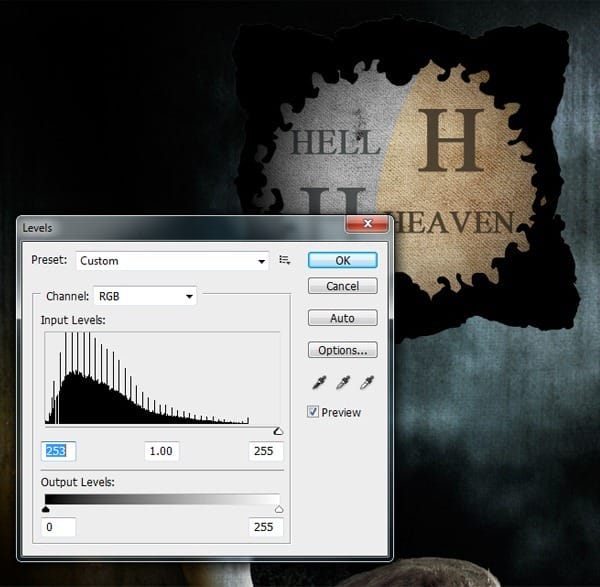
2) Then place the shadow layer under the frame layer and move it slightly towards left.
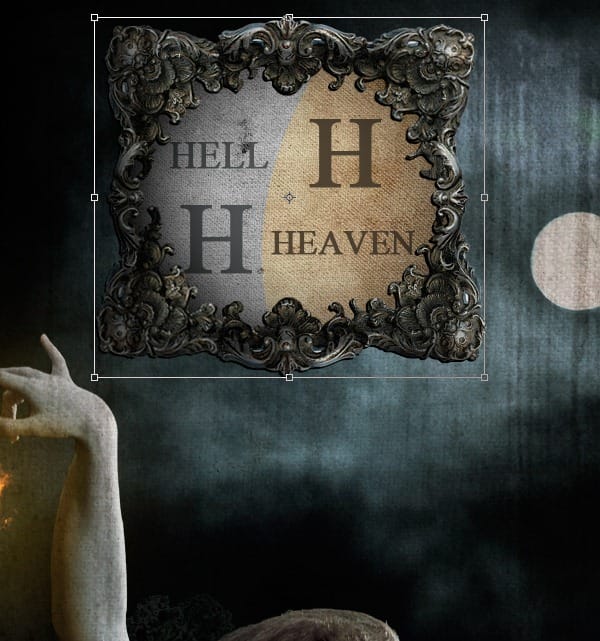
3) Then add a Gaussian Blur of Radius=1.8px to the shadow layer.
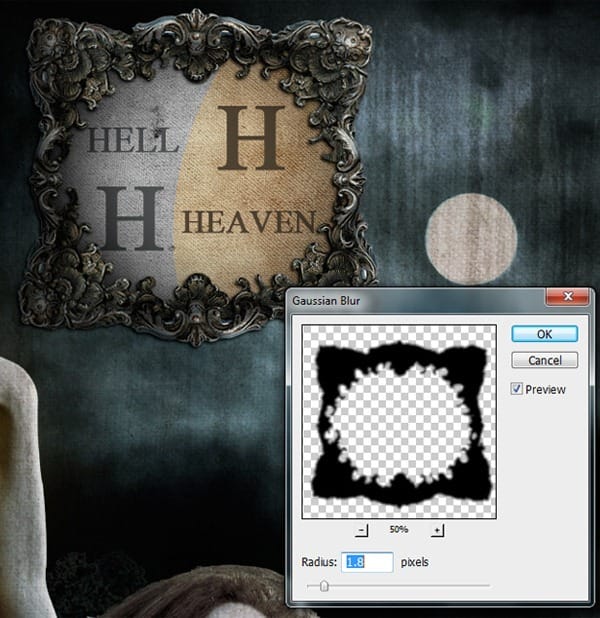
4) Similarly create a shadow under the frame as shown to show that the whole title frame is resting on the scene we created, like a badge on a portrait.

Final Results
![final-results[1] final-results[1]](https://cdn.photoshoptutorials.ws/images/stories/750c5284990e_13147/final-results1.jpg?strip=all&lossy=1&webp=82&avif=82&w=1920&ssl=1)
Tutorial by Santhosh Koneru
2 responses to “Create this “Heaven & Hell” Photo Manipulation”
-
amazing!! great to see the amazing work of great experienced art directors!!
-
Great! excellent Job Men


 Thank you for following this tutorial! I’m a freelance graphics designer and the founder of
Leave a Reply