Step 39
Once done, activate the Move tool (V) and drag it to our canvas. Rename this layer now to “gauge 2” and make sure that this layer is above the “gauge 1” group.
Position “gauge 2” as shown below:

Activate the Transform tool (Ctrl/Cmd + T) and resize “gauge 2” as shown below:

Step 40
Now, let’s create the gauge’s shadow. To start, create a new layer (Ctrl/Cmd + Shift + N) and rename it to “shadow of gauge 2”. Once created, make sure to put this layer below the “gauge 2” layer.
Activate the Brush tool (B) and input the following:
- Brush size: 250px
- Hardness: 0%
- Opacity: 25%
- Flow: 100%
- #: 000000
Now, let’s paint:

The result:

Step 41
Next, let’s darken “gauge 2”. To start, create a new layer (Ctrl/Cmd + Shift + N) and name it “darken gauge 2”. Once done, create a clipping mask on this layer but make sure that “darken gauge 2” is on top of the “gauge 2” layer.
Now, activate the Brush tool (B) and input the following:
- Brush size: 250px
- Hardness: 0%
- Opacity: 15%
- Flow: 100%
- #: 000000
Let’s start painting then!

The result:

Now, that that is done group these layers and name them “gauge 2”.
Step 42: Add the textures
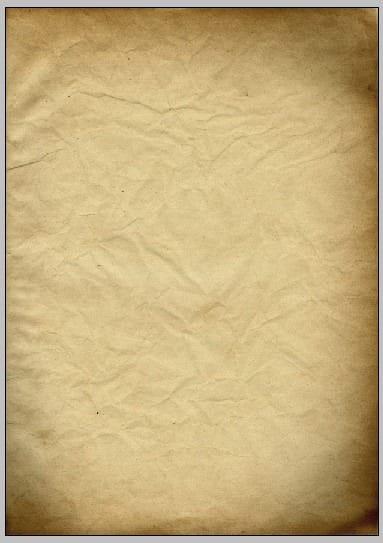
Now, let’s add the textures! To start, let’s open the stock image: “Paper texture 1” by wojtar stock. Once open, activate the Move tool (V) and drag this image to our canvas.
Position the paper texture 1 as shown below:

Now, activate the Transform tool (Ctrl/Cmd + T) and resize it as shown below:

The result:

Step 43
Next, change the Blending mode and Layer Opacity to the following:
- Blending Mode: Soft Light
- Opacity: 30%

The result:

Step 44
Next, let’s add the second texture – open “Texture 119” by Sirius sdz. Once open, activate the Move tool (V) and drag this to our canvas. Position it as shown below:

Now, activate the Transform tool (Ctrl/Cmd + T) and resize it as shown below:

The result:

Step 45
Next, change the Blending mode and Opacity to the following:
- Blending mode: Soft Light
- Opacity: 70%
The result:

Step 46: Enhance the Color
In this step, we will enhance the overall appearance of our image. To start, let’s create a Solid Color adjustment layer. From the Layer window, click on the “Create New Fill/Adjustment layer button”.

Once the contextual menu opens, click on Solid Color:

Now, clicking on the Solid Color option will open the Color Picker box. Now, input the following on the #: space.
2 responses to “Create This Surreal Representation of the Mind Artwork in Photoshop”
-
Where are the remaining steps?
-
These were pretty awesome. A few made me laugh. Thanks for sharing.


Leave a Reply