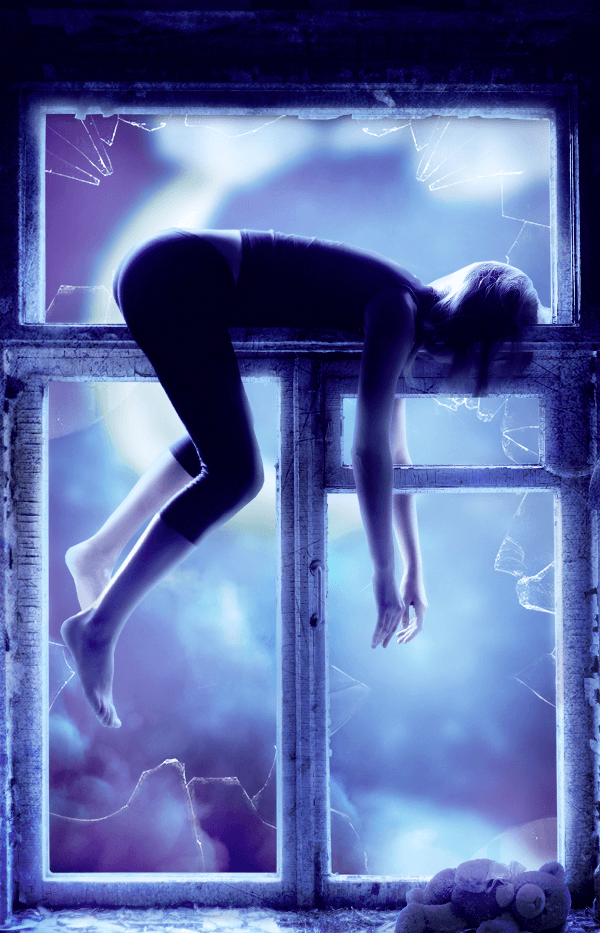
Step 57
I duplicated the Broken Glass layer and set it to Soft Light with Opacity and Fill at 80%.

Step 58
Now we are going to fix general lights and shadows. Create a new layer above all layers and set it to Overlay.
Go to Edit > Fill > 50% Gray. Name the layer ‘D&B’. Use the Burn Tool to add shadows and the Dodge Tool to add lights. My settings are: Range: Midtones; Exposure 10%. For the highlights I changed the Rage to Highlight. Below you can see my Dodge & Burn layer and the result.


Step 59
Now we want to add a bit more of light around. Create a new layer above all layer and name it ‘General Light’. Set it to Soft Light. Pick the color #d7ebff and paint some light outside the window. Below you can see my layer set to Normal and then the result with the blend Soft Light.


Step 60
Let’s bring out some details. Make a stamp of all layers (Click CTRL+SHIFT+ALT+E). Name the layer ‘High Pass’. Go to Filter > Other > High Pass and put 10px Then set the layer to Overlay.


Step 61
Add a Vibrance Adjustment Layer with these settings:
- Vibrance +30
- Saturation -5.

Step 62
Now that the scene is done we can work on the hair. We will do it in several layers. I did this job in four steps. Sometimes you need more layers to create hair. Create a new layer above all layers and name it ‘Hair 1’. Pick the color #0d083e and paint a kind of base. Use a soft small brush. Usually we have to build the base with a 100% brush. But since hair is in the light the result would be fake.

Step 63
Create a new layer and name it ‘Hair 2’.
Pick a lighter color and add some other strands. (I chose #666dad).

Step 64
Create another layer and name it ‘Hair 3’. Once again pick a lighter color and add strands. (I chose #a3a8d8).

Step 65
Create last layer for hair and name it ‘Hair 4’. I picked the color #b6d5f4 for highlights.

Final Results
![final-results[1] final-results[1]](https://cdn.photoshoptutorials.ws/wp-content/uploads/2013/11/finalresults1.png?strip=all&lossy=1&webp=82&avif=82&w=1920&ssl=1)
Tutorial by Fabrizio Panattoni

Thanks a lot for your attention. I hope I could help you with this tutorial.
For more guides or artworks made by me visit my dA page https://b-r-a-c-i-a-t-a.deviantart.com/
– Fabrizio Panattoni.
4 responses to “Create a Wonderful Midnight Photo Manipulation in Photoshop”
-
wowww amazing work can u please upload psd for this workk
-
wow! Its a nice work…………thanks for sharing
-
Thanks a lot! Very helpful tutorial. Here is my result http://milanaserk.deviantart.com/art/Moonlight-482132626?ga_submit_new=10%253A1410640832
-
thanks alot!


Leave a Reply