
Step 12 – Revealing the arms
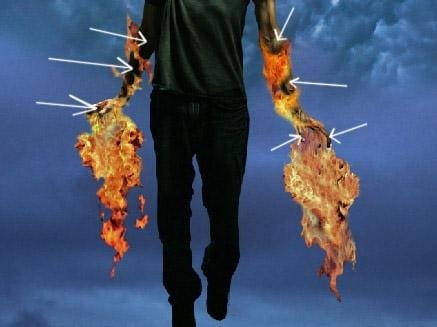
Again, making sure the flame layers are above the subject layer, select the flame masks.

Use the Eraser tool to erase some of the flames away to expose the arms. See the image below for an idea.
Step 13 – Adding light glow from the flames
Create a new layer on top of your subject layer. Set the foreground colour to lemon yellow or any colour that matches the flames.

Make sure the new layer is selected and select the Brush Tool. Use the Brush Tool to paint around the fire and parts of the body where the glow from the fire will rest.
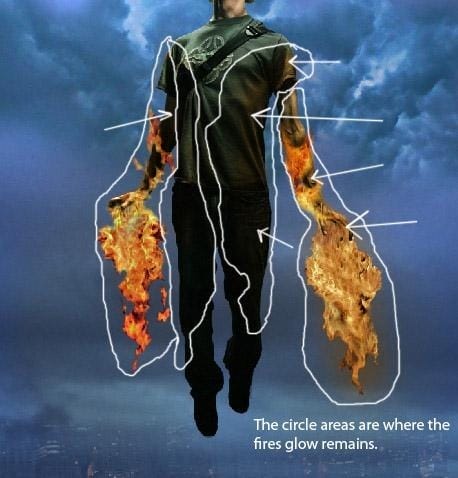
Erase where necessary and change your layer settings to the following.
- Mode: Color
- Opacity: 55%

Step 14 – Adding warm glow from the flames
Create another new layer between the subject and the background and name it “Warm Filter.” Fill it with an orange colour.

Change your layer settings to the following.
- Mode: Color
- Opacity: 36%

Your image should look something like this.

Step 15 – Adding glow to the background
Create another new layer and name it “BG Glow.” Select the Brush Tool and use these settings.
- Brush size: 1350
- Opacity: 25%
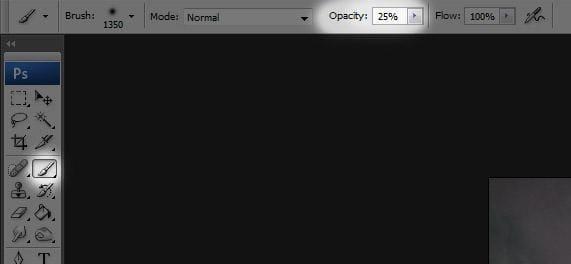
Make sure the layer named “BG Glow” is selected and paint on a misty glow in the area behind the subject.
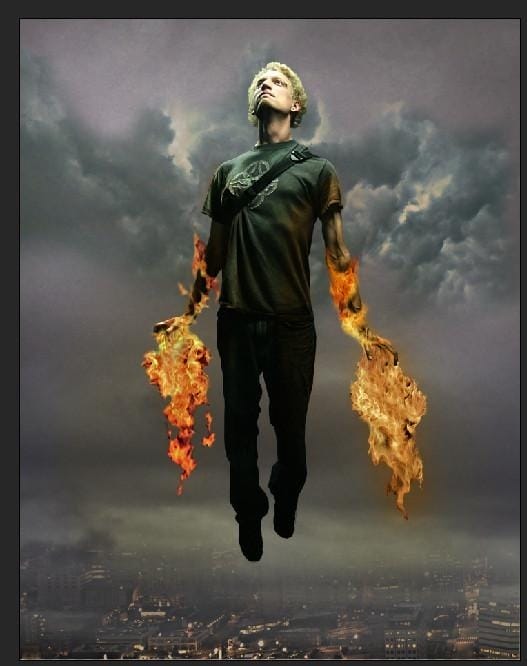
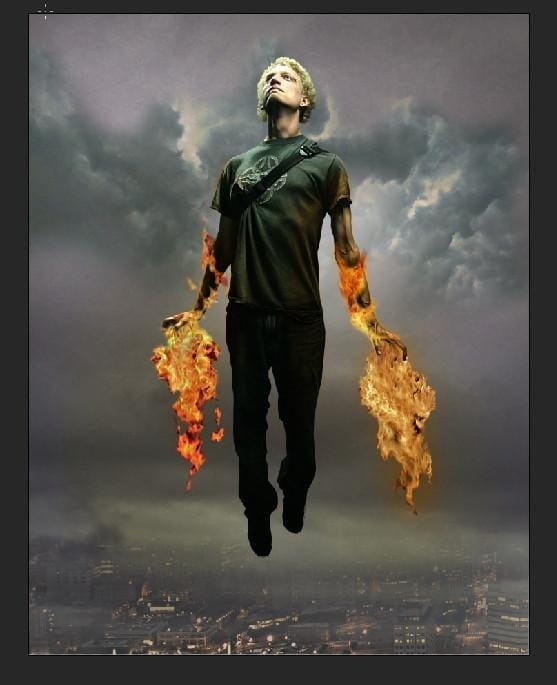
Step 16 – Adding a cool glow to the subject
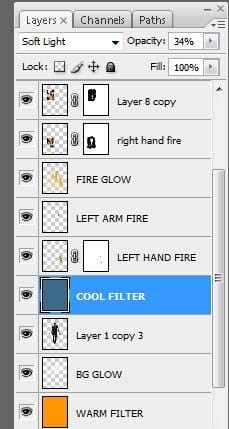
Create a new layer directly above your subject. Title it “Cool Filter” and fill it blue. Set the layer to the following settings.
- Mode: Soft Light
- Opacity: 34%
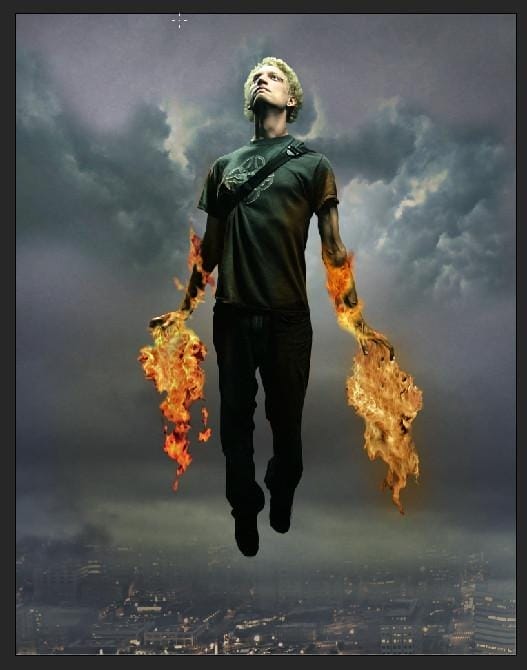
Step 17 – Adding dim
Create a new layer and title it “Orbs.” Select the Brush Tool and use the following settings.
- Size: between 97-200
- Opacity: approximately 50%
Paint over and below the subject’s legs. This will create a bit of “fog,” so don’t over do it.
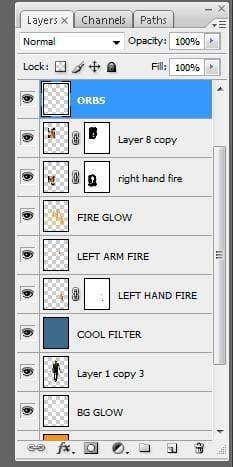
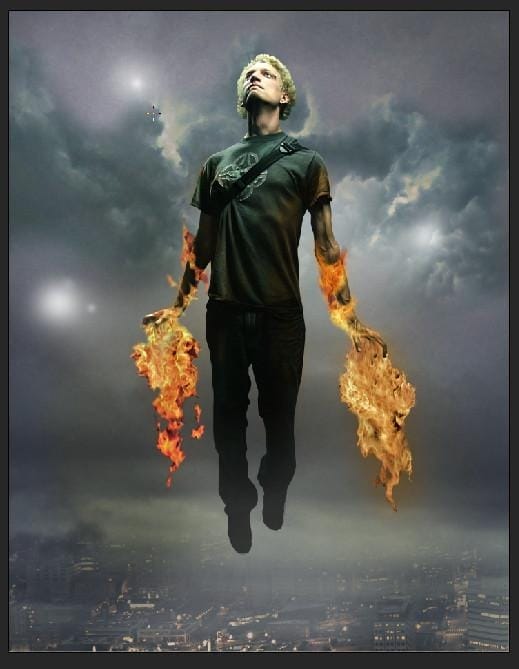
Step 18 – Changing the sky colour
Create a new layer and name it “Blue Gradient.” Select the Brush Tool and set the foreground colour to light blue. Use the following settings for your brush.
- Size: 1250
- Opacity: 53%
- Blend Mode: Soft Light

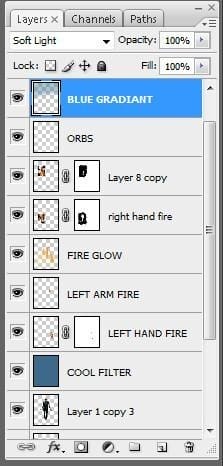
Here are the images of how they look before and after adding the blue gradient.


Step 19 – Softening the border
Create a new layer on top of all the other layers and name it “vignette.” Fill the layer black with the Paint Tool. Then select the Eraser Tool with the following settings.
- Blend Mode: Soft Light
- Opacity: 69%
Erase the areas in the image around the subject.
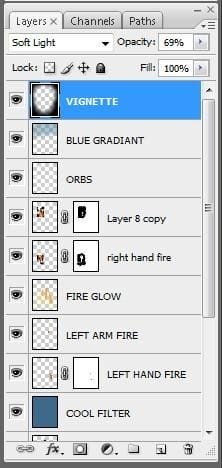
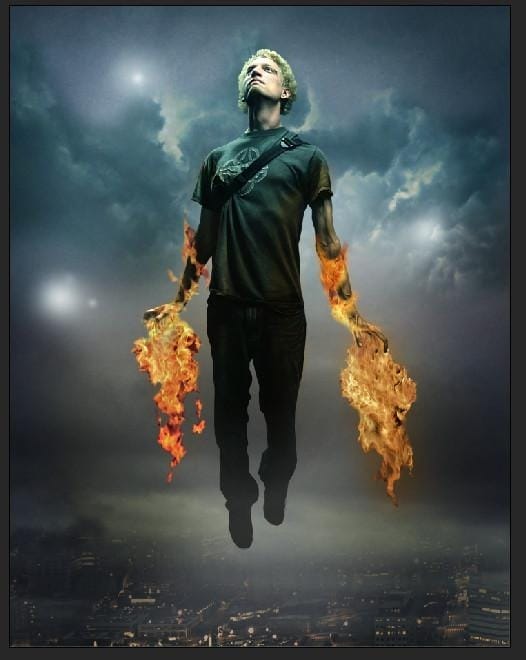
Step 20 – Final Output
13 responses to “How to Create a Flaming Manipulation in Photoshop”
-
Wow💞💞..! I love this site
-
i like brownies
-
page 7 was a mad ting
-
it worked for me thanks!!
-
Nice but tutorial is not proper
-
Nice but tutorial is have proper
-
kul
-
which software i have to use???
-
do you make a fake tutorial for readers or what dude??? ZzZzzzz… >,<
-
what to do after Step 8?? confused!
-
use screen mode for the black background of the fire
-
-
qweewq. Did u turned to the next pages? ~.~”
-
Not Complete Information


Leave a Reply