
Then click on “Reset Brushes” from the contextual menu.

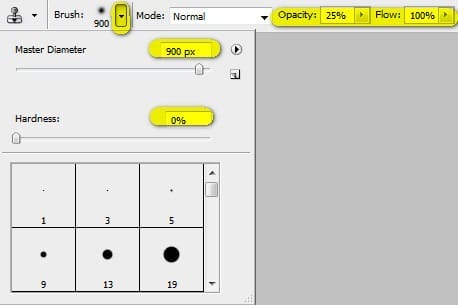
Now, that that is done input the following settings for our Brush tool (B):
- Brush size: 900px
- Hardness: 0%
- Opacity: 25%
- Flow: 100%
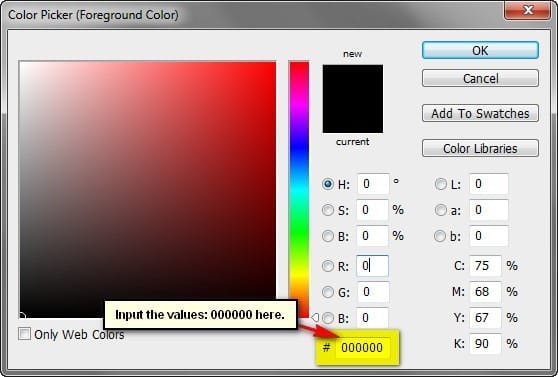
- #: 000000
Note: #: 000000 is the Brush’s color. To set that, simply follow the instructions below:
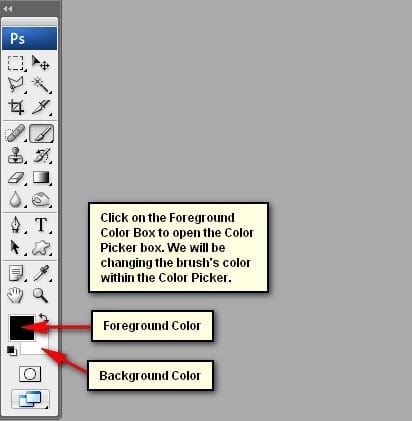
The #: 000000 is the color of the Brush tool (B), so this means it is colored black. To set the brush color, follow the instructions below:
Now, let’s go painting!

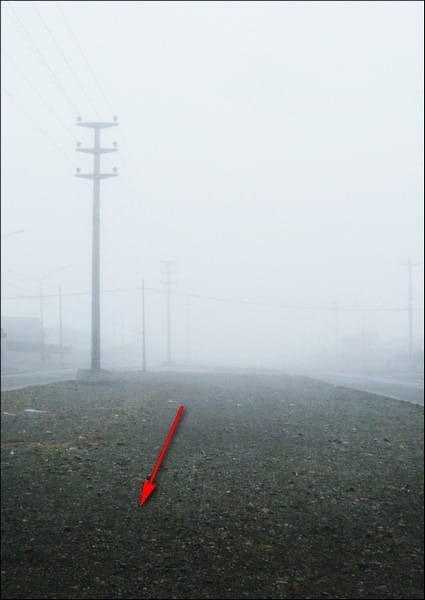
The result:
Step 3: Create the Ashes
Now, let’s give the image a touch of Silent hill by adding some ashes falling from the sky. To start, let’s create a new layer (Ctrl/Cmd + Shift + N), name – “Ash 1”.
Now, activate the Brush tool (B) and open the brush set: “Winter SnowFlake Brushes PS7” by KeepWaiting. To load them, simply, right click on our canvas through any layer and then click on the drop-down button as shown below:
![image020[1] image020[1]](https://cdn.photoshoptutorials.ws/images/stories/fe3862fc252f_F0C/image0201.jpg?strip=all&lossy=1&webp=82&avif=82&w=1920&ssl=1)
This will prompt the contextual menu to pop up and once you see that, just click on Load Brushes.
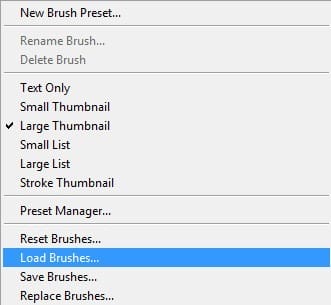
You will now be prompted to this directory: Adobe Photoshop > Presets > Brushes so make sure that you have put the brushes within this folder. Now locate the brush set and click OK. Right click on the canvas again using your Brush tool (B) and now you’ll notice that you have the Winter Snowflake brushes activated. Right click on the canvas while the Brush tool (B) is active and then activate this brush:

Once you’ve clicked on that brush that will be your active brush. Now input the following settings:
- Brush size: 2500px
- Hardness: Default
- Opacity: 25%
- Flow: 100%
- #: 000000
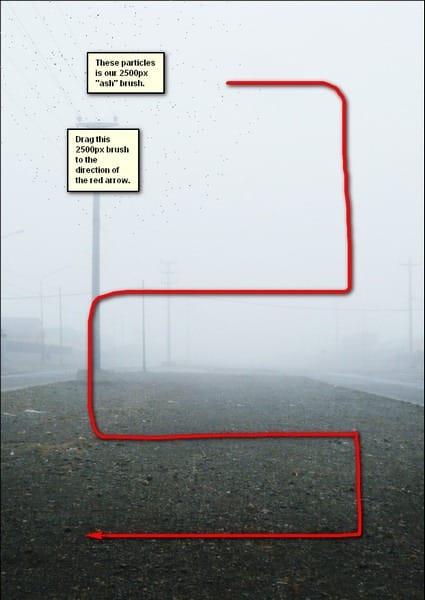
The result:

Next, let’s create the second batch of ashes. Create a new layer (Ctrl/Cmd + Shift + N) and input “Ash 2” on the name field. Activate the Brush tool (B) and choose the following brush from the “Winter SnowFlake Brushes PS7”.

Now, apply the following settings:
- Brush size: 1800px
- Hardness: Default
- Opacity: 25%
- Flow: 100%
- #: 000000
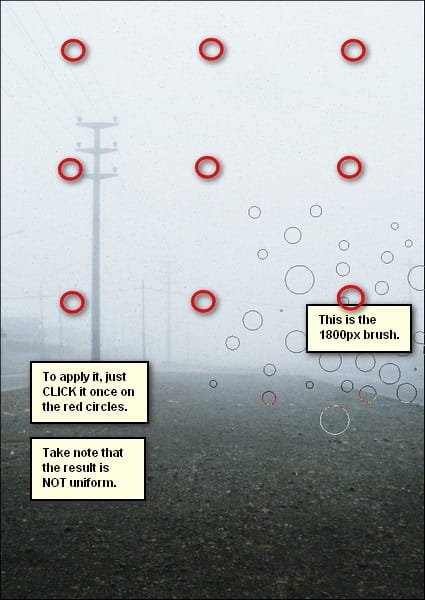
Try to come up with a result similar to this:
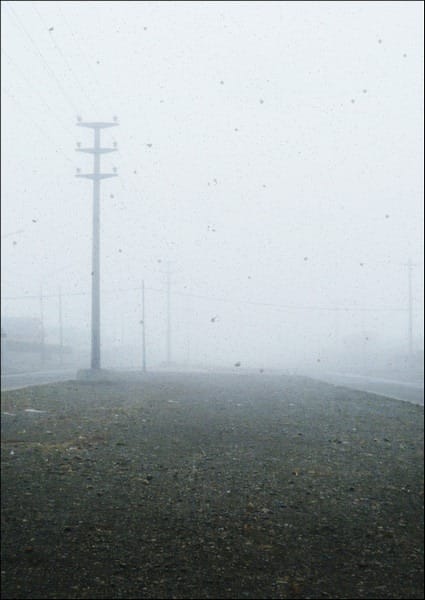
Next, let’s create the third batch of ashes. Create a new layer (Ctrl/Cmd + Shift + N) and then in the name field, input “Ash 3”. Next, activate the Brush tool (B) and choose the following brush from the “Winter SnowFlake Brushes PS7”:

- Brush size: 1700 px
- Hardness: Default
- Opacity: 15%
- Flow: 100%
- #: 000000
Now, let’s paint:

The result:

Step 4: Create the Blood
In this step, we’ll add some blood spills on the ground. To start, let’s create a new layer (Ctrl/Cmd + Shift + N) and on the name field, type “Blood 1”. Next, activate the Brush tool (B) and Load the brush set: “Blood Brushes” by KeRen-R. Once loaded, activate the following brush:


Leave a Reply