Activate the Brush tool (B) and then input the following:
- Brush size: 100px
- Hardness: 0%
- Opacity: 15%
- Flow: 100%
- #: 000000
Now, let’s paint!
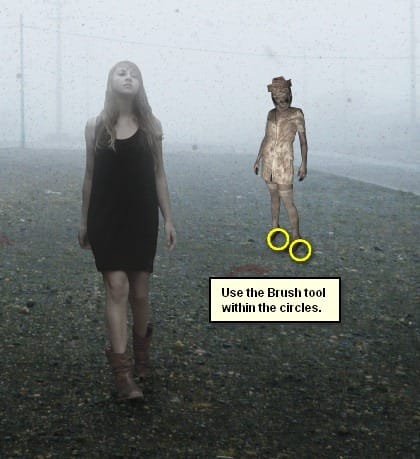
The result:
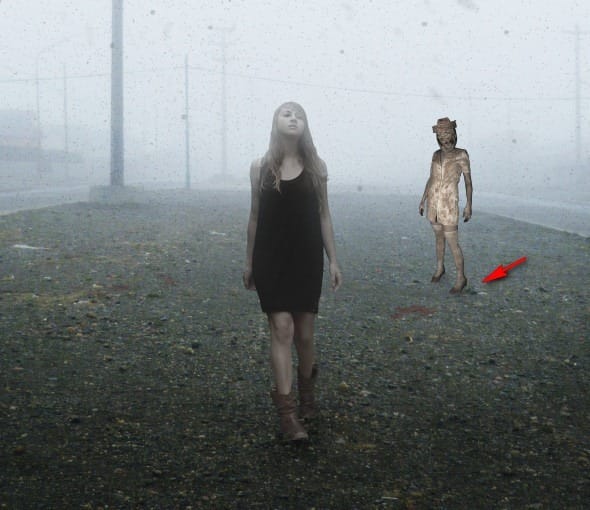
Now, let’s add the second nurse. Activate the Polygonal Lasso tool (L) and then create a selection area around the other nurse. See image below:

Once you’ve created the selection area, activate the Move tool (V) and then drag the second nurse to our canvas. Once there, rename it to “Nurse 2”. Put this layer above the “Nurse 1”. Position it as shown on the image below:
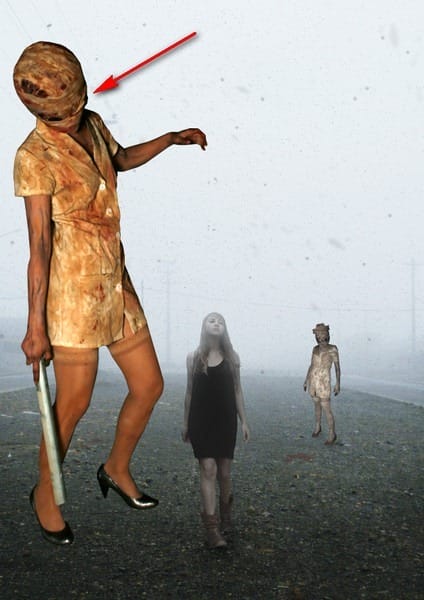
After that, activate the Transform tool (Ctrl/Cmd + T) and then resize “Nurse 2” as shown below:
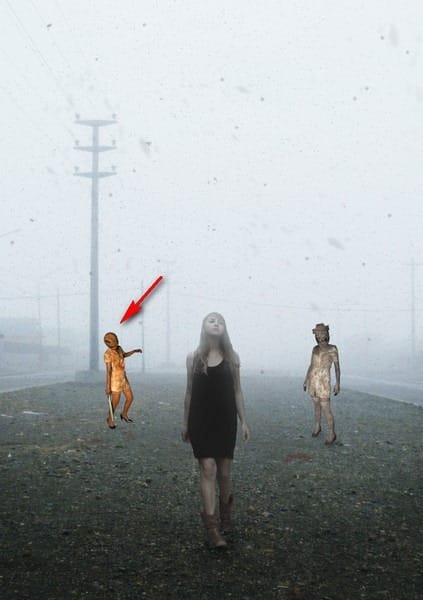
Next, make sure that the active layer is “Nurse 2” and then change the Hue/Saturation by going to Image > Adjustments > Hue/Saturation and then input the following:
- Edit: Master
- Hue: 0
- Saturation: -74
- Lightness: +8
The result of that should be like this:
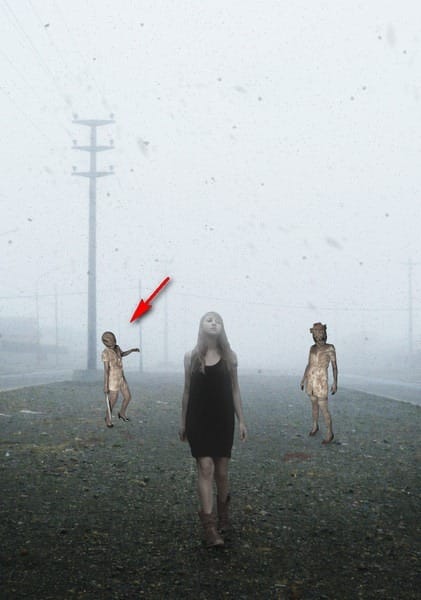
Next, let’s make it blend with our image and to do that, activate the Eraser tool (E). Once its active, input the following:
- Brush size: 200px
- Hardness: 0%
- Opacity: 50%
- Flow: 100%
Now, let’s start erasing:
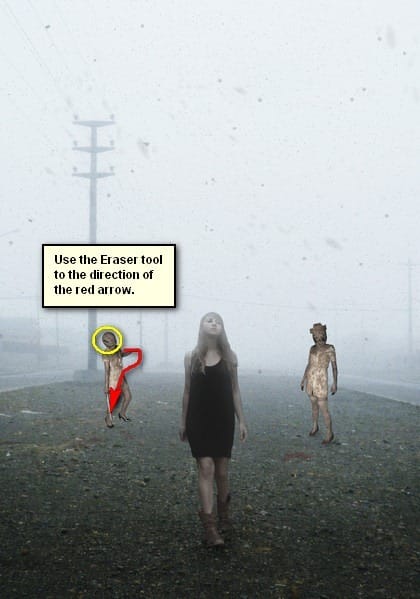
The result should be similar to this:
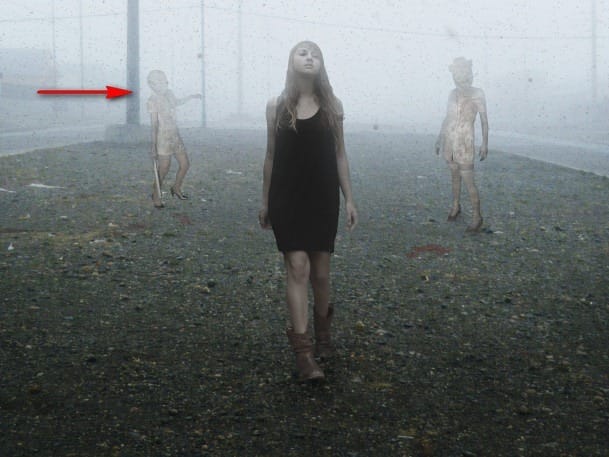
Next, let’s create its shadow. Create a new layer (Ctrl/Cmd + Shift + N) and name it “Shadow 2”. Put this layer below the “Nurse 2” layer.
Activate the Brush tool (B) and then input the following values:
- Brush size: 15px
- Hardness: 0%
- Opacity: 15%
- Flow: 100%
- #: 000000
Let’s paint!
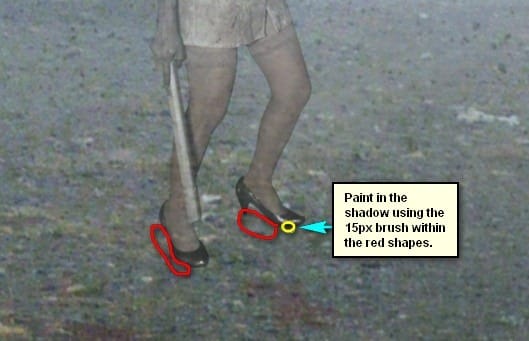
The result:
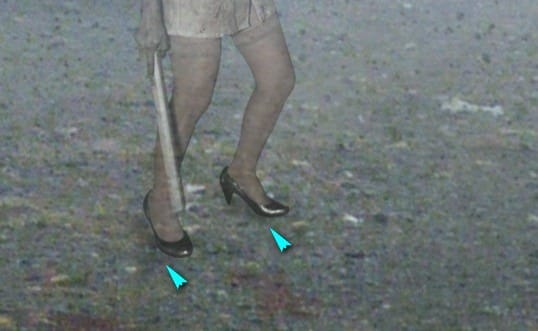
Now that we’re done with the nurses, let’s group them and rename the group to “Nurses”.
Step 7: Add the demonic creature
Now we will add a bizarre creature at the back of “Nurse 1”. To start, open “creature 01-01” by stiks 1969. Activate the Move tool (V) and drag this image to our canvas.
Note: This is a PNG file, and its background is transparent, that means it has no background – just the creature. So after moving it to our canvas, you’d only see the creature. Rename this layer now to “monster”.
Activate the Transform tool (Ctrl/Cmd + T) and then resize the monster to the size shown below:
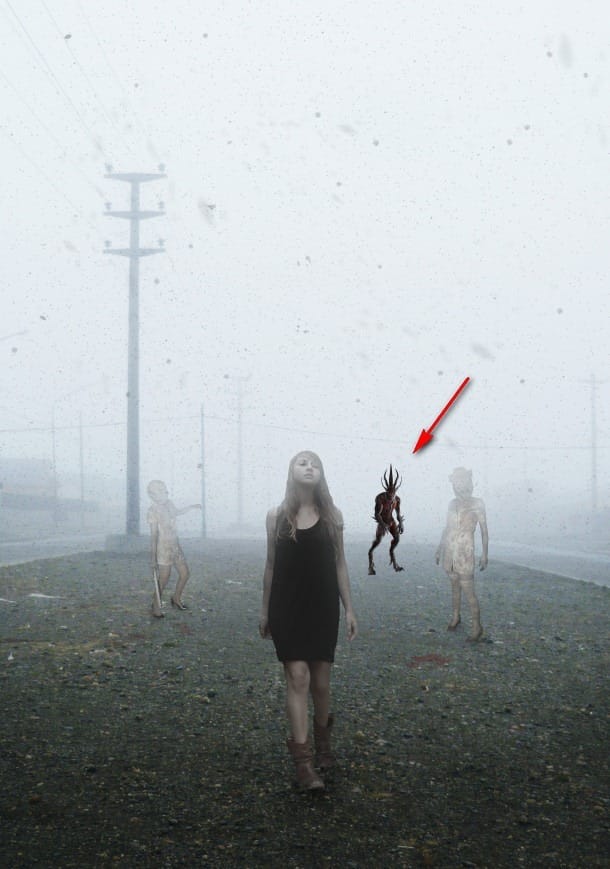
Next, reduce the “monster’s” opacity to 40%.

The result:
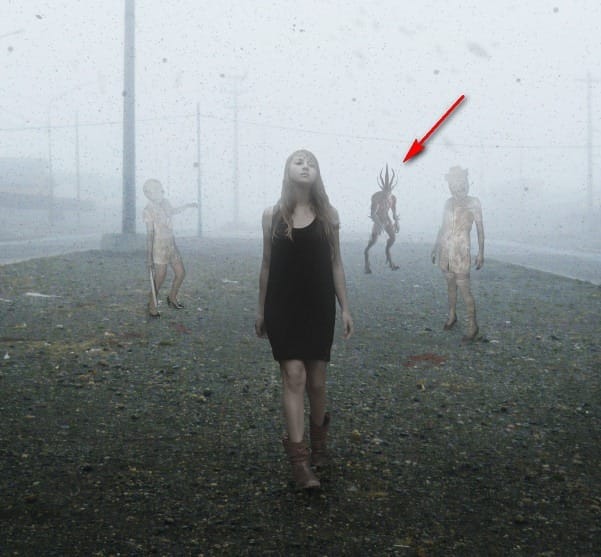
Now, let’s activate the Eraser tool (E) and erase some parts of this creature to make it blend with the foggy landscape. With the Eraser tool (E) activated, input the following settings:
- Brush size: 400px
- Hardness: 0%
- Opacity: 25%
- Flow: 100%
Now, let’s erase!
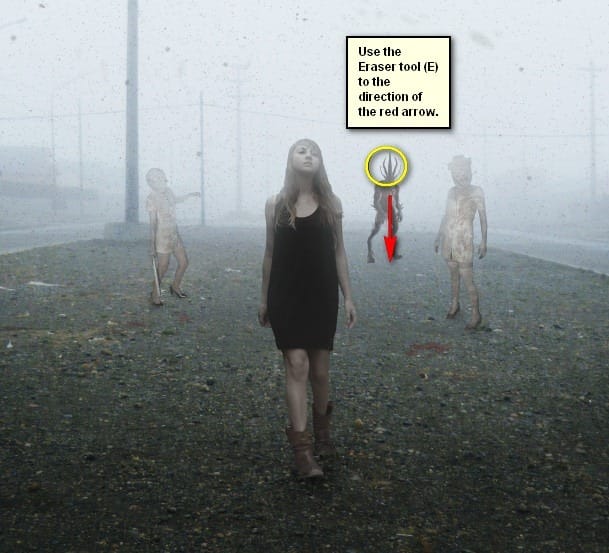
The result:


Leave a Reply