
Give your photos a unique look with this retro effect that’s super easy and fun. You will learn how to create this effect with just one layer and three colors.
Preview of Final Results
Below is the image we will be creating, the inspiration for this image came from an image by Maciej Mizer, a great artist, check it out here.
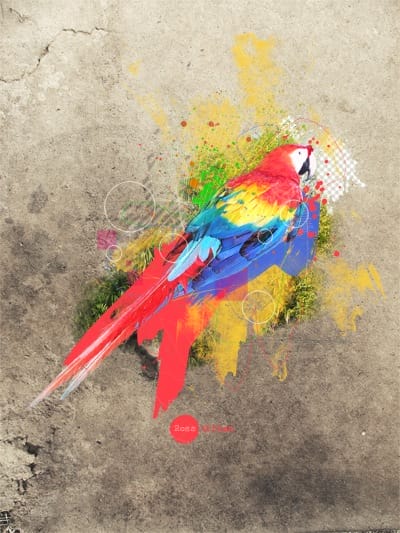
Abstract Photo Manipulation Photoshop Tutorial
Step 1
Go here and download the image then open it in Photoshop. Now go Image>Rotate Canvas>90°CW to get it it looking like the image below.

Step 2
IN the layers panel create a new hue/saturation adjustment layer and use the settings shown below, the reason for doing this is that we are going to increase the saturation of the whole image at the end which would make the background to high in saturation so we are lowering the saturation now.

Step 3
We are going to use an image of a parrot; mainly because parrots are colorful but you can use your own image if you want, the one I used can be found here so copy this image into your document then resize it is similar to the image shown below.
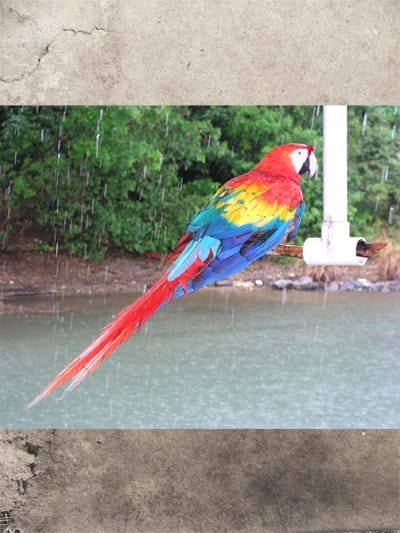
Step 4
Now probably the least enjoyable part of any photo manipulation; the extraction, it’s worth get good at it though as you get quick after doing it a lot. So we only want the parrot, not the lake or the the white pole. Unless you’ve already got a solid way you like to extract images then use the way I’m about to teach you. Select the image of the parrot then click on the layer mask button in the layers panel to add a mask, if your not familiar with masks then basically if you paint black onto a mask then it will hide that part of the layer and the opposite goes for white, at the moment the whole mask is white so everything in the layer is visible. Select black as the foreground color then make sure the mask is selected not the layer. Now select the brush tool and use a round brush with about 80% hardness, start off with a diameter of about 30px although you’ll have to change this a lot so do so by using the ] key to increase the diameter and the [ key to decrease. Now you just have to brush round the parrot, you wont need to be too accurate here as we’re going for a grungy look anyway, I was pretty neat because I tend to use image that I’ve extracted multiple times. this was the part that I started on and I had to decrease the brush size to get into the bit next to the red feather.
10 responses to “How to Create an Abstract Photo Manipulation”
-

Excelent my friends
-
i also used the same techniques a few hours later to make this
http://picload.org/image/lopaaog/fox-done.jpg -
Here’s my result! Thanks for helping teach these tools, it was really easy and I got a good understanding of how I can take these skills into other projects! Thanks Again!
http://picload.org/image/lopgldl/parrot.jpg -
have been wanting to try this…. thanks a lot
-
Thanks I had gone through its very helpfull
-
Great Tutorial :)
Took me (beginner) some time, but here is my result:
http://picload.org/image/acogpcg/result.jpg -
thanks for the great tutorial! here is my result – it’s a bit different:http://lagrimadejarjayes.deviantart.com/art/silence-of-parrot-346814528
-
have been wanting to try this – images like this are getting very popular in the digital scrapbooking world!! Thank you! x
-
Great! Thanks man!
Leave a Reply