In this tutorial we’ll learn how to create a beautiful sunset matte painting in Photoshop. This tutorial has extensive use of manipulation techniques that will help you to achieve realistic natural landscape scenery. We’ll also mainpulate certains stock images such as bay, sky, fisherman, birds etc to create this composite. Follow the tutorial and sharpen your manipulation skills.
What you’ll be creating
You’ll be creating a landscape matte painting. I have used Photoshop CC 2014 for this tutorial but you can follow it with Photoshop CS3 or newer version.

Tutorial Resources
- Bay – Pixabay
- Sky – Morguefile
- Waterfall – Pixabay
- FisherMan – Freeimages
- Foliage Packs – Designer Candies
- Birds Brushes – CandyMax Stock
Step 1
Start by creating a new Photoshop document by selecting File > New then set the setting as shown in the image below or you can choose your own settings.

Step 2
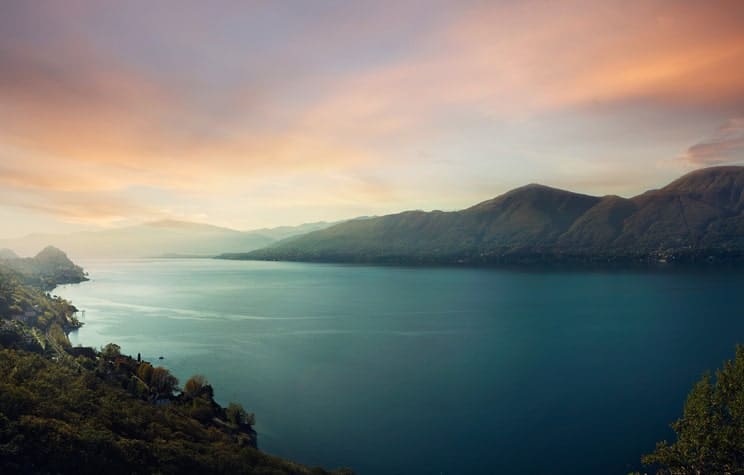
Now place the bay image to main document by selecting File > Place. While placing it keep some space from top of the document as you can see the results in the image below.

Step 3
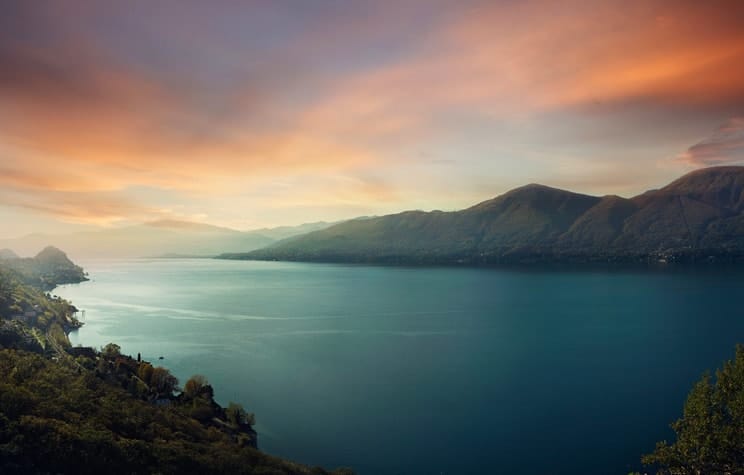
Add a layer mask to the bay layer by clicking on the second button of layer panel at right hand side bottom corner. Now hide the selected part of bay layer by painting with soft round black brush on the layer mask of bay layer.

You can see the overall and layer mask results.

Step 4
Place the sky image below the bay layer.
Step 5
Add a Curves Adjustment layer to the sky by simply clicking on the third button of layer panel (see the image below). Set the setting as shown in the image below.

Here are the result.
Step 6
To add some yellow color tone to the sky I added Photo Filter and Selective Color adjustment layer to the sky. Here are values for both adjustment layer.

Here are the results.
Step 7
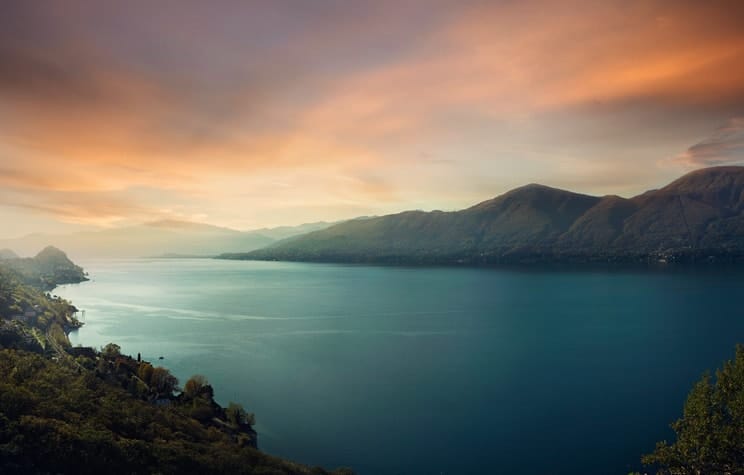
Head back to the bay layer then add a Hue/Saturation and Photo Filter adjustment to the bay layer as clipping mask (see the image below for clipping mask button). Using clipping mask these adjustment layer only effect the bay layer not the sky layer that’s why we use clipping mask so it will only apply the effects on that layer in which we want to not the rest of the layers. Set the setting as shown in the image below.

You can see the result below it has only effected the bay layer not the sky layer.
15 responses to “How to Manipulate a Beautiful Sunset Matte Painting in Photoshop”
-

Good we can learn step by step how to create matte painting
-
Very nice -I follow – see the result in – =)
http://imageshack.com/a/img907/8533/WnYZf8.jpg
and
http://imageshack.com/a/img905/3796/QeEjCs.jpg -
ممنون دوست عزیز
-
wow nice tute i dont know that ps6 is capable of doing those
-
such great comments everyone :p
-
I agree :/
-
Oh good
-
I would say: ‘Is every adjustment layer necessary? I don’t think so. But it was all fun to do your tutorial en I have learned a lot. Thanks again, Hans K.
-
thx..,,,keep helping the bigners..,,
-
Thật tuyệt vời. Cám ơn sự chia sẻ của bạn. Thanks you very much!!!
-
очень красивый урок!!!!!!!!!!!!!
-
Nice tutorial
-
As always, you exceed yourself Bunty. Great job!! Like!
-
Wow! Amazing. I’ll work follow of this tut
-
Awesome ?
Leave a Reply