

Change the blend mode of light layer to linear Dodge and reduce the opacity to 38%. Here are the results.

Step 28
Again create a new layer then name it ‘light 1’. Using the same color in previous step then paint a big stroke as shown in the image below.
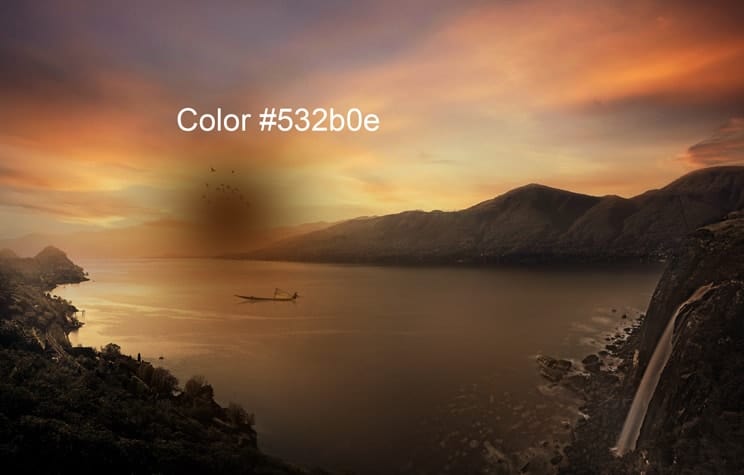
Set the blend mode of ‘light 1’ layer to linear dodge and reduce the opacity to 40%. Here are the results.
Step 29
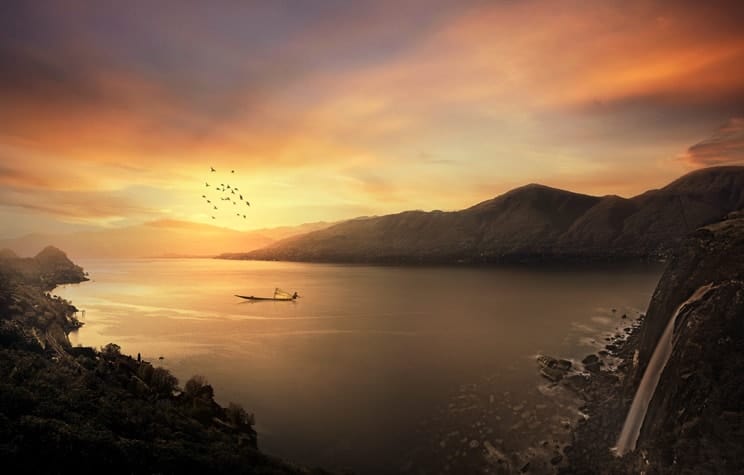
Again create a new layer then name it ‘light 2’ and this time paint a big stroke little bit below the last one using same color setting of previous step and here are the results.

Change the blend mode of ‘light 2’ layer to linear dodge and reduce the opacity to 20%.

Step 30
The bay layer has some unwanted parts like pillar, houses, wires etc and I don’t want them. So, we’ll be cleaning up such thing using clone stamp tool. Create a new layer and start cloning the parts as shown in the image below.

Step 31
On the other side clone these parts as well.
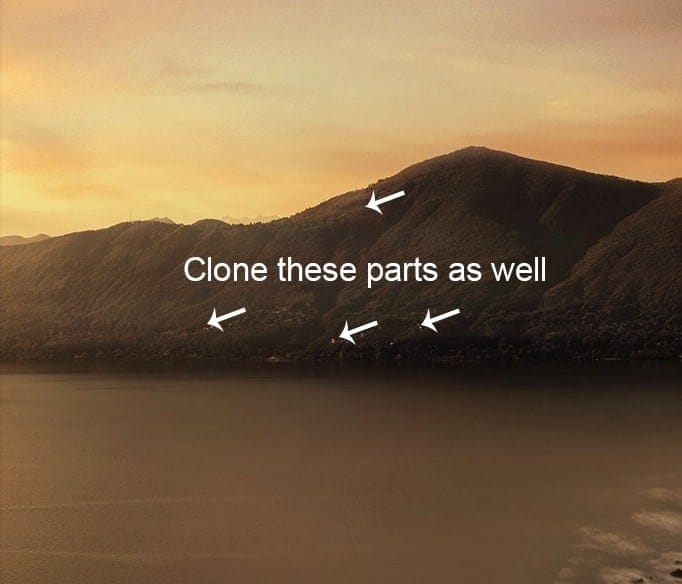
Here are results after cloning.

Step 32
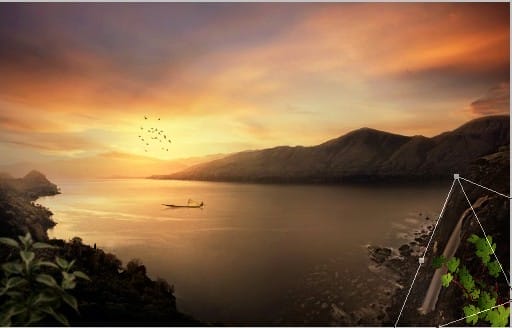
Open up the foliage pack and choose ‘Foliage 6’ then place it to left bottom corner.

To add some depth to the scene I added a Gaussian Blur filter to the foliage 6 by selecting Filter > Blur > Gaussian Blur and set the radius to 2.7 pixel. Here are the results.

Step 33
Add a Brightness/Contrast adjustment layer to the foliage 6 and set the setting as shown in the image below. Also hide the selected effect of Brightness/Contrast on foliage 6.

Step 34
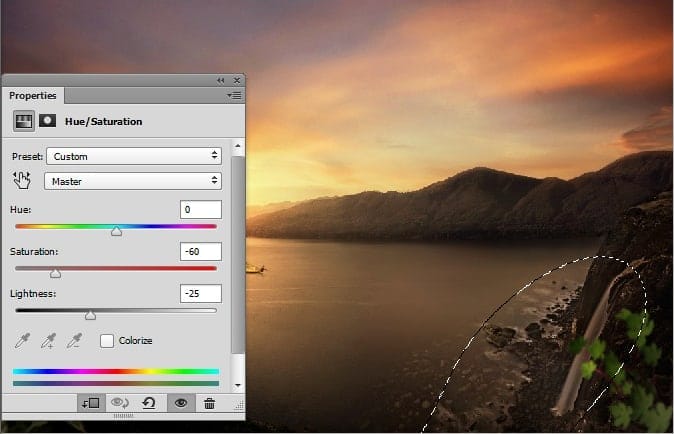
Reduce the lightness and saturation of foliage 6 by adding a Hue/Saturation adjustment layer to the foliage 6.

Step 35
Add a Photo Filter adjustment layer to foliage.

Step 36
Now add the foliage 1 to the document and rotate it as shown in the image.
I also added a Gaussian Blur filter to this foliage with same setting as in step 32. Here are the results.
Step 37
Add a Hue/Saturation adjustment layer to the foliage 1 and on the layer mask of this adjustment layer hide the selected effect.
Step 38
Now add a Photo Filter adjustment layer to foliage. Set the setting as shown in the image below.

Step 39
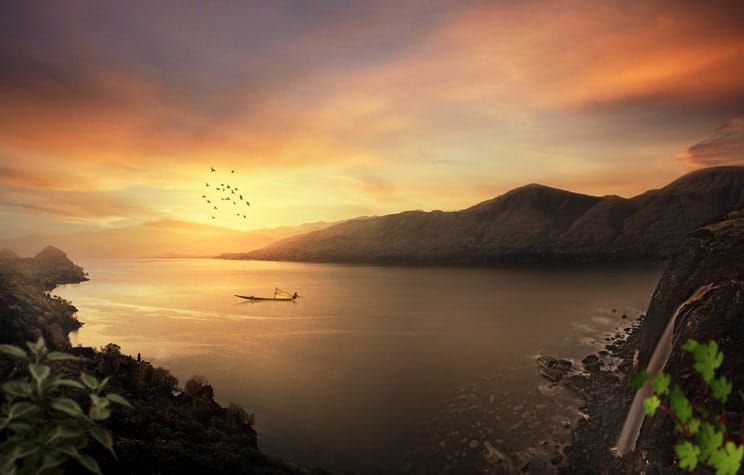
So we have set up our landscape and it’s time to head towards the ‘Final Adjustments’. Paint some light with color #68421a as shown in the image below.
15 responses to “How to Manipulate a Beautiful Sunset Matte Painting in Photoshop”
-

Good we can learn step by step how to create matte painting
-
Very nice -I follow – see the result in – =)
http://imageshack.com/a/img907/8533/WnYZf8.jpg
and
http://imageshack.com/a/img905/3796/QeEjCs.jpg -
ممنون دوست عزیز
-
wow nice tute i dont know that ps6 is capable of doing those
-
such great comments everyone :p
-
I agree :/
-
Oh good
-
I would say: ‘Is every adjustment layer necessary? I don’t think so. But it was all fun to do your tutorial en I have learned a lot. Thanks again, Hans K.
-
thx..,,,keep helping the bigners..,,
-
Thật tuyệt vời. Cám ơn sự chia sẻ của bạn. Thanks you very much!!!
-
очень красивый урок!!!!!!!!!!!!!
-
Nice tutorial
-
As always, you exceed yourself Bunty. Great job!! Like!
-
Wow! Amazing. I’ll work follow of this tut
-
Awesome ?
Leave a Reply