
Learn how to create this panoramic Earth graphic with Photoshop! This tutorial will show you how you can use your own images to create your own panoramic planet.
Preview of Final Results

Panoramic Earth Photoshop Tutorial
Step 1 – Creating the Sphere
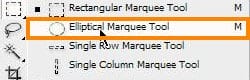
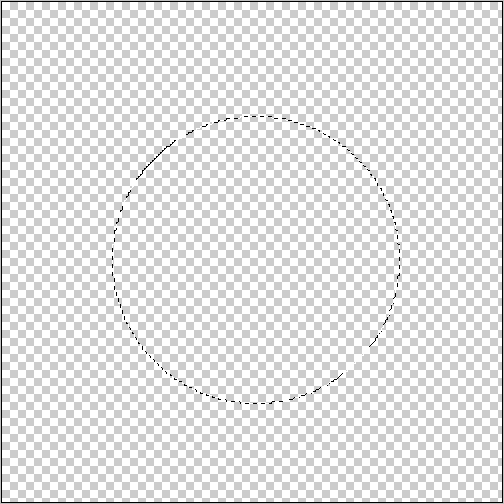
Create a new document about 2500×1500 pixels and set the background to transparent. Select the Elliptical Marque tool (M) then draw a circle. Hold down the shift key while drawing to create a perfect circle.
Step 2 – Add a Gradient
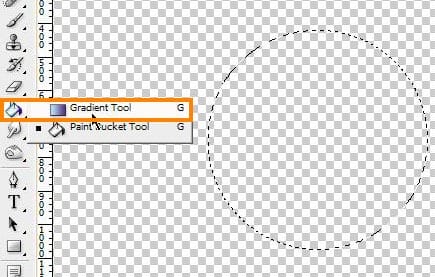
Select the Gradient tool.
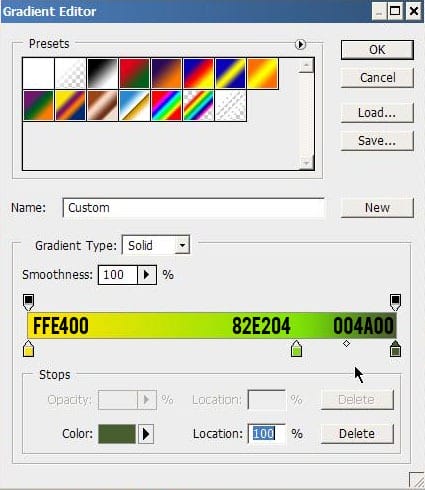
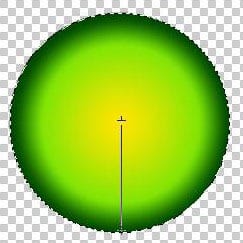
In the options bar, set the gradient to radial.

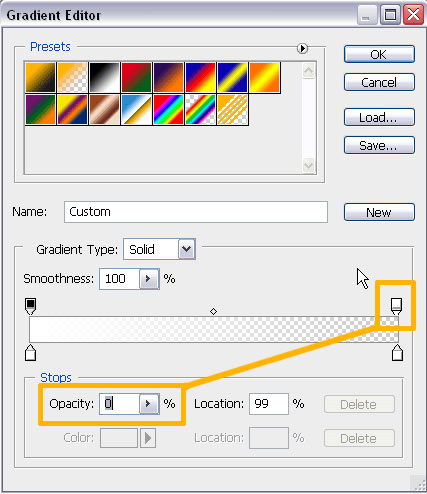
Create a gradient like shown below. I used these colors to get an earth feeling. Light from the inside, dark at the outside.
Begin in the centre and click and drag to the outside of the circle. Then you will end up with this result:
Step 3 – Create the Shine layer
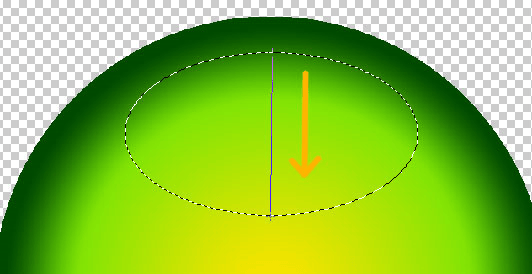
Create a new layer above the sphere. Take the Elliptical Marquee tool and draw a circle. Select the Gradient tool then create a gradient from white at 100% opacity to transparent.
Create a gradient from the top of the selection to the bottom.
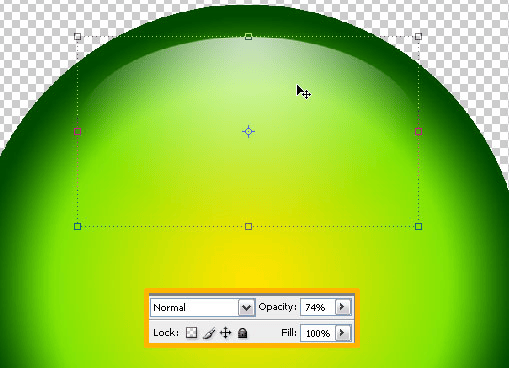
Use the Free Transform tool (Edit > Free Transform) if you need to scale or move it. Set the opacity to around 74%.
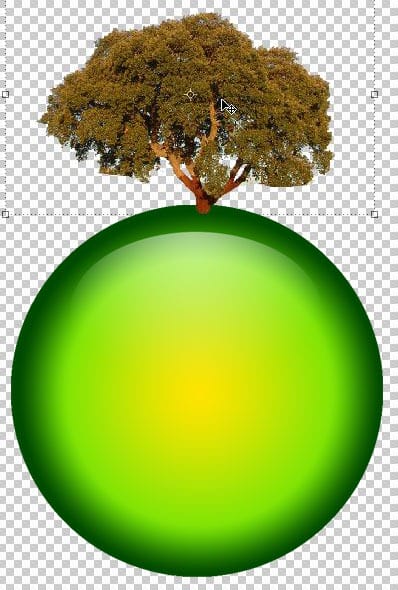
Step 4 – Create a cutout of a tree
First, put all the upcoming layer above the sphere! I began with a beautiful Cork Oak, a photograph i made in Portugal. Select the Magic Want Tool (W) and begin to select/delete the surrounding area.
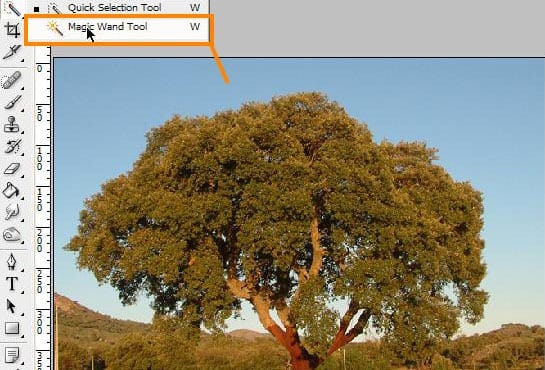
Select the area(s) and hit delete. You can use the Eraser Tool (E) to delete some area that did not select.
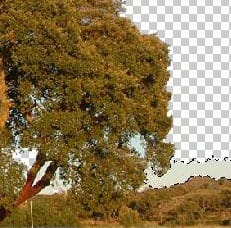
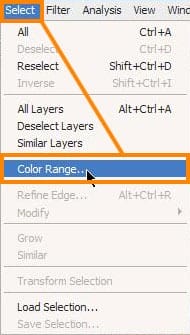
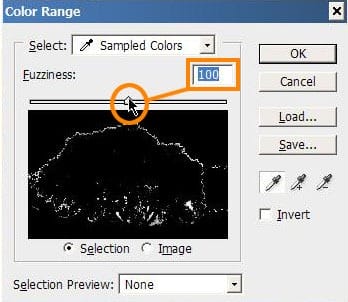
Here’s another trick to delete all the unwanted pieces. Choose Select > Color Range then choose the color of the blue sky with the color picker tool. I used a Fuzziness of 100. Then press OK and hit delete. Now all your selected color has disappeared!
To check if you really not forgot some unwanted area, give the background a notable color. Green!
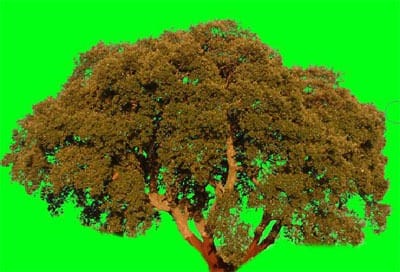
If you are finished with delete unwanted area’s, you can place the Oak on the sphere. Put this Oak on the north pole of the sphere. Don’t forget to name all of your different layers!
Step 5 – Add a lighthouse
The second picture is a lighthouse with some foliage around it. This photo was taken in Denmark and is a great way of covering a large area of the sphere.
Leave a Reply