
Step 20 – Shadow on the Dinosaur
There is one important thing missing – bounced shadow from the tree on dinosaur’s body. You’ll add it in this step.
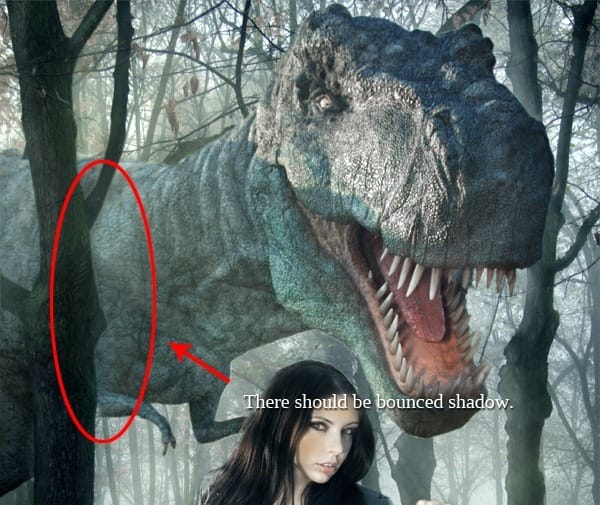
Add new layer on the top of all layers and name it BOUNCED SHADOW. Grab the Lasso Tool (L) (or anything else you’re comfortable to work with) and create selection of the tree. Then go to Select > Inverse or press Shift + Ctrl + I to inverse the selection.
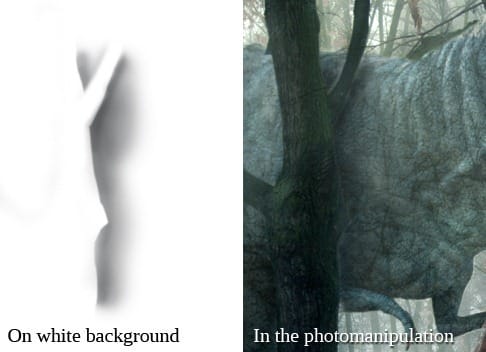
Grab the Brush Tool (B), select some soft round brush, set the Master Diameter on about 60 pixels and lower the Opacity on 20%. Pick some dark cyan color and paint some gentle shadow on dinosaur’s body. Below you can get the idea.
On the first photo there is only shadow on white background. On the second photo there is the same shadow on the real background.
Step 21 – Final Adjustment
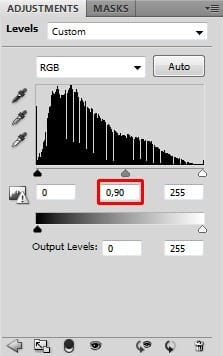
One last thing before you finish this tutorial and photo manipulation. The picture should be little bit darker. To do that add new adjustment layer Levels on the top of all layers and set the Input Levels on 0; 0,90; 255. Quick and easy.
Step 22 – Sharpening
This step is optional. If you like sharp images you’ll sharpen it in this step. Otherwise you’re finished.
Grab the Marquee Tool and select the whole image. Go to Edit > Copy Merged or press Shift + Ctrl + C on your keyboard to copy the merged image. Press Ctrl + V to paste it. Place this new layer on the top of all layers and name it SHARPENING.
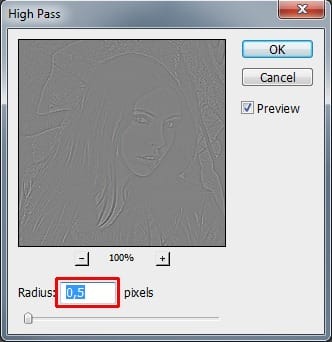
Go to Filter > Other > High Pass and set the value Radius on 0,5 pixels. Press OK.
To blend this layer properly with the rest of the image change its Blending Mode from Normal to Overlay.
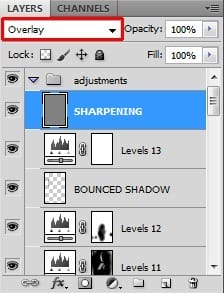
And that’s it :)
Final Results
![final-results[1] final-results[1]](https://cdn.photoshoptutorials.ws/images/stories/ca4339385ae3_F5CF/final-results1.png?strip=all&lossy=1&webp=82&avif=82&w=1920&ssl=1)
Download the PSD
Playing with Lights and Shadow to Create Dramatic Photo Manipulation.zip | 6.85 MB
Download from FileSonic
Download from Website


Leave a Reply