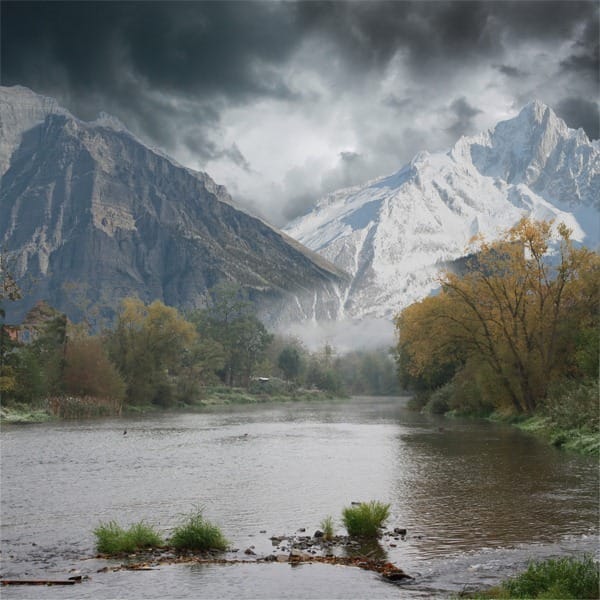
Step 6 – Bottom Part of Mountains
There is missing part of the left mountain. You’ll add it in this step.
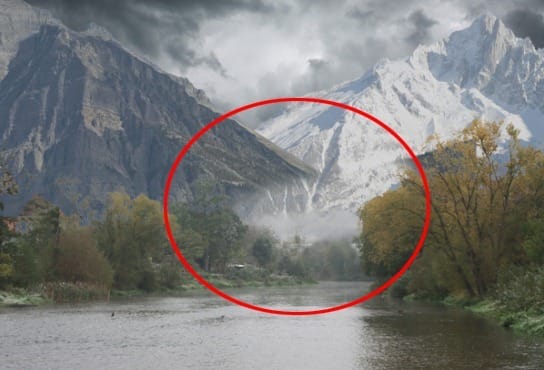
Click on the LEFT MOUNTAIN layer and grab the Lasso Tool (L). Select the bottom part of it. Press Ctrl + C to copy the selection and then paste it above the LEFT MOUNTAIN and its adjustment layers.
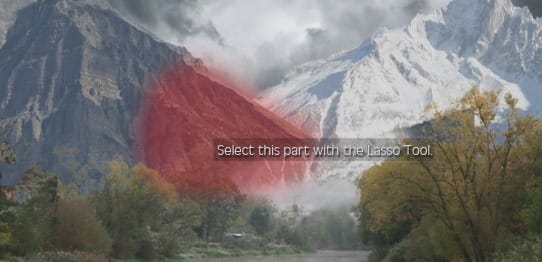
Name the new layer e.g. BOTTOM MOUNTAIN.
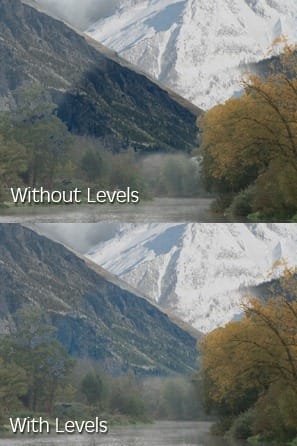
It should be lighter to fit the rest of the image. To do that add new adjustment layer Levels above the BOTTOM MOUNTAIN and set the Input Levels on 0; 1,49; 255. Create clipping mask from it to adjust only one layer below not the whole image.
Below you can see how the adjustment affects the layer BOTTOM MOUNTAIN.
Step 7 – Adding Mist
As I mentioned in my previous tutorials I really like using mist because it creates nice fantasy atmosphere in your pictures. You’ll add it in this step.
Create a new layer under the layer BACKGROUND and name it MIST. Install the mist brushes you’ve downloaded in the beginning of the tutorial. If you don’t know how to install brushes you can take a look at this tutorial.
Select one of the brushes you’ve just installed. Hold Alt on your keyboard which activates the Eyedropper Tool and pick some light color from sky or mountain. Then paint mist arround the mountain.
On the following picture you can see how your picture should look so far.
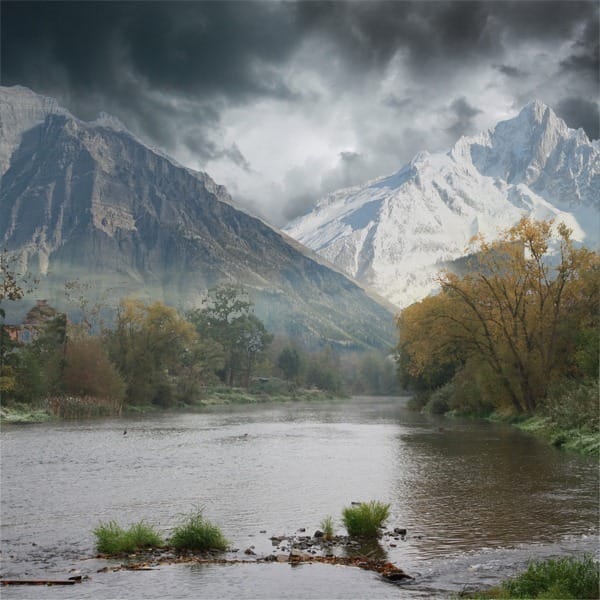
Step 8 – Adjusting the River
If you try to create an impression of space or perspective you need to keep in mind that objects which are closer to the viewer are darker and objects in the distance are lighter. In your manipulation there is no difference in lightness between distant and close objects so far. You’ll fix it quickly in this step.
Add new adjustment layer Levels above the layer BACKGROUND and set the Input Levels on 0; 0,73; 255.
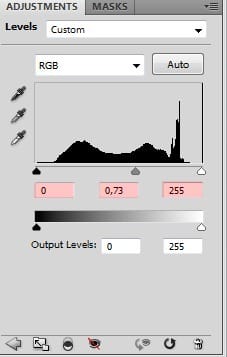
Because you want to the adjustment layer affects only BACKGROUND and not all the layers below right click on it and create a clipping mask from it.
Below you can see how the picture looks with this adjustment. Such a simply step and the image looks more realistic, isn’t it?
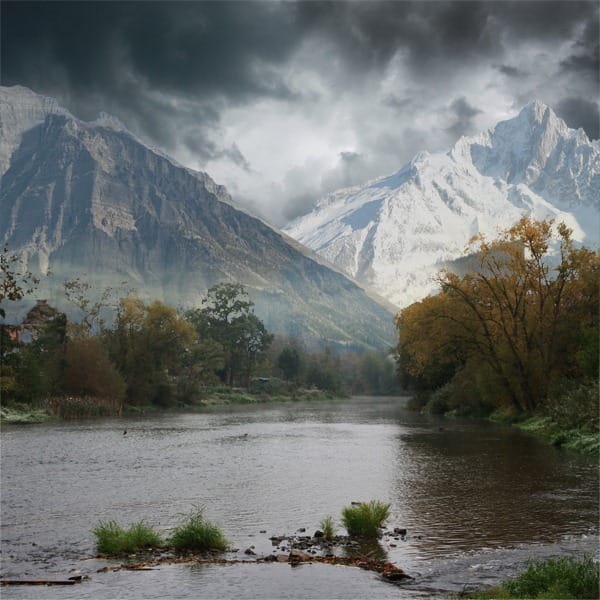
Step 9 – Preparing Trees
As you may notice on the finished picture there are rocks arround the river banks. During the creation of the manipulation I decided to added them to make the landscape more extraordinary.
9 responses to “Serene Fantasy Photo Manipulation”
-
👏
-
I enjoyed this and my pic turned out great. Thank you!!!
-
I enjoyed this and my pic turned out great thank you!!
-
thanks a lot………………
-
Sorry guys figured it out. I pressed the mask button while i was still in the channels tab. Clicking layers and clicking on the image followed by pressing masks fixed it ;)
-
When removing the sky the sky turns darker, it doesn’t disappear. I tried using a white brush to see if it changes but it doesn’t. I am using CS6, can someone help. Thanks
-
Wow, I can’t thank you enough for making this tutorial of which I just completed. I made a couple of mistakes but I still love the final result. I have been using Photoshop and following many tutorials for over a year and did not learn as much as I did today with your one tutorial. Thank you, thank you, thank you : )
-
Very Nice!
-
very very good


Leave a Reply