- Brightness: –25
- Contrast: -39
Then Flip the boat horizontally via the Transform tool. Scale it down to the level shown in the image below:

Now let’s add waves to the supposedly running boat. Click the Stormy sea layer which is located under all the layers and activate the Clone Stamp tool (S). Use these values:
- Brush size: 70px
- Opacity: 100%
See image below for instructions on where to clone:

Step 8 – Retouching the image
Now the image is technically complete, but we’d have to spice it up more, aesthetically.
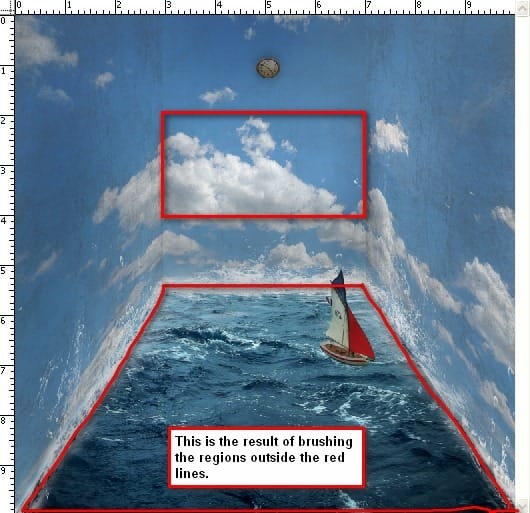
First let’s add more shadows to the walls to give it more contrast. Create a new layer and name it “shadows.” Just put it under the boat’s layer. Activate your brush tool and use these values:
- Opacity: 15%
You’ll need a huge brush for this. I would recommend using a brush size of 1400px. See image below for reference as to where we would add the shadows:

Let’s create a Gradient Map to increase the image’s contrast. “Go to Image > Adjustments > Gradient Map” or you may click on the Create a New Adjustment Layer button (circle button) just beside the “Create a Group” button in the Layer window. See the reference below for the shortcut:

Once you have the gradient map on your Layer window, you would notice that the whole image now turns into a high-contrast Black & White image. We don’t want that, so let’s click on the Blending Mode which is found on the Layer window. Click on the word Normal to bring up the menu and find the setting labeled: Luminosity which is found in the bottom most part of the menu. Set the Opacity of the Gradient Map to 100%. The result should be similar to this:

Now let’s make the image a little bit darker to increase its impact. We would be using the curves tool. Click on the “Create a New Adjustment Layer” button and input these values:
- Input: 137
- Output: 122
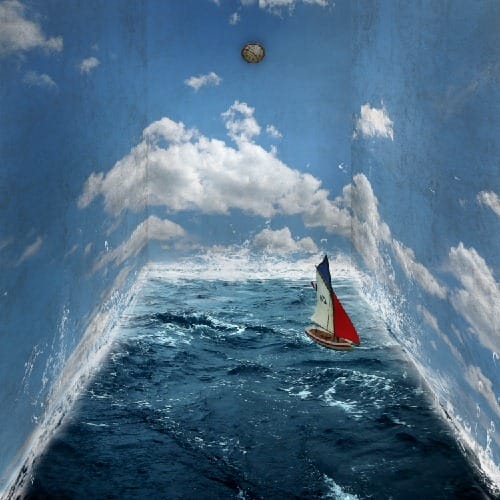
The result should be similar to this:

Step 9 – Creating the vignette
Let’s create a vignette to further increase the perspective of the image. To do that, we need to create a new image. “Go to File > New or press Ctrl+N.” Use the same settings as the current image. Create a new file with the same settings as with our canvas except that the background contents should be white (Refer to Step 1) Once it has been created, “go to Filter > Distort > Lens Correction.” Find the tab Vignette and use these settings:
8 responses to “Surrealistic Room Photo Manipulation”
-
Psd pleasd not link
-
We have fixed the broken link. Thank you for letting us know.
-
-
Thanks a lot! Great tutorial and love your precise approach =) I modified final part, but love your original idea. Here is my version http://milanaserk.deviantart.com/art/Setting-Off-484852574
-
I searched a lot, but the Anarasha wave brush seems to be offline. But after some searching I found equally good wave brushes at this site:
http://midnightstouch.deviantart.com/art/Stormy-Seas-38507114
A lot more ‘water brushes’ can be found here:
http://www.photoshopfreebrushes.com/25-sets-of-high-quality-water-brushes-for-creating-splashing-backgrounds/Hope this will help!
Kind regards,
Mike -
very very nice, your picture works.thanks sir………..
sorif, -
the waves brush by anaRasha is not a working link. I’ve tried looking for it and it would be really cool for a different download or something like that.
-
Not sure if your aware theres a guy selling prints of your Tuts, I’m guessing without any permission?
-
Not sure if your aware theres a guy following your Tuts as finished artwork out there…I’m guessing without any permission?


Leave a Reply