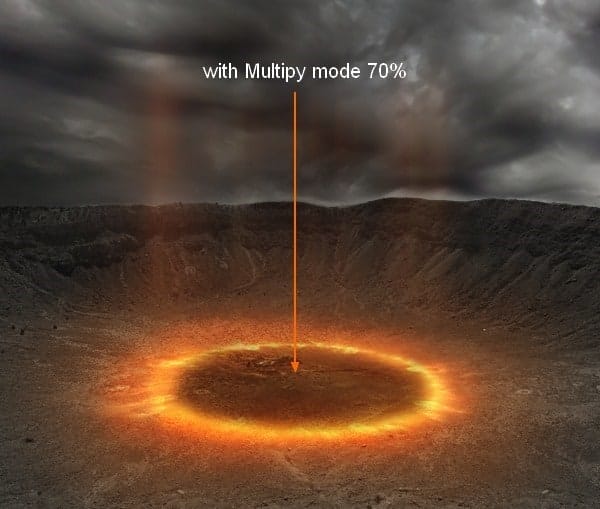
Name it as “ground” or whatever you like.
Add layer mask to erase the outside part of this ground to make it look like being inside the circle actually:

Change the mode to Multipy 70%:

Step 11
Open crack stock. Move it, resize and transform as we usually do in previous steps:

Change the mode of this layer to Soft light 100%. Add layer mask to clear rough edges:

Step 12
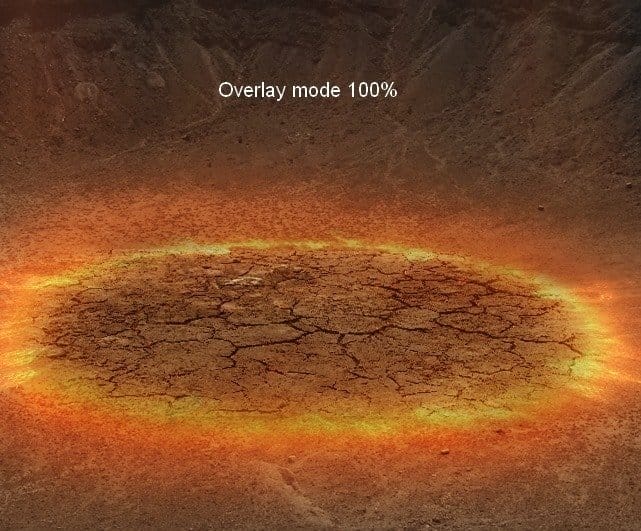
In this step I want to add some tiny burning effects on the cracked ground. Make a new layer which is set on the top. Take brush with color #fbe29d with very small size ( I use 2-3 px) and paint inside cracked parts. Set the mode to Overlay 100%:


You may not see a very obvious change after this step but don’t worry. We will make it look more visible right now.
Name this layer “burning effect”. On this layer, press Cmd/Ctrl+G to make group for it. Change the mode of this layer from Pass Through ( default mode for group) to Color Dodge 100%:

You can see a big change after this step:

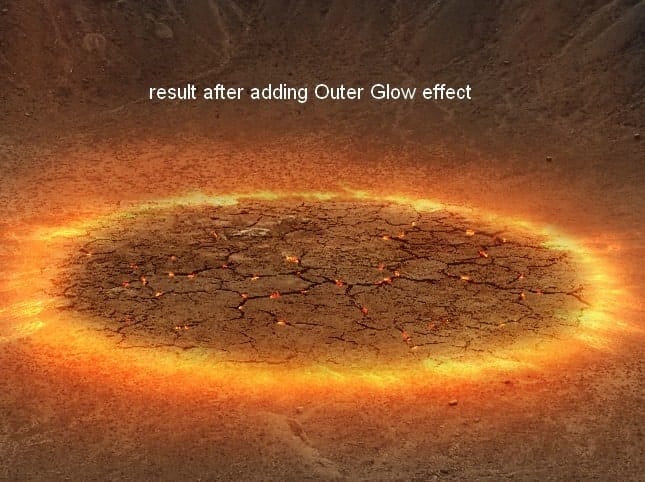
Right click burning effect layer, choose Blending options:

And result:

Rename this group as “burning effect”.
Step 13
Open man stock. Extract him with method you’re familiar with, resize and place him into our main document:

To change color of the man I use a Hue/Saturation layer with Clipping Mask:

Step 14
To add glowing effect for the man, make a new layer on the top. On man layer, hold Cmd/Ctrl while clicking man thumbnail layer to load its selection:

Set feather for it as 1. Go to Edit-Stroke and use color #fceaa4:

Change the mode to Overlay 50%:

Name it as “glowing stroke 1”.
Step 15
Create a new layer, and use brush with color #ef8d0e. Press F5 to make settings for this brush:

Paint carefully along the bottom of man’s legs:


To make this effect more visible, right click this layer, choose Blending options:


Name it as “glowing stroke 2”.
Step 16
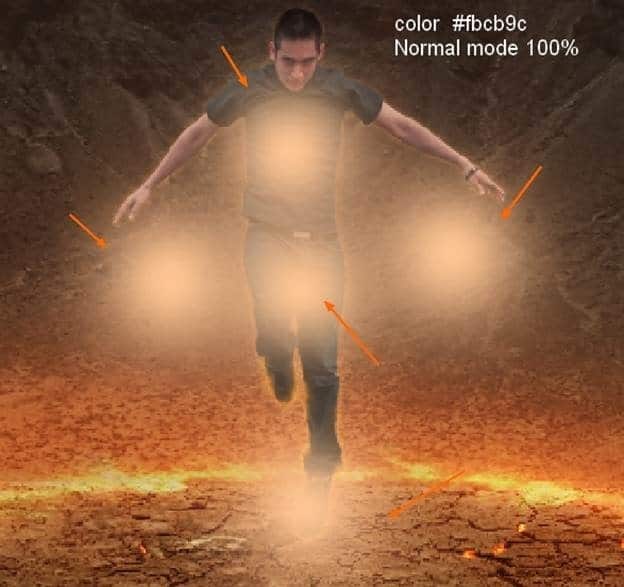
Make a new layer and use soft brush with color #fbcb9c. Increase the size of brush to paint on model as the screenshot below shows:

Change the mode to Overlay 100%:

Call it “glowing light”.
Step 17
Duplicate burning circle layer then delete its layer mask of under layer( right click layer mask, choose Delete Layer Mask). Move under one above the top. Name it “light 3”
22 responses to ““The Controller” – Create this Floating Superhero Scene with Sci-Fi Lighting Effects in Photoshop”
-
Thanks for your tutorial
-
it was a little long winded
-
Thanks four your tutorial, and I wish I can make it. But something is lost, I can’t find the background and crack.
-
Wow amazing technique . I didn’t understand how to create firing motion blur effect ………. can you explain it ………??
-
Hi, I am a Sahebrao photo manipulator though I tend to focus more on a “pin-up” style of work. Great to see some I like, so I want more vedio tutorials. thanks!
-
Hi, I am a superhero photo manipulator though I tend to focus more on a “pin-up” style of work. Great to see some quality tutorials in the field!
-
I like the idea of this tutorial, it’s very creative and the result looks great.Thanks a lot for sharing with us.
-
ohhh awesome !!!!!!!!!!!!!
-
guys please hepl me! i cant get the pics. pls email them to me
-
hello the link to the rocks psd is broken.
-
I’d just like to say great tutorial – I have a crack for part of my one a week project and this was my result – http://www.flickr.com/photos/magsnorton/8415205138/in/photostream
-
Wowww..i like it so much. I will try it at home. I hope i can create it..thanks
-
wish i can make it. I try to make it for my national examination
-
Amazing Tutorial really
-
Dearest Sir…………Wonderful work done. Thanks for uploading,i hope u will be carry on yrs work. for us ………
Thanks a lot…..
Learner ….. Jehan zeb Khan …..( PAK ) -
@FazilZuhaib Thanks, buddy! I’m so busy with web work right now, but I promise I’ll have some new exciting web and PS stuff soon! :)
-
Really amazing, gonna try this out.
-
oh wow haha
-
Very nice tutorial, thank you!
-
Thanks Jenny! Your tutorials are awesome as always! :)
-
I cant wait to try this out. I know it will be major help for me especially with blending.
-
Superb graphic design tutorials. will be too much helpful and thanks for share…


Leave a Reply