Place another Bird to our canvas, flip it horizontally, and then repeat the process to adjust the tone and the contrast. Also refer to the step 28 to create a shadow.

Step 30
We should now bring the Otter into the scene. Use the Pen Tool to cut it out, and place it into our canvas. First, we need to eliminate the highlight on its left side using the technique we’ve used on the dress earlier. Duplicate and merge the Otter and the adjustment layer together, then hold down the Ctrl key and click on the layer’s thumbnail to load a selection. Go to Select > Modify > Contract, and set the Amount to 6 px. Again, go to Select > Modify > Feather, set the Radius to 5 px, and hit Delete. Set the layer’s Blending Mode to Multiply and erase the left part to let it look like it’s lightened from the left.
Again, go to Filter > Liquify, and using a Bloat Tool, click a few times on its face to to make it look more bulbous.


Step 31
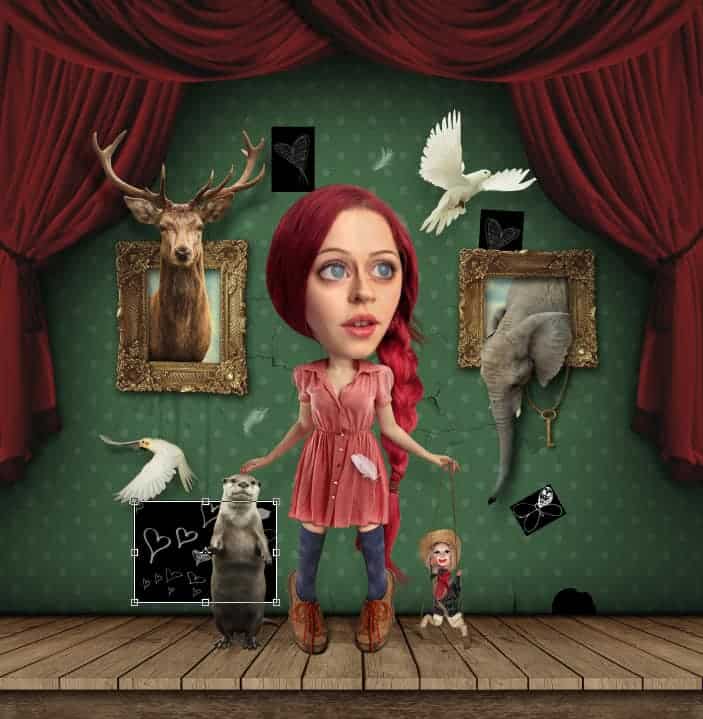
It’s the right time to add some brushes. We need 3 brush sets to complete this illustration. I use these 3: Feather brushes, Ink Splatter, and Cracks brush for the wall. Grab a Brush Tool and start load our brushes. Use the [ key to decrease the brush diameter. Rotate and put it in various places to see what it looks like in different positions. Make sure you use each brush on its own separate layer, that way you can move each layer around to line them up, and play with their Opacities.
To create a mouse hole in the wall, just add a new layer above the Pattern layer and draw kind of an oval shape using a Brush Tool with 100% Hardness. You can reshape it using an Eraser Tool, so it doesn’t need to be perfect. Go to Layers Panel and add an Outer Glow Layer Style with the settings as shown in the image below.


Step 32
OK, we’re now going to start adding some drawn elements. Open some of the elements you want to add to our canvas, and Press Ctrl+I to invert the color. Put them above the Wall group, set the Blending Mode to Screen and lower the Opacity down.
Step 33
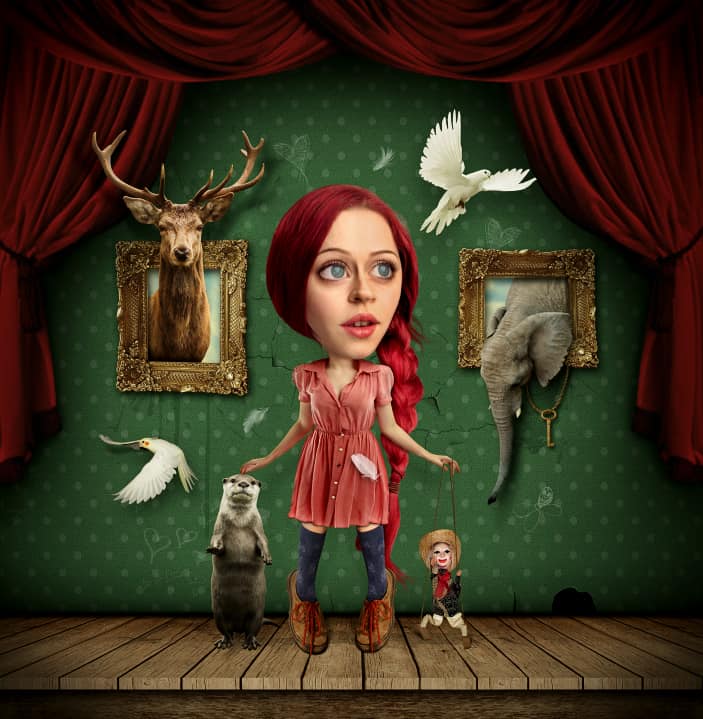
Now we’re reaching the final of this tutorial. As for the final touch, flatten all the layers down and go on the top of Layers Panel and add a Color Balance and Levels adjustment layers with the settings as shown below. This will unify the illustration and blend the color together.
13 responses to “Transform a Portrait Into a Caricature Artwork”
-

A disgraceful explanation. nothing is understood.
-
Hello, your tutorial sucks. It gives no context to what I am actually doing, and it just expects me to know things not explained. I don’t care about what you are going to say to this because my opinion is already formed that this tutorial is no good.
-
This is super cool. Inspired me to a new piece I’ve been wanting to do for a while. Thanks for sharing :)
-
Really your method is very easy and helpful. I get complete idea to the work. Thanks for your kind post.
-
It’s really great tutorial.but how to do the first step? I mean the Gradient step.
-
1. Create a new layer (Layer > New > Layer).
2. Select the Elliptical Marquee Tool (Press Shift+M until the icon in the toolbar turns into a circular marquee).
3. Go to Select > Modify > Feature. Set the Radius to 150px.
4. Go to Select > Modify > Inverse.
5. Press Shift+Backspace. Set the contents to black.
6. Lower the current layer’s opacity to 21%.
7. Duplicate the layer by pressing Ctrl+J (Cmd+J on Macs).
8. Go to Edit > Transform > Scale. Scale it up by around 137% or larger.
9. Lower the current layer’s opacity to 41%. -
exactly i have no clue
-
-
there is no tutorial on the dall looking girl?
-
how do i find out more about this please…very interested..thankyou
-
where is the add button??
-
GOOD!!
-
How to download this ??
-
wow am so inspire men good tin
Leave a Reply