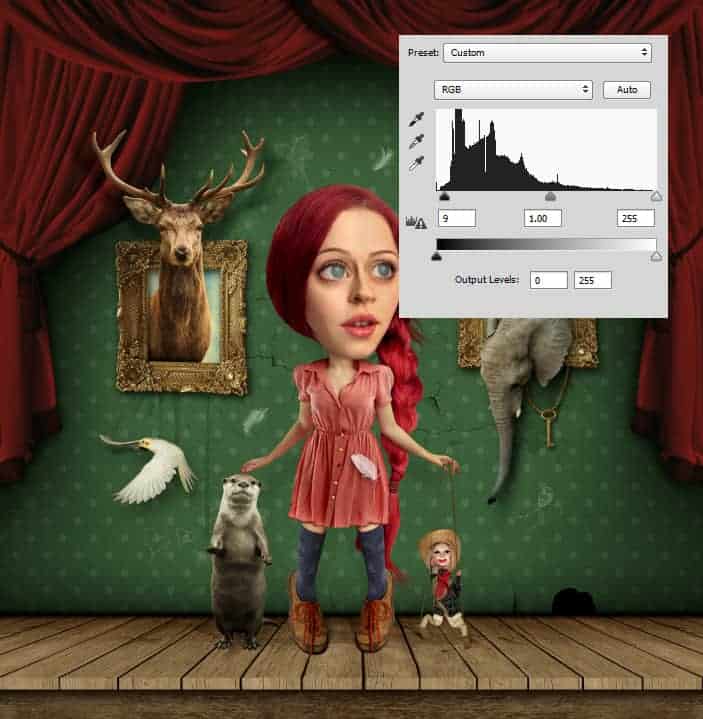
Refer to step 6 to create a vignette effect to focus the attention on the center of the image. Now duplicate the layer, press Ctrl+U to desaturate the color, then go to Image > Adjustment > Shadow/Highlight and leave the settings as it is. Set the Blending Mode to Soft Light and the Opacity to 30%.
Next, to add a bit of contrast and keep the edge details, just duplicate the layer again, go to Filter > Other > High Pass and set the Radius to 3.0. Then set the Blending Mode to Overlay with the 30% Opacity.
Lastly, add a Hue/Saturation Adjustment Layer on top of everything, and set the Saturation to +5.


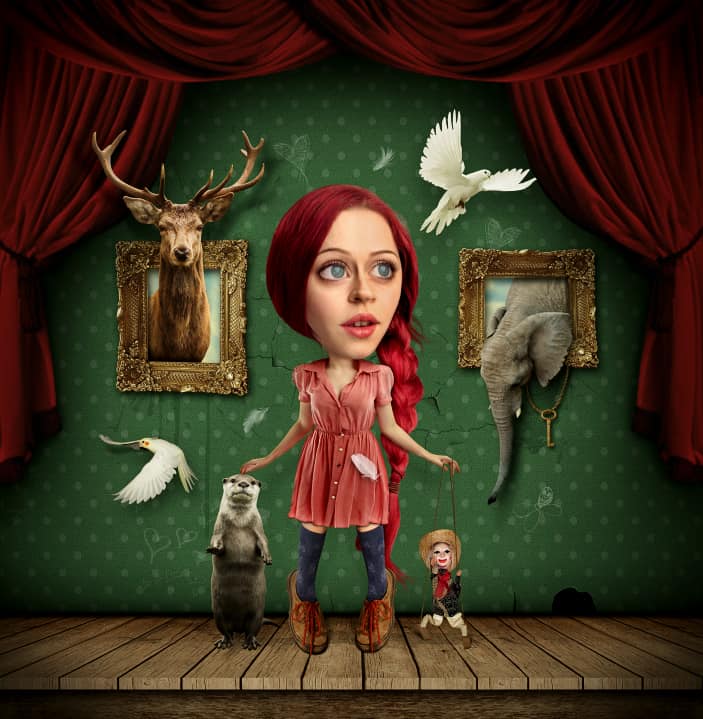
Final Results
Download the PSD
[vc_column width=”1/1″ el_position=”first last”] [vc_cta_button title=”Download” href=”https://downloads.photoshoptutorials.ws/Caricature.zip” color=”btn” size=”btn-large” icon=”none” target=”_self” position=”cta_align_right” call_text=”Caricature.zip | 45.0 MB” width=”1/1″ el_position=”first last”] [/vc_column]
Tutorial by Ariga Yada
13 responses to “Transform a Portrait Into a Caricature Artwork”
-

A disgraceful explanation. nothing is understood.
-
Hello, your tutorial sucks. It gives no context to what I am actually doing, and it just expects me to know things not explained. I don’t care about what you are going to say to this because my opinion is already formed that this tutorial is no good.
-
This is super cool. Inspired me to a new piece I’ve been wanting to do for a while. Thanks for sharing :)
-
Really your method is very easy and helpful. I get complete idea to the work. Thanks for your kind post.
-
It’s really great tutorial.but how to do the first step? I mean the Gradient step.
-
1. Create a new layer (Layer > New > Layer).
2. Select the Elliptical Marquee Tool (Press Shift+M until the icon in the toolbar turns into a circular marquee).
3. Go to Select > Modify > Feature. Set the Radius to 150px.
4. Go to Select > Modify > Inverse.
5. Press Shift+Backspace. Set the contents to black.
6. Lower the current layer’s opacity to 21%.
7. Duplicate the layer by pressing Ctrl+J (Cmd+J on Macs).
8. Go to Edit > Transform > Scale. Scale it up by around 137% or larger.
9. Lower the current layer’s opacity to 41%. -
exactly i have no clue
-
-
there is no tutorial on the dall looking girl?
-
how do i find out more about this please…very interested..thankyou
-
where is the add button??
-
GOOD!!
-
How to download this ??
-
wow am so inspire men good tin
Leave a Reply