

Step 12 – Additional wreckage
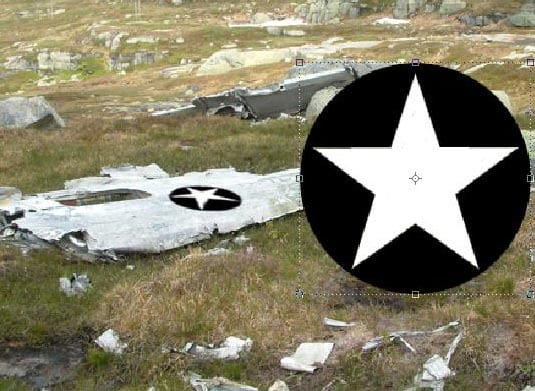
This is optional, but you can add a logo to the wings or parts of the airplane. I created this star logo and placed it on a wing using the Distort tool (Edit > Transform > Distort).
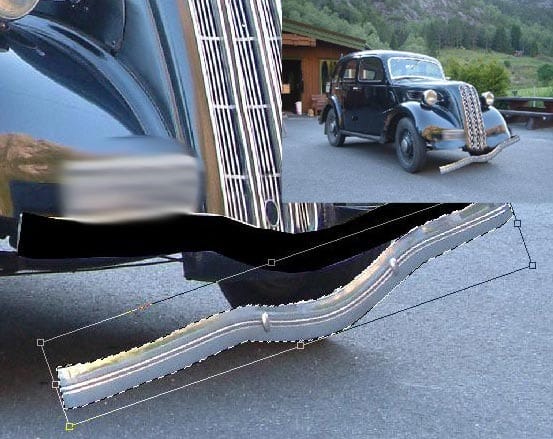
I also added a car. I made the bumper look like it was fallen off then I positioned this car in front of the building.
I took an image of a tower, desatureated it, and positioned it on the far right


Step 13 – Adding mountains to the background
Take an image of mountains and remove the sky. Copy and paste the mountain into your project.

Position the mountain beside the building then erase the side so that it looks like it is behind the building.

Repeat this for the other side of the building.

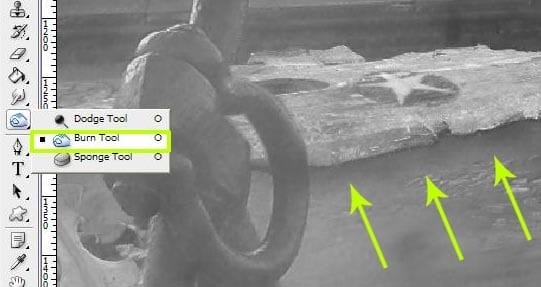
Step 14 – Finishing up
Use the Burn tool (O) to burn some area of the wreckage to give it some depth.
When you’re done, press Ctrl+Shift+J to create a new layer of the flattened contents. Make sure this layer is the top layer. Choose Filter > Brush Strokes > Angled Strokes and use the default settings. Change the opacity of the layer to 20%. You can also add other things such as adding the date, more cracks, lowering the flag, etc.

Leave a Reply