

Once you have all the highlights painted, the skin tone should look smoother.

Step 8: Fix the color blotches
If you look closely at the image, you may notice color blotches that make the skin look artificial. To fix this, we’ll use the Blur tool to blur out the edges. First, select Layer 1 which is the top layer with the skin color. Then, select the Blur tool from the toolbar. The Blur tool may be hidden with the Smudge or Sharpen tool. If you can’t find the Blur tool, find the Smudge or Sharpen tool, click and hold on it and a menu should appear with the Blur tool you can select. Once you have the Blur tool selected, blur the edges of the blotches to make it blend into the skin.


Step 9: Reduce the effect
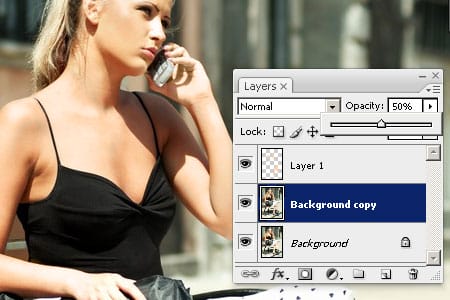
The skin tone is very smooth, but it makes the skin look too flat. To fix this, you can reduce the opacity of the Background copy layer.
Final Results
Original Image

Fix Blown Out Skin Photoshop Tutorial

6 responses to “Fix Blown Out Skin”
-

When I get to the burn tool, nothing changes?
-
As Ralph I have problems with the burn, mine comes up with burned looking dark splotches, not very good looking.
-
i must be missing something. I get through Step 4 fine, but in Step 5 I dupe the background layer, then choose Layer 1 and set the blend mode to Color. Step 6, I set up the range, exposure and air brush tool as instructed. When I go to paint with the Burn Tool, nothing happens. This is where I’m confused….
-
Is the mode set to normal?
-
-
The best I’ve found! Thank you very much :)
-
Thank u very much….it works :) good job
Leave a Reply