
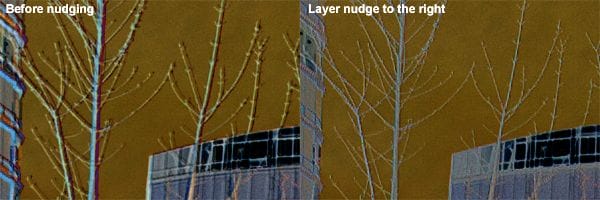
Change the blending mode of the current layer back to normal. Enable visibility for the top layer then change the blending mode to difference.

Like earlier, select the Move tool (V) then use the arrow keys on your keyboard to nudge the layers so that the embossing effect disappears. Change the blending mode back to normal when you’re done. Don’t forget to crop the image! If you imported the photos from Lightroom, leave the image uncropped and crop it in Lightroom instead.
Step 3 – Applying the HDR tone mapping effect
Before we begin, move the layer with the middle exposure to the bottom. The two layers with the underexposed and overexposed image should be on the top.

In the Layers palette, right click on the layer with the darker exposure then choose Blending Options.

While holding down the Alt key on your keyboard, drag on the ![]() all the way towards the right until it is hidden under the
all the way towards the right until it is hidden under the ![]() . Click OK. What this just did was make the darker parts of the layer transparent. The darker it is, the more transparent it is. Now you have the highlight details taken from the layer with the underexposed image.
. Click OK. What this just did was make the darker parts of the layer transparent. The darker it is, the more transparent it is. Now you have the highlight details taken from the layer with the underexposed image.

Now we’ll apply the opposite layer style to the overexposed layer. Right click on the layer with the overexposed image then choose Blending Options. While holding the Alt key, drag the ![]() all the way to the very left side. Click OK. Now you have the shadow details from the layer with the overexposed image.
all the way to the very left side. Click OK. Now you have the shadow details from the layer with the overexposed image. 
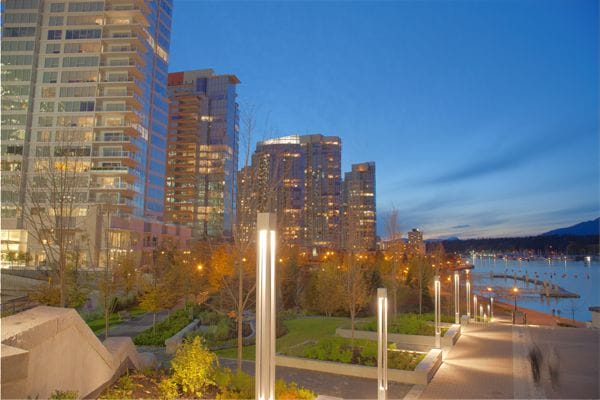
You’ve just tone mapped your image using the flattest setting!
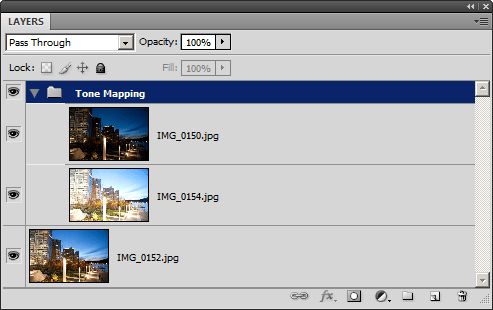
For better layer organization, create a new group by pressing the ![]() button in the Layers palette. Name this group “Tone Mapping” then drag the top two layers into the group.
button in the Layers palette. Name this group “Tone Mapping” then drag the top two layers into the group.
You can lower the strength of the tone mapping effect by lowering the opacity of the group.

Step 4 – Creating a realistic tone mapped image
If you like your flat tone mapping technique, you can stop skip to Step 5 where you will learn how to handle artifacts created from moving objects when you were taking the picture. In this step, you’ll learn how to apply masking to your tone mapping so that the contrast looks almost the same as the original image. We do this by adding a layer mask that hides the tone mapping effect from the midtones so only the extreme dark and light areas are tone mapped.
2 responses to “HDR Tone Mapping with Layers in Photoshop”
-

Dats brilliant like it!
-
Nice Blog
Leave a Reply