
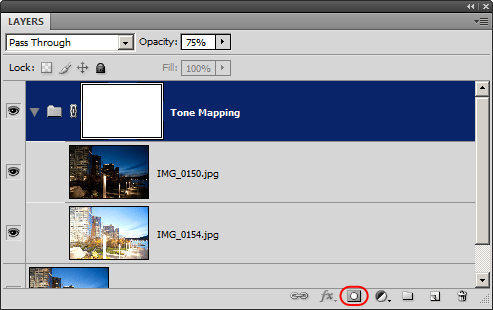
Start by adding a layer mask to the Tone Mapping group. To do this, select the Tone Mapping group then click on the ![]() button to add a layer mask.
button to add a layer mask.
Add a new solid color adjustment layer with 82% gray. To do this, choose Layer > New Fill Layer > Solid Color. Enter in 82% the brightness field then click OK.

Position this fill layer as the top layer then change the blending mode to difference.
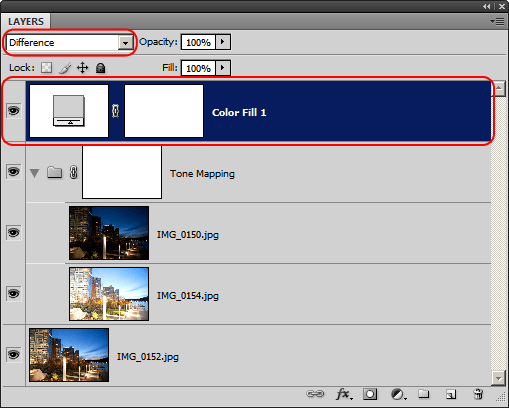
This is what your image should look like after changing the blending mode to difference. What you are seeing is the image map that we will be using in the layer mask. More about this will be explained later. 
Click on the layer mask in the Layers palette to select it.

Choose Image > Apply Image. The default settings as shown below is fine. Click OK. This will put the merged image into the layer mask.

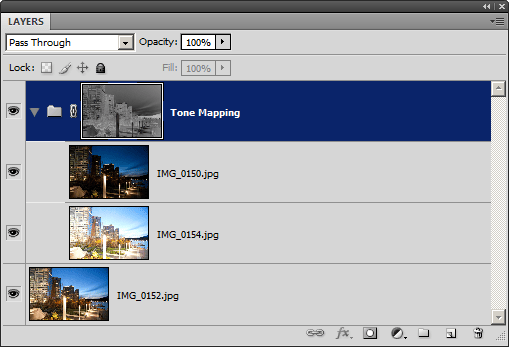
Delete the solid fill layer (top layer). As you can see now, the layer mask has the image in it. Anything dark in the layer mask means that the tone mapping effect is being hidden. What we just did was create an image map that hides the tone mapping effect in the midtones and only show it in the extreme dark and light areas of the image. This is how we can apply tone mapping without lowering the contrast.
If you’re a pro at Photoshop, you can refine your tone mapping mask by using the curves tool in the layer mask. Simply select the layer mask then choose Image > Adjustments > Curves. Adjust the curve then click OK.

Here’s what our image looks like (with curves adjustment on layer mask). Rollover the image to see the before and after effect. It may take a few seconds for the image to load when you rollover.

Step 5 – Correcting artifacts
The benefit of tone mapping using layers is that you can manually correct artifacts. Fortunately, this tone mapping technique works well with moving objects and usually doesn’t create any pixilated or obvious artifacts. Unfortunately, because of this, we don’t have a good example to show you. The only artifact we can find is a very slight ghosting from someone standing near the edge of the sea wall. Looking closely, you can see a very faint ghosting. Most people won’t bother fixing this but we’ll do it just to show you how.
2 responses to “HDR Tone Mapping with Layers in Photoshop”
-

Dats brilliant like it!
-
Nice Blog
Leave a Reply