
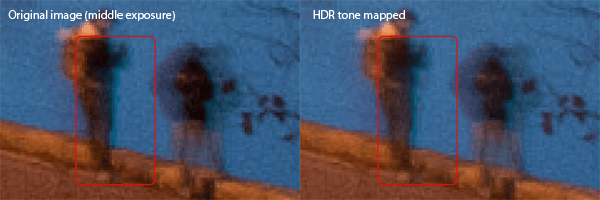
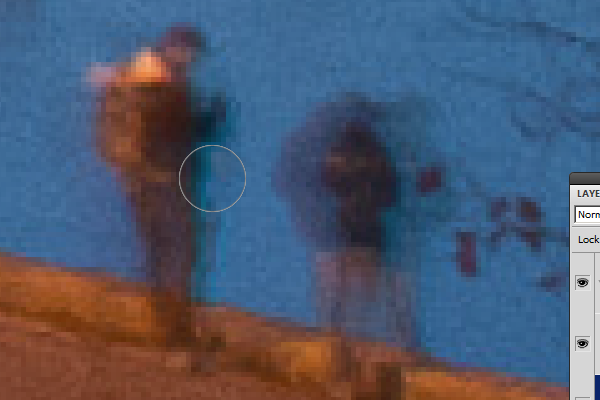
First, you need to find out which layer is causing the ghosting. Enable and disable the ![]() of the two layers inside the Tone Mapping group. Once you see it disappear, that is the layer that is causing the artifact.
of the two layers inside the Tone Mapping group. Once you see it disappear, that is the layer that is causing the artifact.

Select the layer and enable back the ![]() . Click on the
. Click on the ![]() button to add a layer mask.
button to add a layer mask.

Select the Eraser tool (E) from the toolbar then set the hardness to 0%. You can adjust the hardness by right clicking anywhere in the image or, for older versions of Photoshop, set it in the Brushes palette (Window > Brushes).

Erase the affected area. That’s all there is to it!
Final Results
Rollover the images below to see the before and after effect.
Realistic setting

Realistic setting (100% crop)

Flat setting (50% opacity)
Flattest setting
Download the PSD | 116 MB
2 responses to “HDR Tone Mapping with Layers in Photoshop”
-

Dats brilliant like it!
-
Nice Blog
Leave a Reply