


Step 8
Add Adjustment Layer “Curves”

Step 9
Add Adjustment Layer “Color Balance”

Step 10
Add Adjustment Layer “Curves” and press Ctrl/Cmd + I to invert. Then use Brush Tool(B) Soft Round with foreground color white and paint on Highlight parts.

Step 11
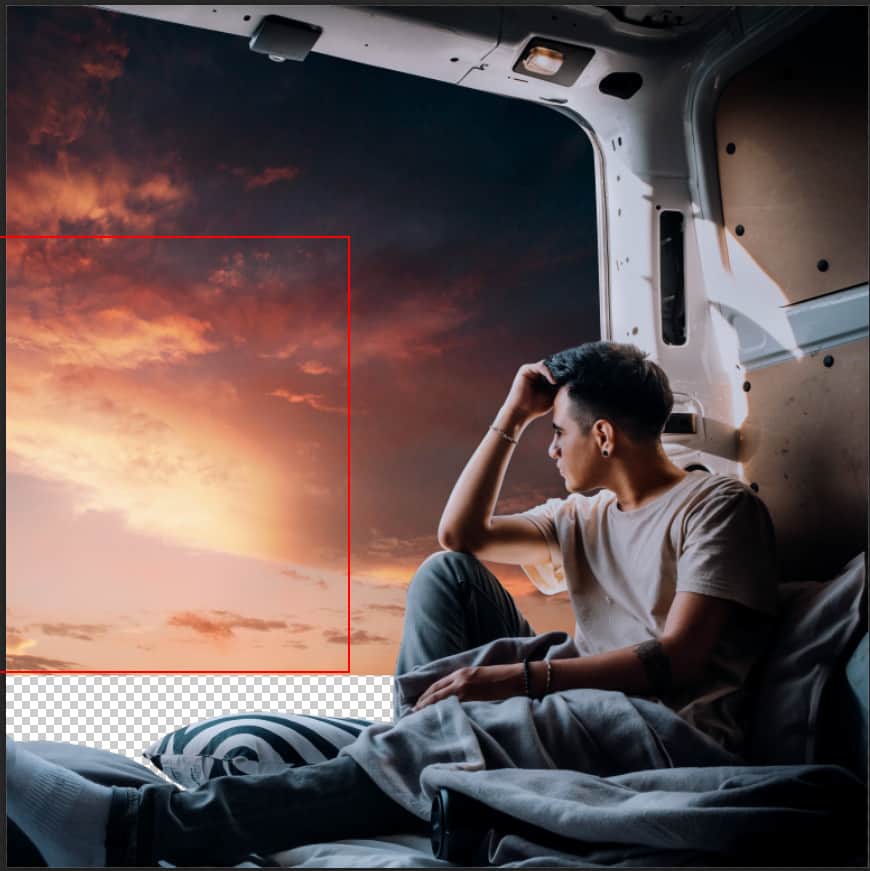
Add Adjustment Layer “Curves” and press Ctrl/Cmd + I to invert. Then use Brush Tool(B) Soft Round with foreground color white and paint on Dark parts.


Step 12
Create a new layer and use a Brush Tool(B) Soft Round with foreground color white and Size to max(5000px). Then paint to left corner. Opacity set to 30%. Then go to Filter > Blur > Gaussian Blur and radius to 100px.


Step 13
Go to File > Place and select Planet photo. Then place it to our work canvas, position the image with the transform tool (Ctrl / Cmd + T). Hold Alt + Shift and rasterize like the image below. In Photoshop CC only hold Alt to rasterize all sides together. Now create a layer mask and use Brush Tool(B) Soft Round with foreground color black and paint all around the planet. Blend mode change to Lighten.


Next, select layer and press right click then click on “Blending Options”. Now Hold ALT and drag left slider (Underlying layer) to right(128).

Step 14
Add Adjustment Layer “Curves”

Step 15
Add Adjustment Layer “Color Balance”

Step 16
Add Adjustment Layer “Curves” and press Ctrl/Cmd + I to invert. Then use Brush Tool(B) Soft Round with foreground color white and paint on left side of planet.


Step 17
Next, place Moon Go to Filte > Place and select Moon. Then place it to our work canvas, position the image with the transform tool (Ctrl / Cmd + T). Hold Alt + Shift and rasterize like the image below. In Photoshop CC only hold Alt to rasterize all sides together. Blend mode change to Color Dodge.


Step 18
Now, place Stars Go to Filte > Place and select Stars. Then place it to our work canvas, position the image with the transform tool (Ctrl / Cmd + T). Hold Alt + Shift and rasterize like the image below. In Photoshop CC only hold Alt to rasterize all sides together. Blend mode change to Screen.


Step 19
Next we will open Mountains. After you open the image, use Rectangular Marquee Tool(M).
6 responses to “How to Create a Realistic scene of Rocket Launch in Photoshop”
-

Hi! I have a question. With every tutorial I do, my color histograms are way different from te ones in the tutorial. This happens right from the start.. It makes it nearly impossible to follow the tutorial the right way…
Any tips?
-
great
-
just problem with your psd link :)
-
Great tuto, just a probllem with the psd link :)
-
..very good, just problem with psd link :)
-
My bad – it’s been fixed now!
-
Leave a Reply