
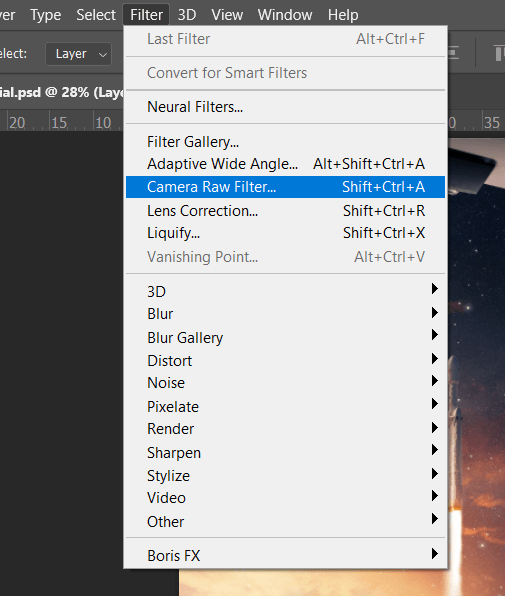
Step 32
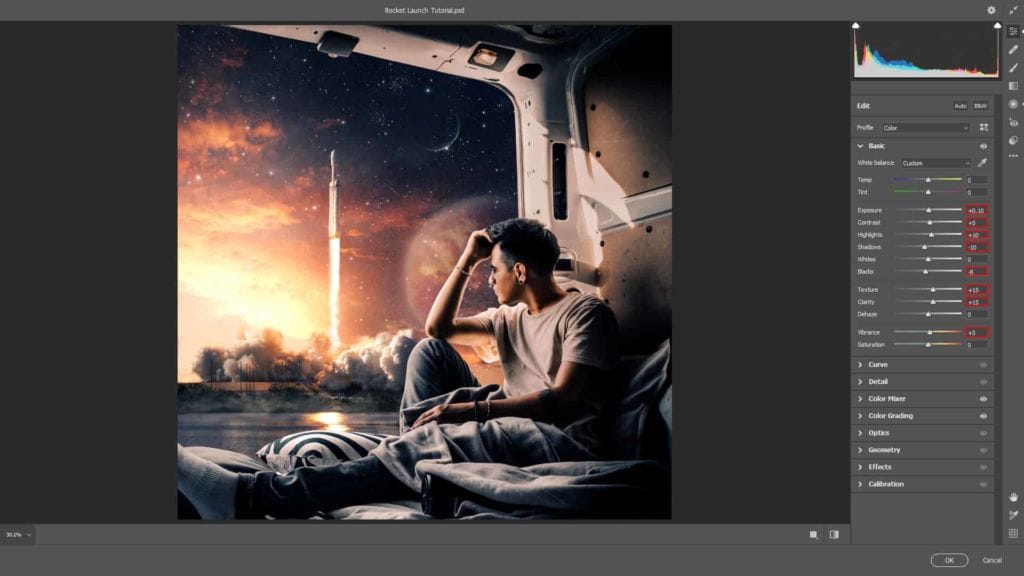
Now in Camera Raw Filter, set the Value: Basic
- Exposure: +0.10
- Contrast: +5
- Highlights: +10
- Shadows: -10
- Blacks: -8
- Texture: +15
- Clarity: +15
- Vibrance: +5
Color Mixer
- Saturation
- Reds: +10
- Oranges: -5
- Yellows: +8
- Greens: +20
- Aquas: +10
- Purples: -10
- Luminance
- Reds: -8
- Oranges: -10

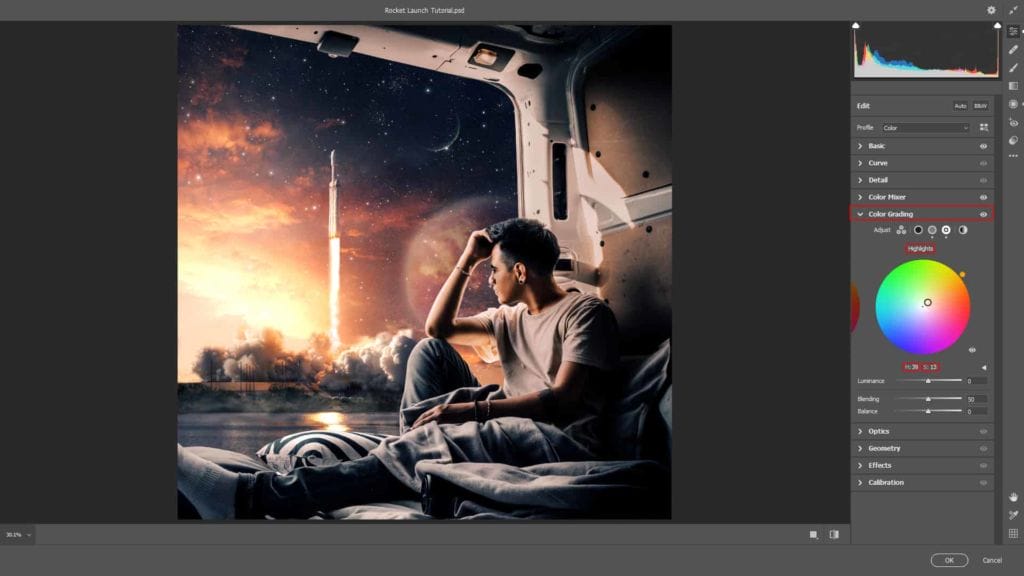
Color Grading Midtones
- H: 39 S: 13

Highlights
- H: 39 S: 13
Radial Filter
- Highlights: +25
- Whites: +20

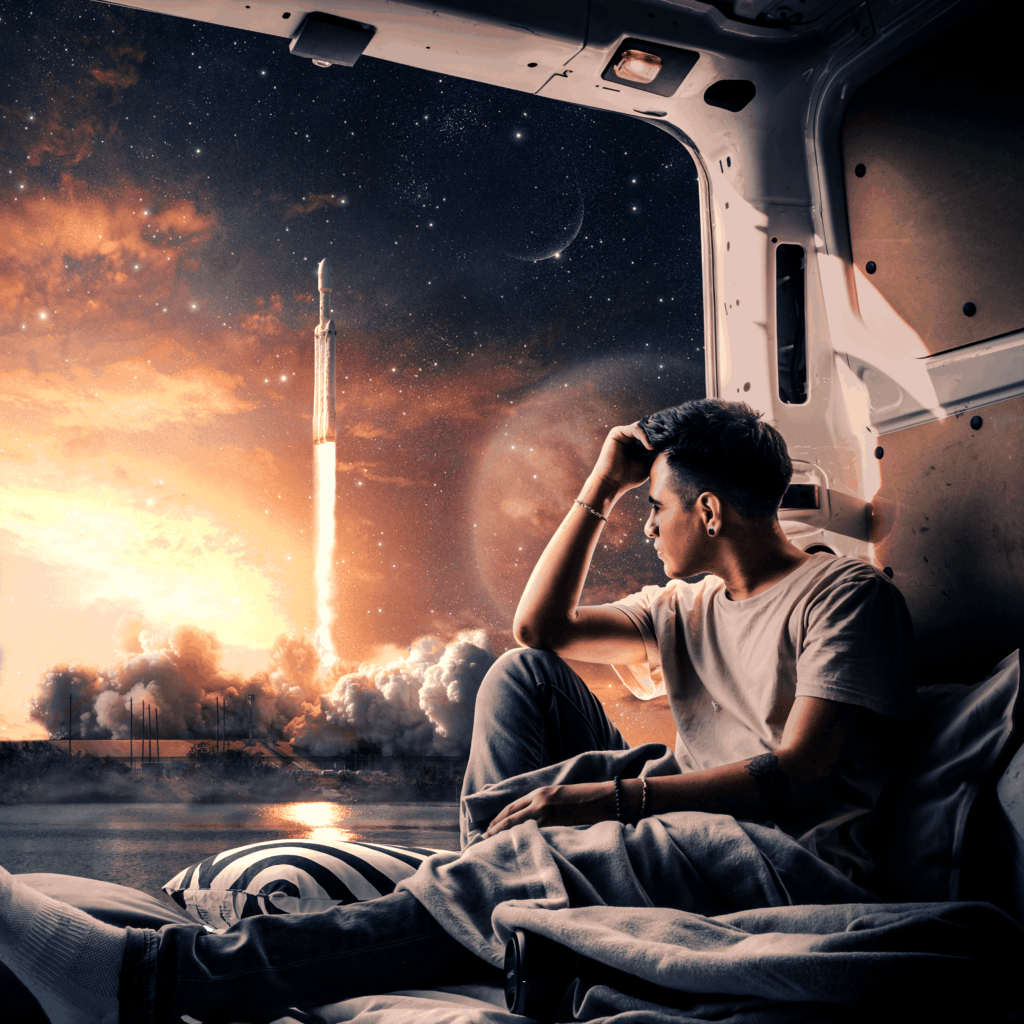
Finally everything should look like this:

Final Results
Download the PSD
6 responses to “How to Create a Realistic scene of Rocket Launch in Photoshop”
-

Hi! I have a question. With every tutorial I do, my color histograms are way different from te ones in the tutorial. This happens right from the start.. It makes it nearly impossible to follow the tutorial the right way…
Any tips?
-
great
-
just problem with your psd link :)
-
Great tuto, just a probllem with the psd link :)
-
..very good, just problem with psd link :)
-
My bad – it’s been fixed now!
-
Leave a Reply