

Activate the Dodgeand Burn Tool (O)with Midtones Range, Exposureabout15-25%to refine the light and shadow of the model. You can see how I did it with Normal mode and the result with Overlaymode.

Step 13
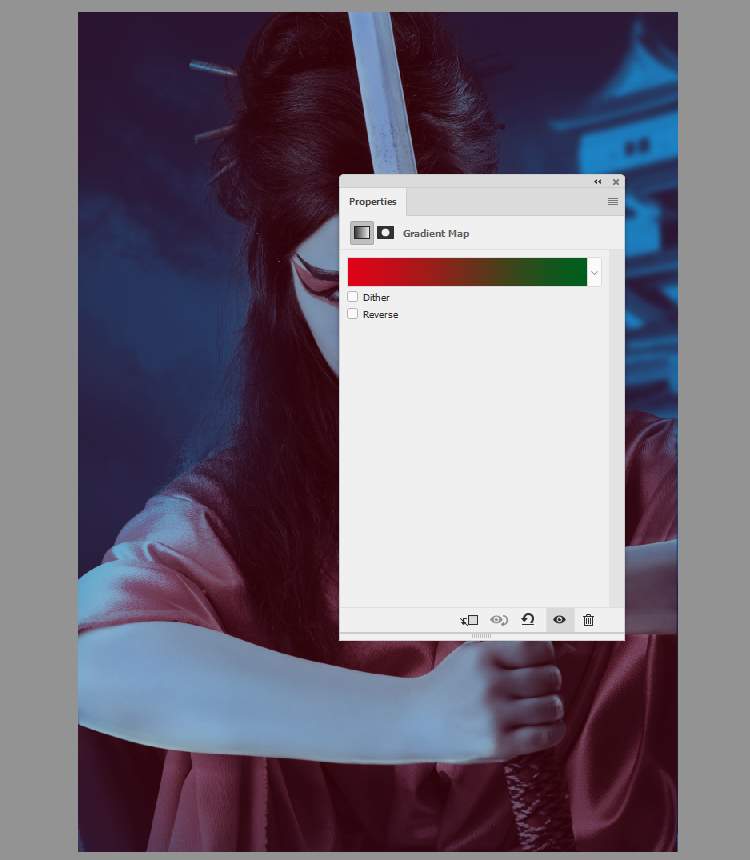
Make a Gradient Mapadjustment layer on top of the layers and pick the colors #011532and #009ef9. On the layer mask, use a soft black brush to erase the model so most of her won’t be affected by blue.


Create another Gradient Mapadjustment layer and pick the colors #e10019and #00601b. Lower the opacity of this layer to 20%.
Step 14
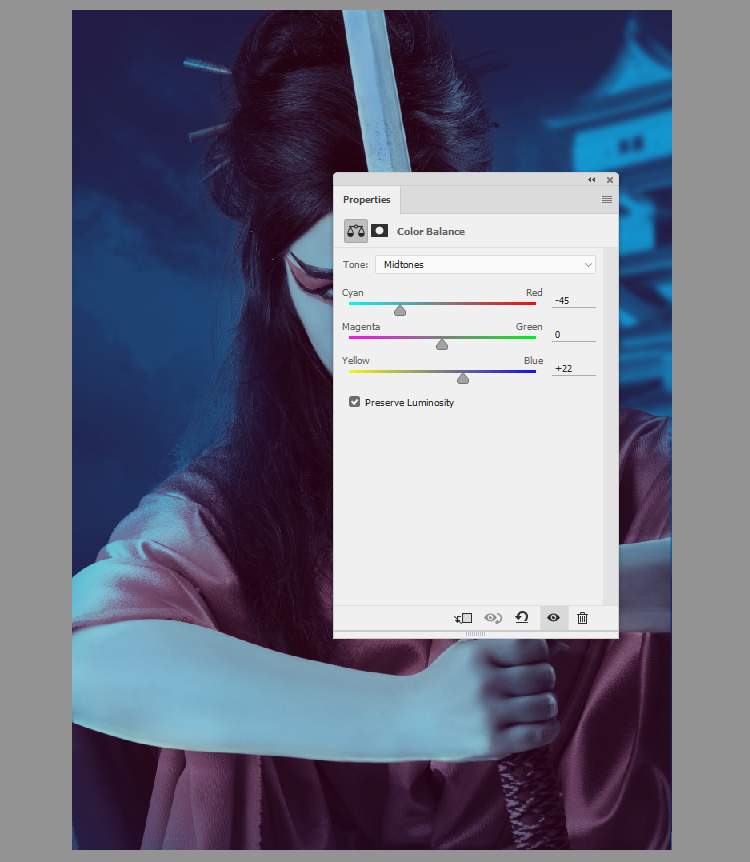
Add a Color Balanceadjustment layer and change the Midtonesand Highlightssettings.

Step 15
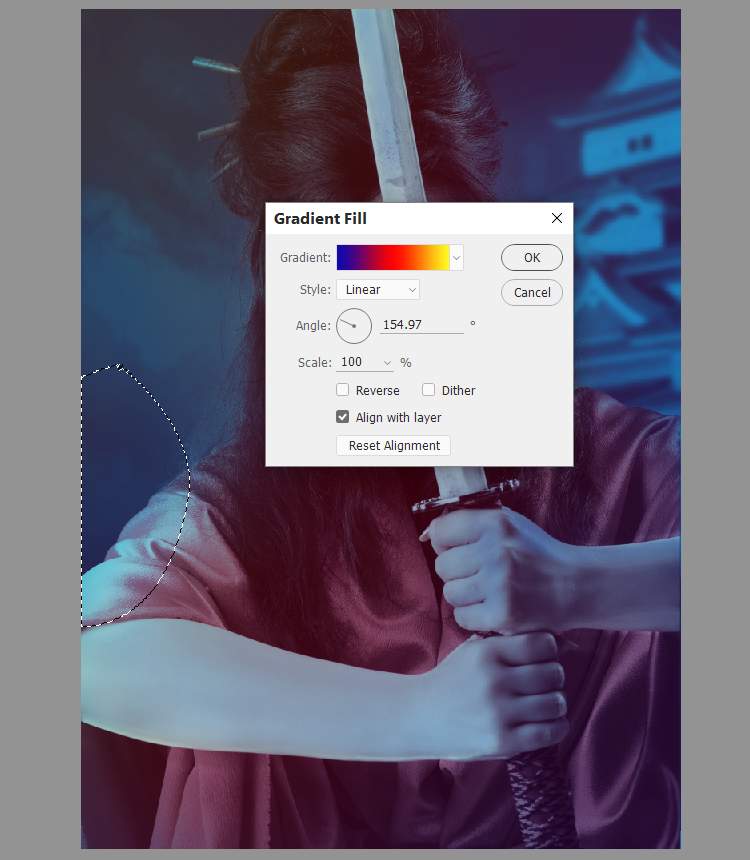
Make a Gradient Filllayer and pick the colors #0a00b2, #ff0000 and #fffc00. Lower the opacity of this layer to10%. On this layer mask, paint on left edge part around the model’s sleeves to reveal the blue there.
Step 16
Create a Levelsadjustment layer to change the contrast of the top left and bottom right. On the layer mask, paint on the rest to keep the dreamy atmosphere there.
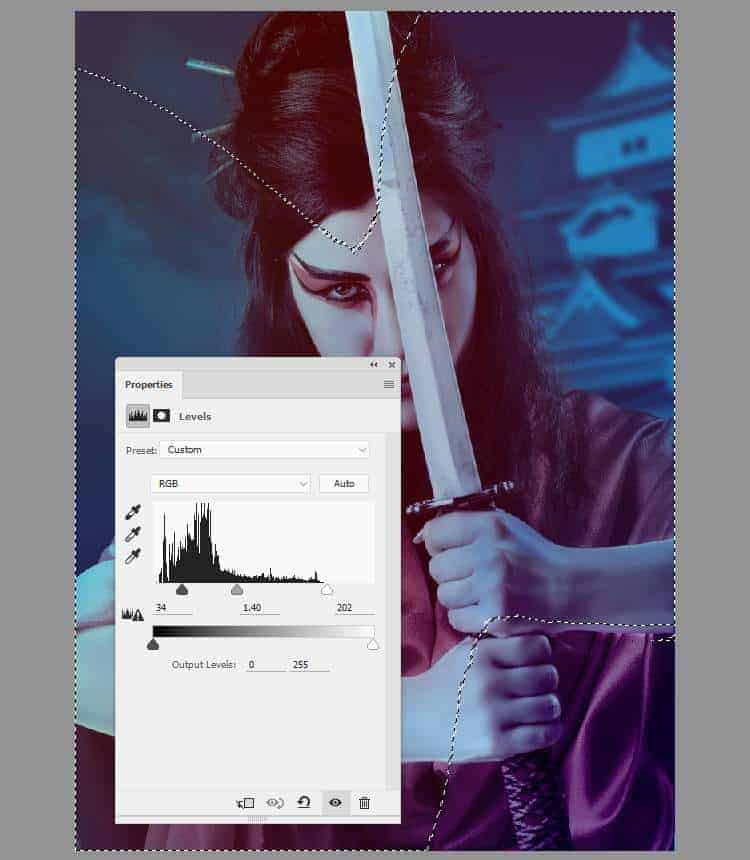
Step 17
Make a new layer and select the Gradient Tool (G)and pick Radial Gradientwith default colors (black and white). Drag a line from the top left to the bottom right and change the mode to Overlay 100%.


Click the second icon at the bottom of the Layerspanel to add a mask to this layer. Use a soft black brush to reduce the contrast on the arms, sword and the right cheek.

Step 18
Create a new layer and use a soft brush, the color #281b01to paint around the bottom of the canvas. Change this layer mode to Linear Dodge 100%and use a layer mask to erase the arm area.


Step 19
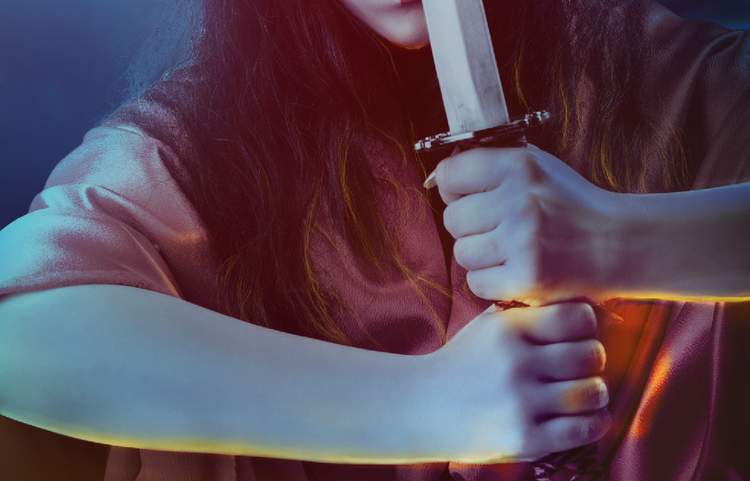
Make a new layer and use a brush with the color #ffd72bto paint some light below the arm and on the clothes. Change this layer mode to Overlay 100%.
Step 20
Create a new layer and use the same brush to paint some yellow hair around the bottom of the clothes and the arm.
Step 21
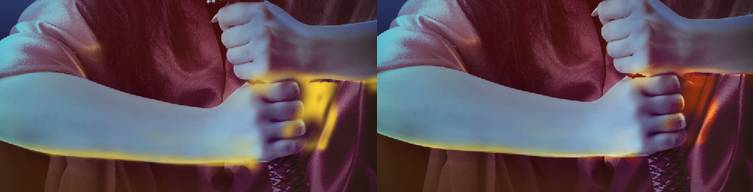
Make a new layer and alter the mode to Color Dodge 100%and use the same brush to paint light on the fingers and clothes. Add a mask to this layer and reduce the light effect on her fingers.

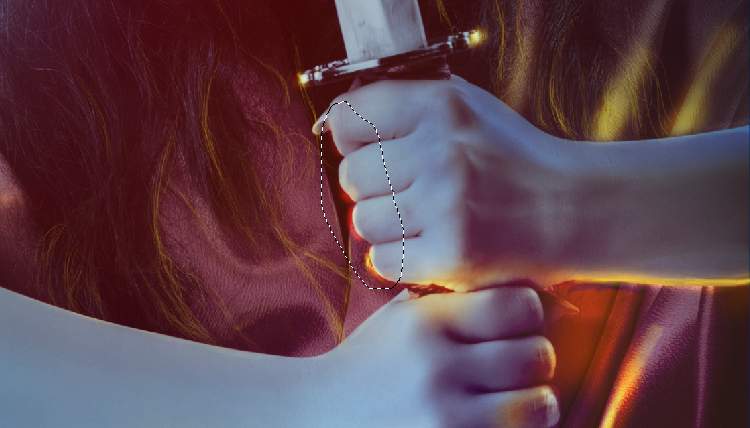
Step 22
On a new layer, use a soft brush with the color #e66a2d to paint around the arms. Change this layer mode to Overlay 100%and use a layer mask to erase the left of her arm.
2 responses to “How to Create a Samurai Photo Manipulation with Photoshop”
-

Entretenido y el resultado muy profesional, Gracias
-
thaanks for sharing this great lesson !!!!!!!
Leave a Reply