


Step 24
Double click this layer, choose Color Overlayand pick the color of overlay to #c4ddf9.

Step 25
Make a thinner light column inside the hole with the same method and change the mode to Overlay 100%.
Step 26
Go to Filter > Blur > Gaussian Blurand set the radius to 10 px.

Add a mask to this layer and use a soft black brush to reduce the light on the bottom of this light column.

Step 27
Create a new layer and use a soft brush with the color #eef2f7to paint four light spot over the light column as show below. Change this layer mode to Overlay 100%.

Add a mask to this layer and erase the light on the bottom so it appear more subtle.

Step 28
Make a new layer and use a soft brush with the same color to paint more light around the hole’s surface. Change this layer mode to Overlay 50%and use a layer mask to reduce the light around so it won’t become too bright.

Step 29
Create a new layer, change the mode to Overlay 100%and fill with 50% gray:

Activate the Dodge Tool (O)with Midtones Range, Exposureabout 20-25%to paint more highlight on the details of the hole’s surface to fit the light inside the hole. You can see how I did it with Normal mode and the result with Overlaymode:

Step 30
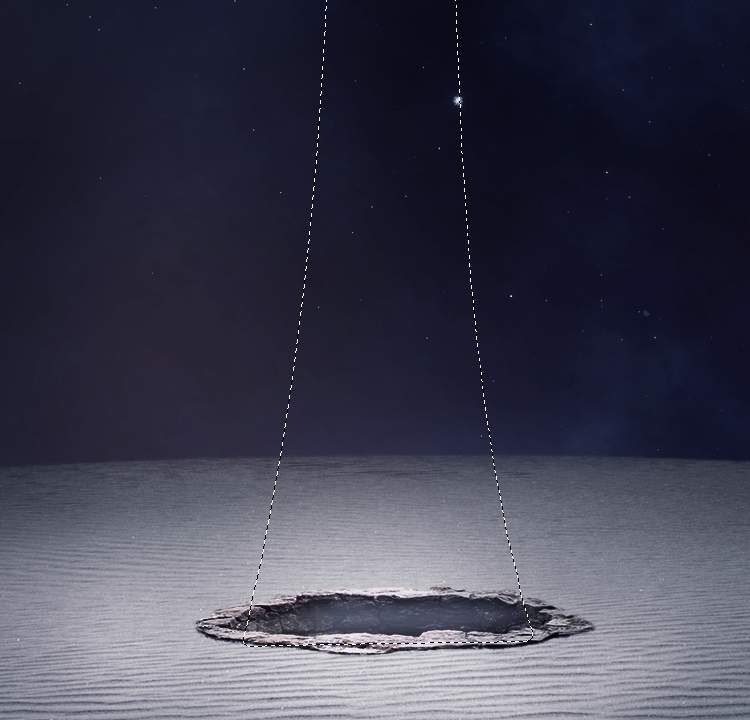
Open the light image and add it to the main document. Use the Free Transform Tool (Ctrl+T)with theWarp mode to tweak the light as show below:

Change this layer mode to Linear Dodge 100%and use a layer mask to erase the light on the right (from the viewer) .
Step 31
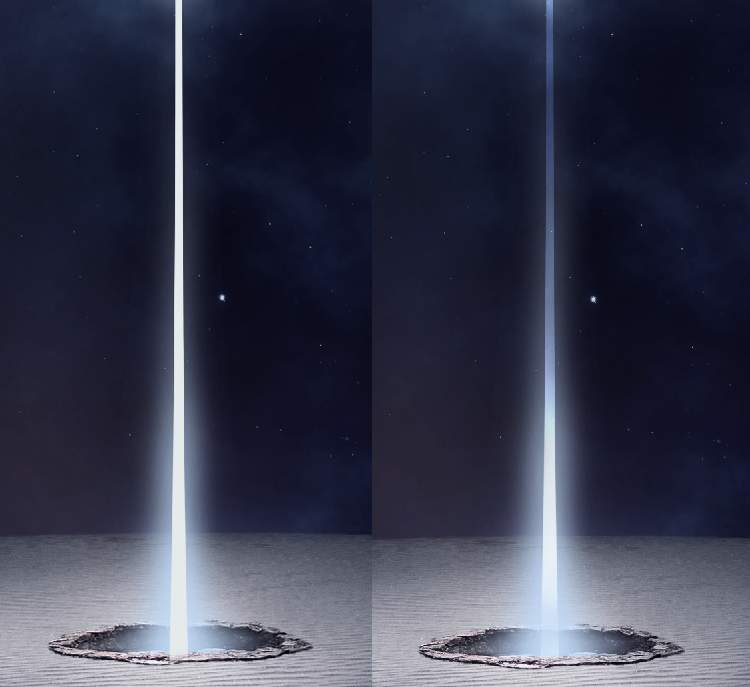
Apply aMotion Blurwith the following settings:

Duplicate this layer and move it a bit to the right. Use a layer mask to make the light part near the light column visible only.

Step 32
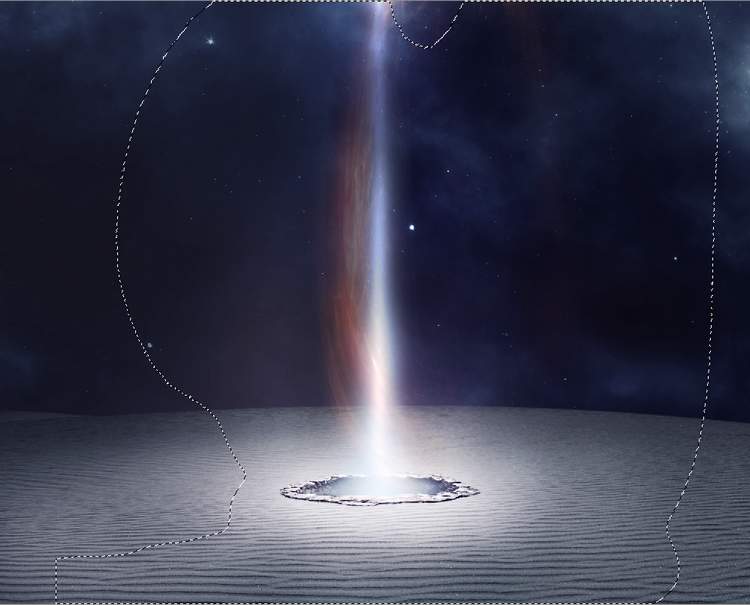
Make a group for these light layers and the group’s mode to Linear Dodge 100%. Add a Hue/Saturationadjustment layer to change the light’s color to fit the rest of the background.

Step 33
Isolate the man and resize him to be much smaller and add him to the middle position of the light column.

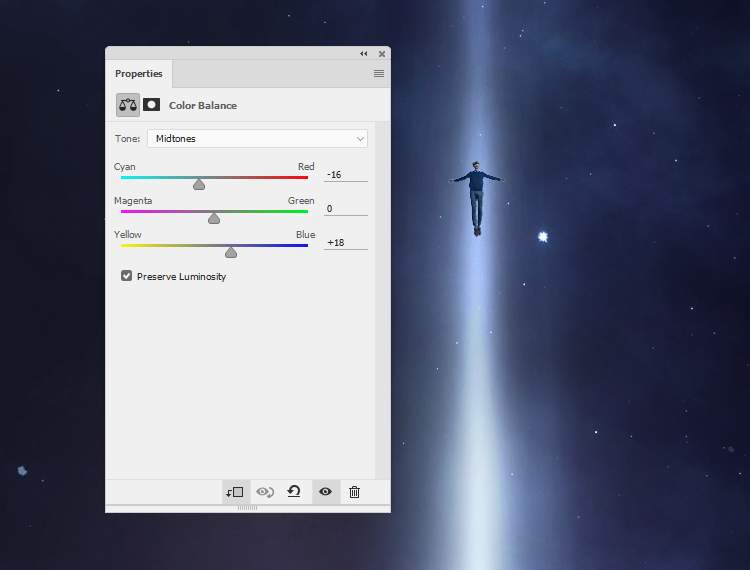
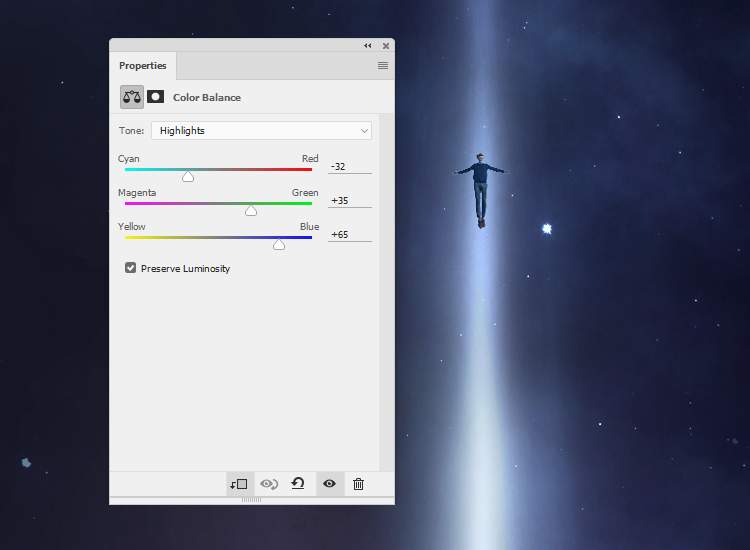
Step 34
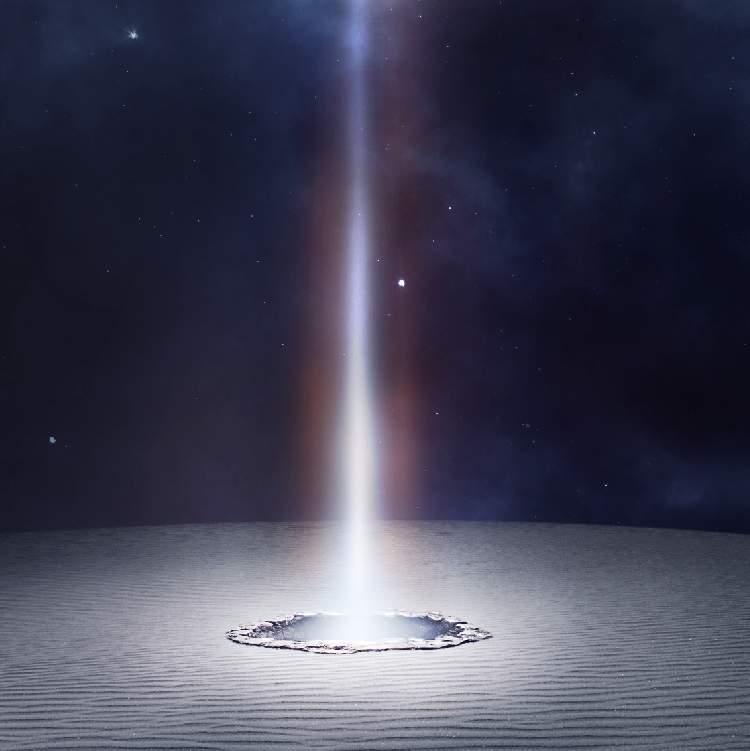
Create a Color Balance adjustment layer and alter the Midtonesand Highlightsvalues:
Step 35
Make a Curvesadjustment layer to darken the man a bit. On the layer mask, paint on the top of the man so it won’t become too dark.
3 responses to “How to Create a Sci-Fi Lighting Scene with Photoshop”
-

thank you so much for your efforts!
-
Very NICE!! I love your tutorials!
Thank you! -
Amazing..
Leave a Reply