
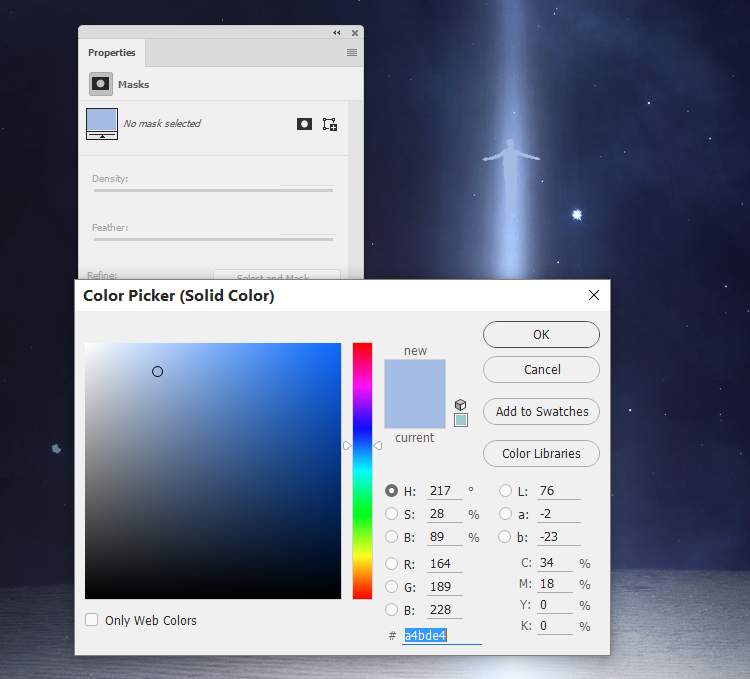
Step 36
Add a Color Filllayer and pick the color #a4bde4 to make the man blended better with the glowing light. Change this layer mode to Screen 40%and use a layer mask to reduce the light on the head and hands of the man.

Step 37
Create a new layer, use a soft brush with the color #c5e7ffto paint more light effect around the man. Change this layer mode to Overlay 70%.

Step 38
Make a new layer on top of the layers and use a small medium-soft brush with the color#c4ddf9to paint tiny dots from the hole to the top of the light. Press [and ]while painting to change the size of the brush.

Change the mode of this layer to Color Dodge 100%.
Step 39
Double click this layer, choose Outer Glow. Set the color of glow to #c4ddf9.

Apply a Motion Blur with the following settings:

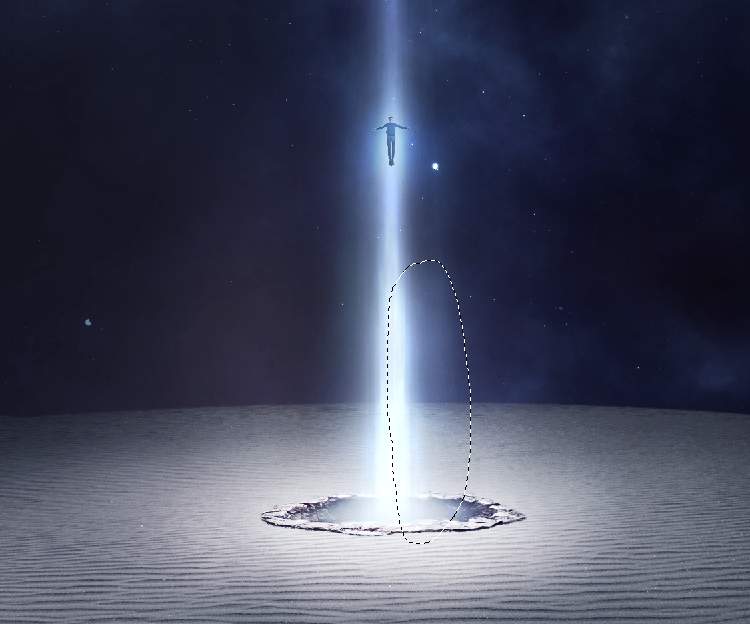
Step 40
Add a mask to this layer to reduce the unwanted light outside the hole and around the man.

Duplicate this layer and flip it horizontally (Edit > Transform > Flip Horizontal) . Move it to the right of the light column to fill in it.
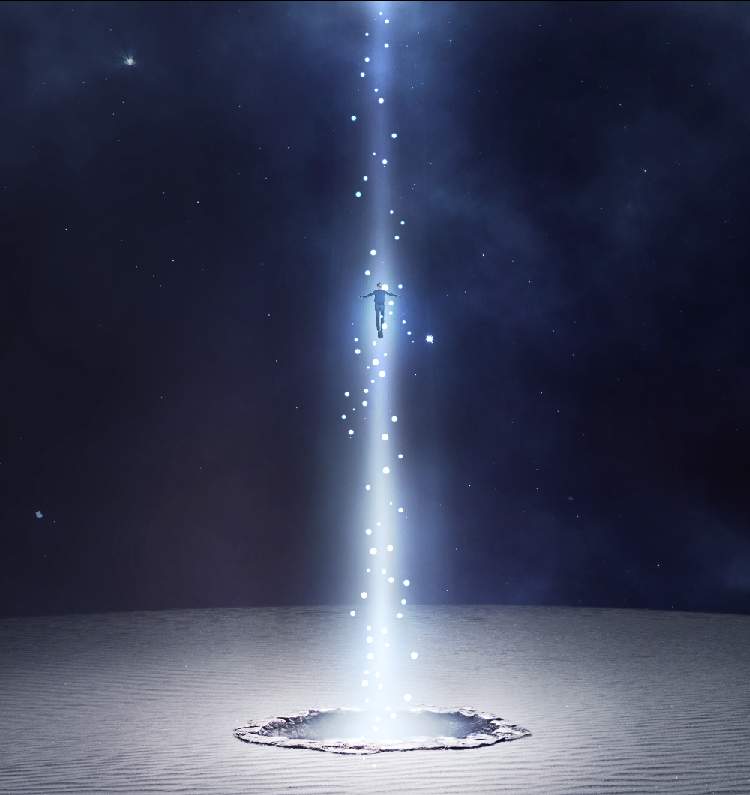
Step 41
Make a new layer and use a soft brush with the color #a1aab3to paint around the man . Change this layer mode to Overlay 100%.

Add another layer and use the same brush to paint above the man. Change this layer mode to Overlay 100%and use a layer mask to reduce some light if needed.

Duplicate this layer twice and move it up a bit to make the highlight on the top stronger and more visible.
Final Result

Download the PSD
3 responses to “How to Create a Sci-Fi Lighting Scene with Photoshop”
-

thank you so much for your efforts!
-
Very NICE!! I love your tutorials!
Thank you! -
Amazing..
Leave a Reply