

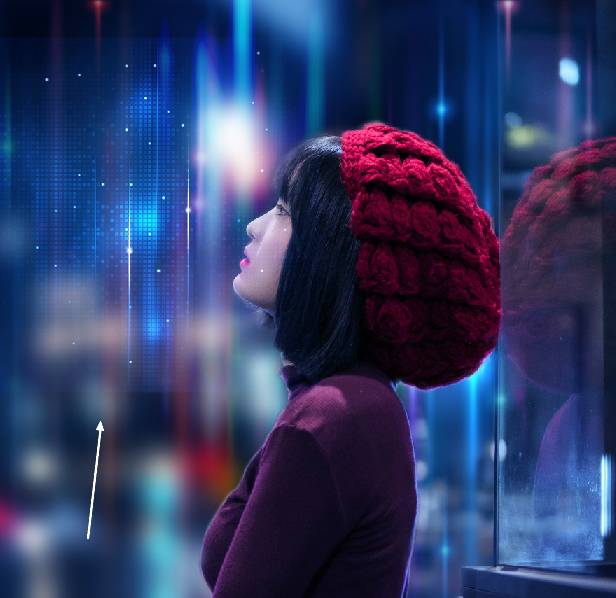
Step 10
Create a Curves adjustment layer to darken the background a bit. On this layer, use a soft black brush to erase the area around the model’s face to create the light source.


Step 11
Move the light 1 image onto the canvas and change this layer’s mode to Screen 100%. Add a mask to this layer and use a soft black brush to remove the hard edges and the part covering the model to blend the light with the background.

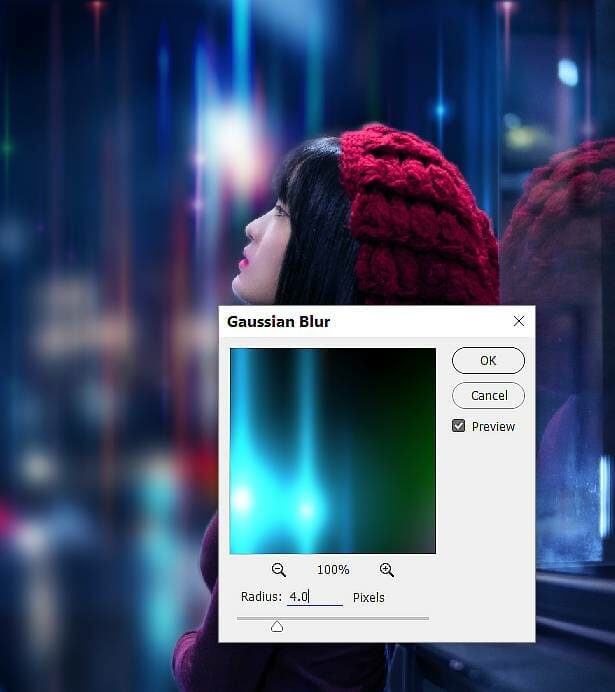
Step 12
Apply a Gaussian Blur of 15 px to this layer.:

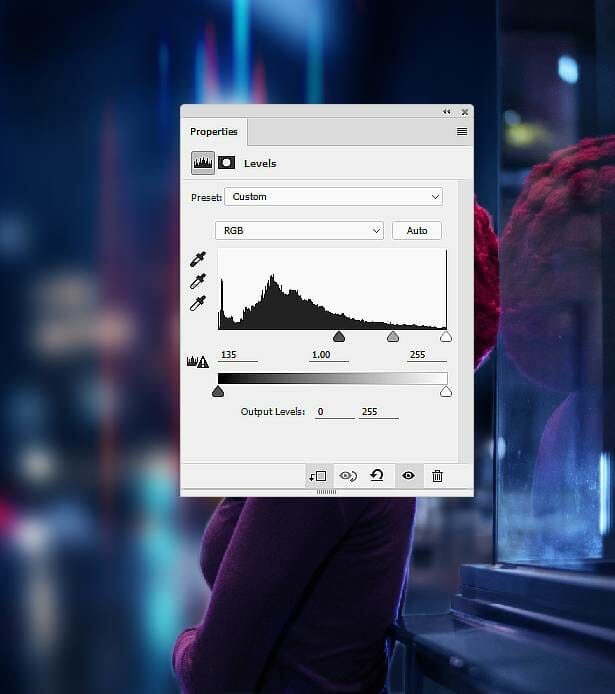
Step 13
Make a Levels adjustment layer to increase the contrast and shadow of the effect. On this layer mask, use a soft black brush with the opacity about 30-40% to reduce the dark effect on the edges as the screenshot below shows:
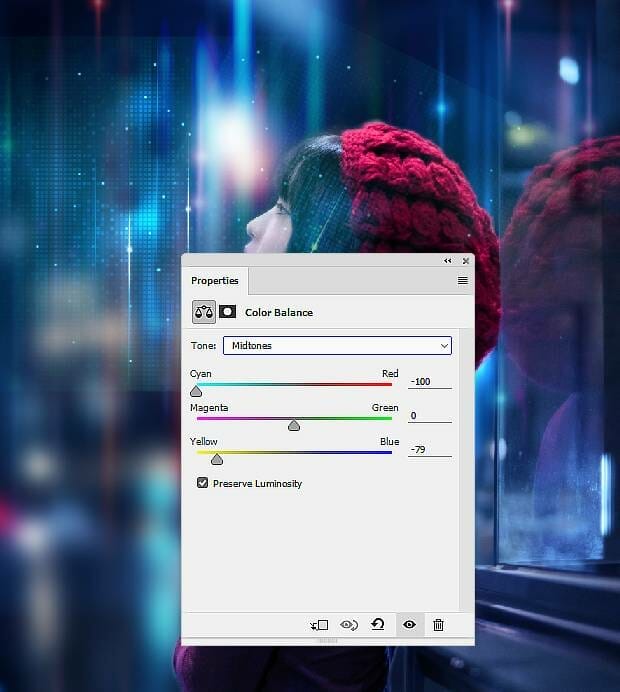
Step 14
Create a Color Balance adjustment layer and alter the Midtones values:

Step 15
Add the light 2 image to our main document and change the layer mode to Screen 100%. Add a mask to this layer to remove the part on the foreground and on the model, also blend the light with the existing background:


Step 16
Apply a Gaussian Blur of 4 px to this layer:
Step 17
Open the sci-fi background 1 image and add it to the top left of the main canvas. Change this layer mode to Screen 100% and duplicate this layer and move it to the model’s head. Use the Free Transform Tool (Ctrl+T) to rotate it to fit the pose of her head.

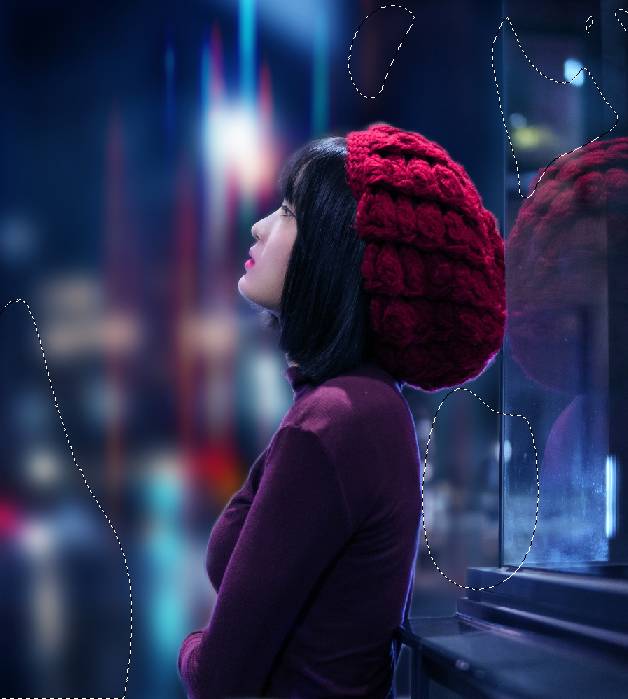
Step 18
Add a mask to each of these layers and use a soft black brush with the lowered opacity (about 30-40%) to blur some details of the effect:
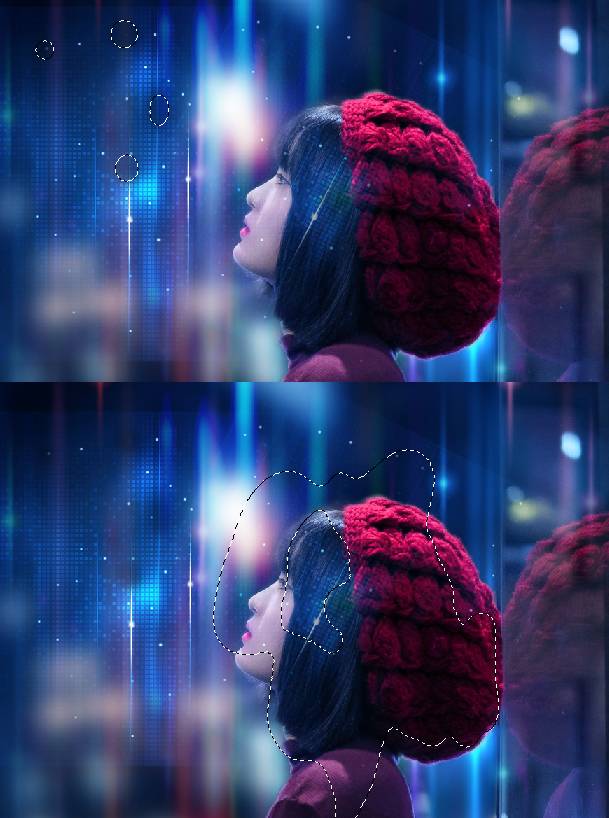
Step 19
Select these layers and hit Ctrl+G to make a group for them. Change this layer mode to Screen 100% and create a Color Balance adjustment layer within the group.
Step 20
Use a Levels adjustment layer to remove the hard edges completely, also increase the contrast of the effect.

Step 21
Make a new layer on top of the layer and use a small hard brush with the color #afccff to paint the light’s reflection on the hair and the head of the model.

Step 22
Open the light 3 images pack and choose the image 2. Place it onto the area of the sci-fi background 1 and change the layer’s mode to Screen 100%. Duplicate this layer three times and resize them down and arrange them in the lower section of the sci-fi background 1. Use Ctrl+T to rotate them as shown below:
2 responses to “How to Create a Sci-Fi Woman Portrait with Adobe Photoshop”
-

why do I have to pay for some of the resources when you say its free?
-
I wish I could download this so I could follow along better.All the bouncing around for details when I screw up just takes too long.
Leave a Reply