


Step 23
Make a group for these light layers and change the group’s mode to Screen 100%. Add a Hue/Saturation adjustment layer to turn the green of the light into cyan:

Step 24
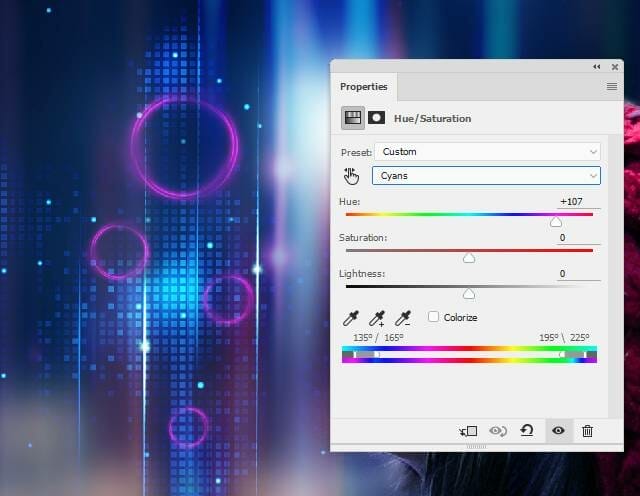
Create another Hue/Saturation adjustment layer and change the Cyans values. On this layer mask, use a soft black brush with the opacity about 20% to reduce the magenta effect on some areas of the circles:

Step 25
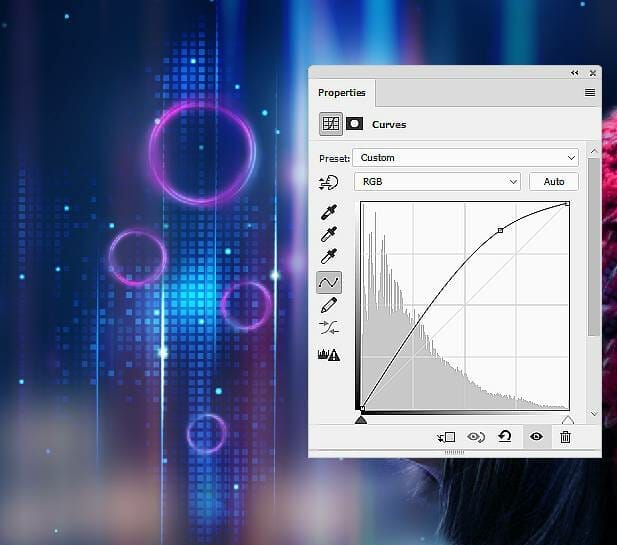
Create a Curves adjustment layer to increase the visibility of the circles.
Step 26
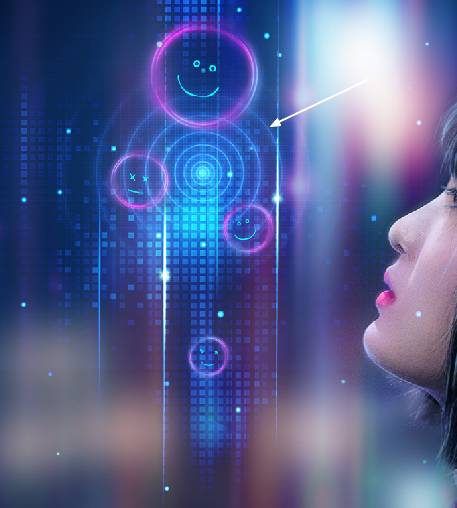
Make a new layer on top of the layers and use a very small hard brush with the color #00ffff to paint some emoticons inside the light circles.

Step 27
Add the sci-fi background 2 image to the area of the sci-fi background 1 and change the mode of this layer to Screen 100%.
Step 28
Create a Color Balance adjustment layer and change the Midtones settings:

Step 29
Make a Levels adjustment layer to remove the white edges completely:

Step 30
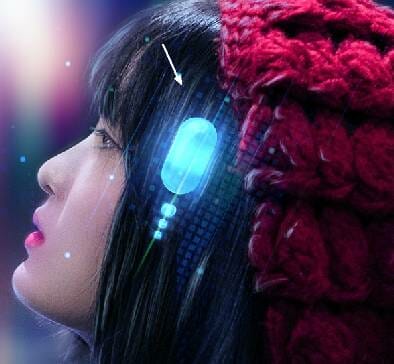
Open the light 4 image and use the Rectangular Marquee Tool (M) to select a lamp to add to the model’s head. Use Ctrl+T to rotate this lamp to fit the pose of her head and change this layer mode to Screen 100%. Duplicate this layer four times and scale them down. Place one in the middle of the sci-fi circle and others below the biggest one.


Step 31
Add a mask to the biggest lamp layer and use a soft black brush to soften the white edges.
Step 32
Make a new layer and use a soft brush with the color #bcd3fc to paint on the lamps to increase their glow. Change this layer mode to Overlay 100%.

Step 33
Create a new layer and use a soft brush with the color #7698f2 to paint on the face of the model. Change this layer mode to Hard Light 100%.
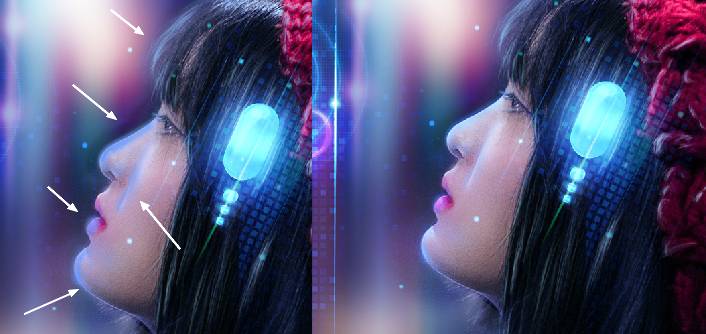
Step 34
Make a new layer and use a soft brush with the color #25ace5 to paint more light’s reflection on the model. Change this layer mode to Overlay 100%.

Step 35
Create a Hue/Saturation adjustment layer (set as Clipping Mask) to change the color of the effect on the clothes and face. On this layer mask, use a soft black brush with the opacity about 30% to reduce the effect on her hair not to make this part too cyan.

Step 36
Make a new layer on top of the layer and use the Rectangular Marquee Tool to draw a square. Go to Edit> Stroke and fill in the following settings. Set the color of the stroke to #77ffff.
2 responses to “How to Create a Sci-Fi Woman Portrait with Adobe Photoshop”
-

why do I have to pay for some of the resources when you say its free?
-
I wish I could download this so I could follow along better.All the bouncing around for details when I screw up just takes too long.
Leave a Reply