


Step 37
Duplicate this layer five times to add to some dots on the model’s hair and the background. Use Ctrl+T to rotate and resize them down.

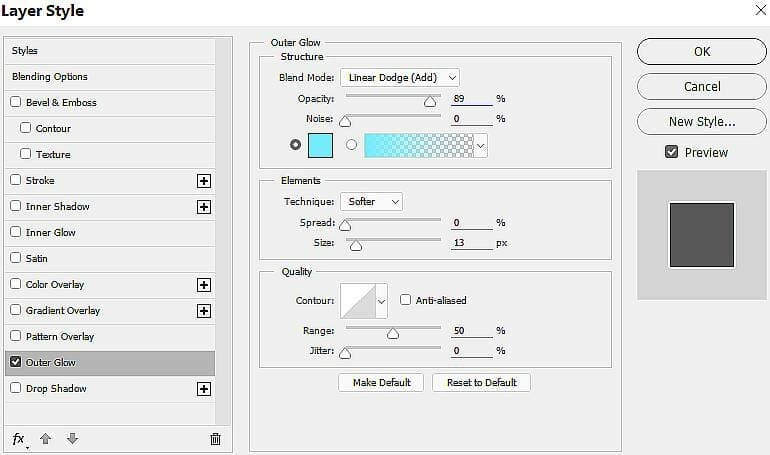
Step 38
On each of these layers, apply an Outer Glow effect. Set the color of glow to #77edff.

Step 39
Create a group for these square layers and add a mask to this group. Use a small soft black brush with the opacity about 20% to reduce the visibility on two edges of the squares to make them look like buttons. .


Step 40
Make a new layer and use a small soft brush with the color #77ffff to paint more glow for the dots and the buttons. Change this layer mode to Overlay 100%.

Step 41
Create a Gradient Map adjustment layer on top of the layers and pick the colors #bb0808 and #006036. Lower the opacity of this layer to 20%.

Step 42
Make a Color Balance adjustment layer and change the Midtones and Highlights settings:


Step 43
Create a Curves adjustment layer to increase the contrast of the whole scene. On this layer mask, use a soft black brush to reduce the light effect on the model’s face so her face won’t become too bright.

Step 44
Make another Curves adjustment layer to increase the shadow on the edges of the canvas. On this layer mask, use a soft black brush to paint on the middle to reveal the light there.

Step 45
Use a Vibrance adjustment layer to enhance the final effect.

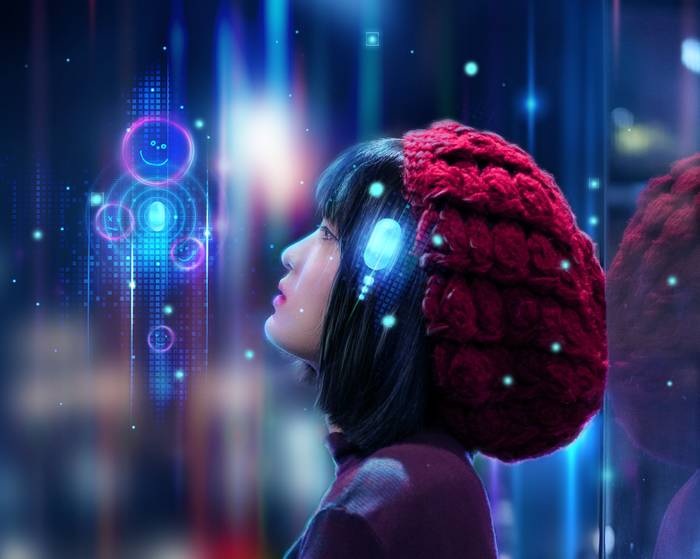
Final Result

2 responses to “How to Create a Sci-Fi Woman Portrait with Adobe Photoshop”
-

why do I have to pay for some of the resources when you say its free?
-
I wish I could download this so I could follow along better.All the bouncing around for details when I screw up just takes too long.
Leave a Reply