

Step 9
Open the model image and drag it into the main cans using the Move Tool. Place it in the circles’ area and add a mask to this layer. Use a hard black brush to remove the background and most of the body of the model, leaving the head and a part of the neck and shoulder visible inside the circles.

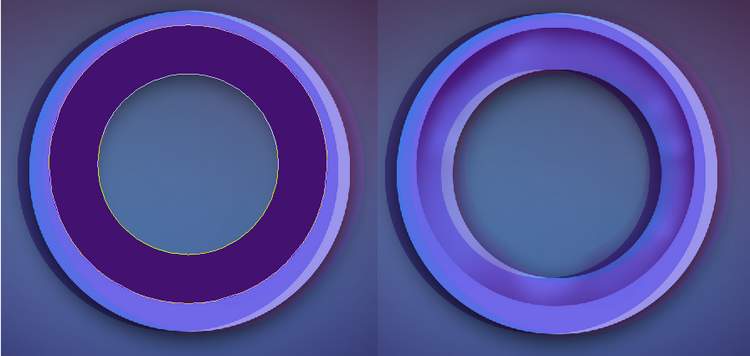
Step 10
Go to Layer > New Adjustment Layer > Hue/Saturation and set it as Clipping Mask. Reduce the Saturation values to -32:
Step 11
Make a Color Balance adjustment layer and change the Midtones settings:

Step 12
Make a new layer and use a small brush with the color #1f242e to paint some flying hair strands for the model’s head.
Step 13
Create a new layer and use the Ellipse Tool to draw a circle on the right of the canvas and pick the color #60a8ed. Change this layer mode to Color Dodge 100% and add a mask to this layer. Vary the brush’s opacity to paint inside this circle to make it look like the screenshot below shows:

Step 14
Duplicate this layer and move it to the area below the circles. Right click it, choose Rasterize Layer and go to Filter > Liquify. Select the Twirl Clockwise Tool (C) to tweak the circle into two shapes as shown below.


Step 15
Duplicate the first circle layer and use Ctrl+T to resize it to be smaller. Move it to the top left of the canvas and refine the mask.
Step 16
Create a new layer and select a small hard brush ( about 18 px) with the color #c073dd. Press F5 to change the settings of this brush:


Step 17
Change this layer mode to Color Dodge 100% and use a layer mask to erase the dots on the model’s face and hair and reduce the opacity of the dots around the circles.1 response to “How to Create a Sleek Digital Art of a Portrait with Fun Elements”
-

Jasurbek
Leave a Reply