

Step 36
Create a new layer and use the Elliptical Marquee Tool (M) to draw a circle on the canvas. Use a large soft white brush to paint inside this circle.


Step 37
Duplicate this layer and lower the opacity mode to Overlay 70%. Continue duplicating it twice and move them to the lower right and top left of the middle circles.


Step 38
Open the light ray image and hit Ctrl+J to duplicate this layer. Select the Liquify Tool and use the Forward Warp Tool to turn the light ray into a curve as shown below:

Step 39
Duplicate this layer and flip vertically (Edit > Transform > Flip Vertical). Place it in the top right of the canvas and use Ctrl+T to make it a bit larger.

Step 40
Create a group for these two layers and change the group’s mode to Linear Dodge 100%. Make a Levels adjustment layer to increase the visibility of the curves.
Step 41
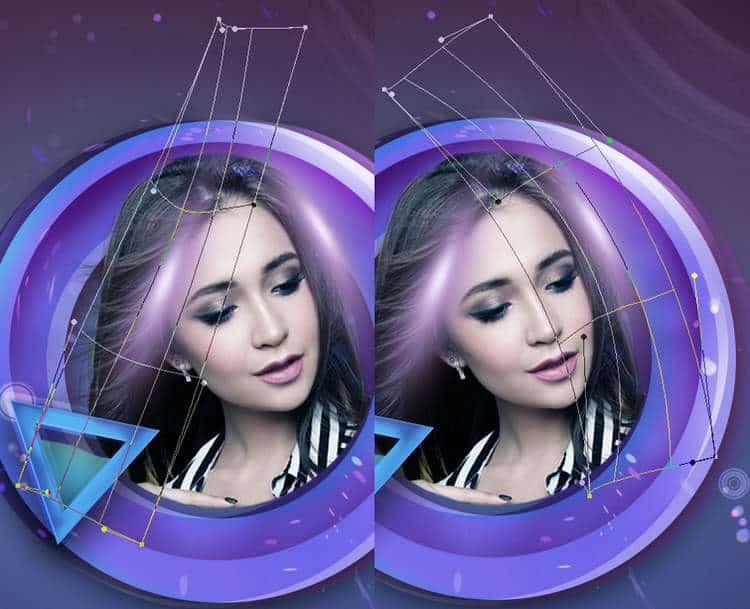
Make a new layer and and use a soft brush with the color #bb96d2 to paint on the left of the canvas. Reduce the brush size and change its color to #f0eafb to paint inside this brush part. Convert this layer to a Smart Object and use Ctrl+T to make it thinner. Move it to the flying hair part of the model. Duplicate this layer, flip it horizontally and move it to another side of the hair. Use Ctrl+T with the Warp mode to bend these light parts to fit the form of the head.

Step 42
Make a new layer and use a soft brush with the colors #d263a7 and #d263a7 to paint around the model and middle circles. Change the mode of this layer to Soft Light 100%. Add a mask to this layer and use a soft black brush to reduce the color effect on the bottom of the circles.One response to “How to Create a Sleek Digital Art of a Portrait with Fun Elements”
-

Jasurbek
Leave a Reply