

Step 35
Continue adding this nebula image to the body of the dolphin and alter the mode to Screen 100%. Use a layer mask as usual to erase/reduce the unwanted details outside the dolphin.


Step 36
Make a group for the nebula 3 layers and change the group’s mode to Screen 100%. Add a Levels adjustment layer to remove the hard edges completely.

Step 37
Create a Hue/Saturation adjustment layer and alter the Reds and Blues values:


Step 38
Make a Color Balance adjustment layer and change the Midtones settings:

Step 39
Drag this nebula image inside this group and make it bigger than the ones in the previous steps. Change this layer mode to Screen 100% and set this layer to the lowest position of the group. Add a mask to this layer and use a soft black brush to reduce the effect’s visibility as the screenshot below shows:


Step 40
Come back to the nebula 3 image and select a part from the image in the bottom right to add to the top of the dolphin. Set this layer above the nebula 3 group. Change this layer mode to Screen 100% and use a layer mask to erase the part outside the dolphin.


Step 41
Make a Levels adjustment layer to reduce the brightness and haze of the effect.

Step 42
Create a Hue/Saturation adjustment layer to change the color of the effect.

Step 43
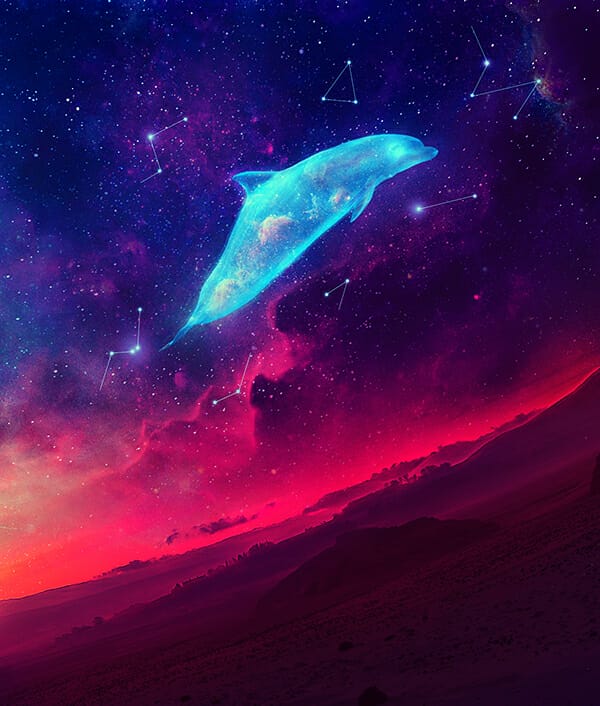
Make a new layer on top of the layers and click U to activate the Line Tool. Pick the tool mode as Shape and the color #bdd9f5 with 1 px weight Use this tool to draw many lines around the dolphin following the form of constellations randomly.

Step 44
Create a group for the lines and change the group’s mode to Normal 100%. Make a new layer and use a hard brush with the color #c8ddf3 and the size of 8 px to paint the dots between the lines.

Step 45
Double click this layer, choose Outer Glow. Set the color of glow to #c8ddf3.


Step 46
Make a new layer again and use a soft brush with the colors #b197d2 to paint on some dots. Change this layer mode to Soft Light 100%.


Step 47
Create a Gradient Map adjustment layer on top of the layers and pick the colors #e10019 and #00601b. Lower the opacity of this layer to 20%.
2 responses to “How to Create a Space Dolphin Scene with Adobe Photoshop”
-

So beautiful
-
hi
your file is broken …
Leave a Reply