

Repeat the step if necessary.

Tada!!
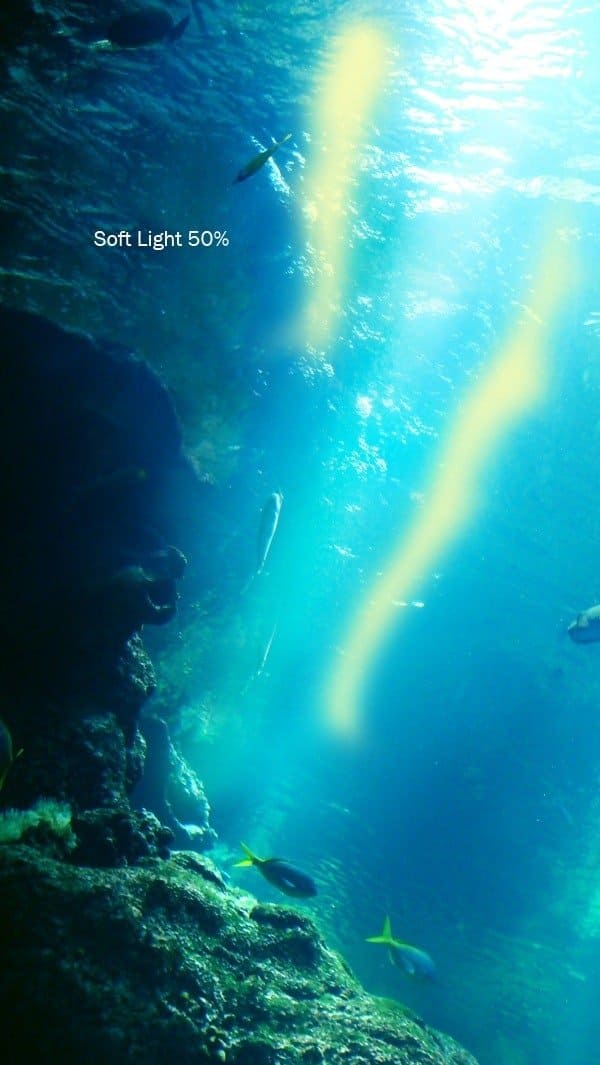
Step 5 – Contrast
Next we’ll want to enhance the contrast of the background. You can use Curve or Levels to achieve similar result, but for the sake of perfection we’ll do it manually.
Select a bright yellow shade, use a soft brush to brush it around the top right corner, and set the layer to Soft Light (picture shown at Normal for clarity). We want to accentuate that ‘streak of light’ shining from above.


Repeat the above with black soft brush, and set it to Soft Light Opacity-25%.

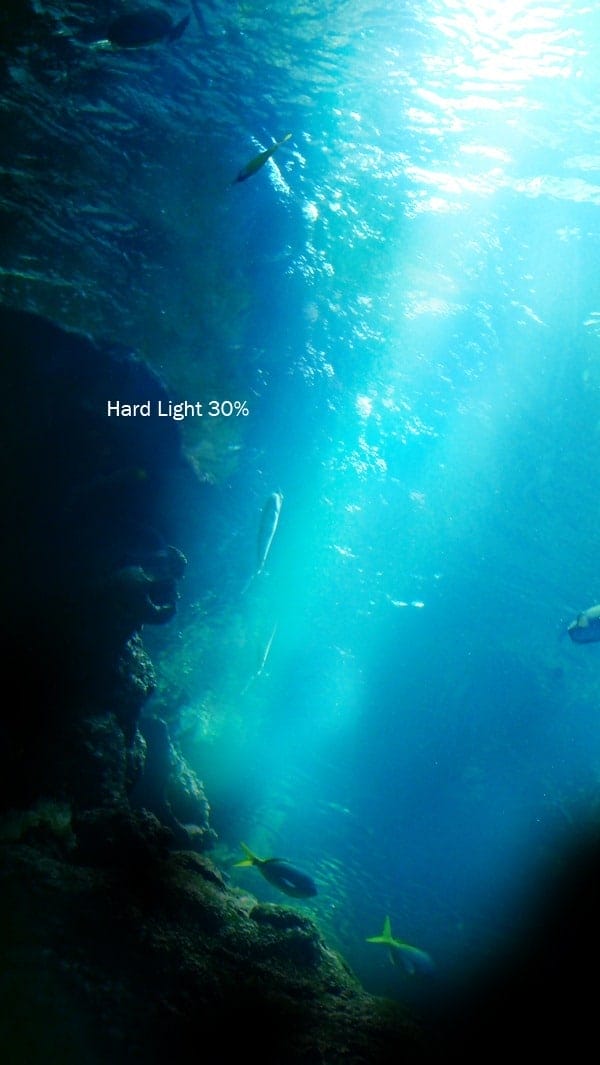
Step 6 – Brightening the background
Continue doing the same for several layers until you’re satisfied. Use mostly soft light and low opacity for more layers instead of high opacity for fewer layers. Alternate between white and different shades of yellow. This requires a little patience, but nevertheless fun.


Step 7 – Darkening the background
Darken the surrounding by using a black soft brush with the same technique.


At the end of it you should have something more refined like this.

Step 8 – Main focus
I always add the main focus before everything else so that I can get a clear direction on the next steps. We’ll use a C4D render for this tutorial. Head over to stinky666’s DeviantArt or follow the links above to download packs of free abstract C4D renders. He’s one of the few kind guys who uploads generously without asking for much in return. In fact, his renders are sufficient for most of my pieces.
Anyway, we’ll use this.

We’re going to need a smaller version of this, but instead of resizing. Erase the right half of it, resize, and place it on the seabed. Rotate slightly in clockwise direction. In case you have problem doing this, hit Ctrl+T for Free Transform. You can adjust the size by dragging on the corners. To rotate, move your cursor outside the image until you see a curved and doubleheaded arrow. Just move your mouse around and you’ll see what I mean.

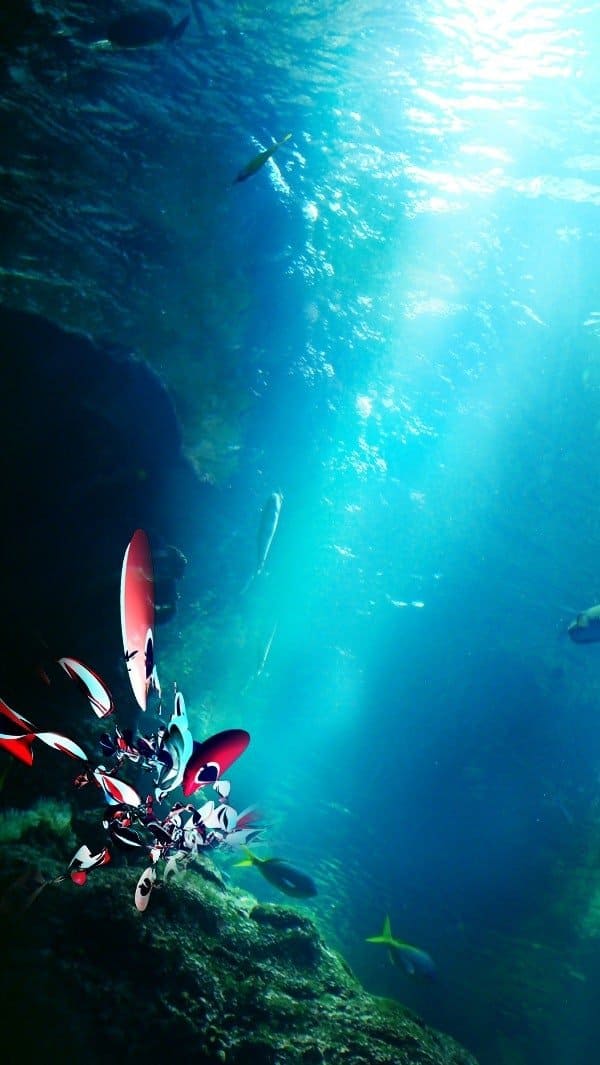
Do the same thing again, but this time erase the left half. Place the second layer closer to the first to reduce the gap in between. Set both layers to Hard Light.
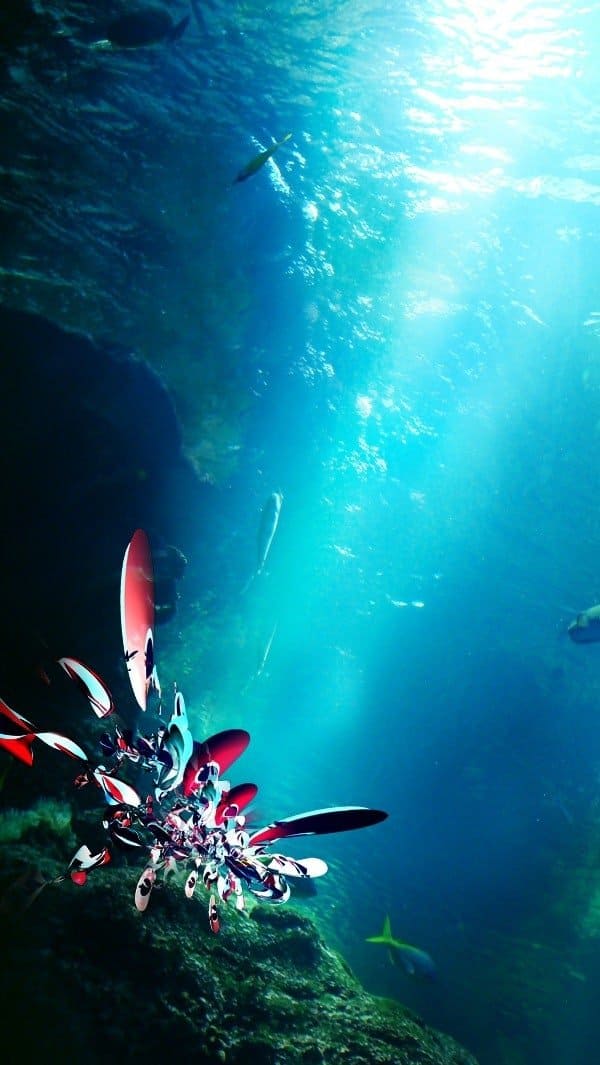
Step 9 – C4D Craze
The next step is my favourite part – spamming renders. Be careful not to overdo it, and try to use just a small part of the render instead of the whole piece. Little at a time, layer by layer.
6 responses to “How to Create an Underwater Abstract Art in Photoshop”
-

Elle, Glad you got value from the post. I think it’s great too. And, I think people often unstmedeirate the curiosity and adventurous spirit in these age groups!
-
Thankyou for share bz this is extremely nice and useful
-
Some of these tutorials are extremely good, magazine like. Thanks for sharing!
-
Thank you for the tutorial. It turned into my first photoshop project; took me a few hours and some frustration, especially at the beginning, but I feel I understand it much better now :) your directions were also very clear!
-
I really can’t find the C4D craze from stinky666, can you maybe share the picture or a link to the picture?
-
كلشي ما فتهمت
Leave a Reply