
Step 27 – Pattern
Moving on, we’ll be using a very basic and widely used yet useful pattern. Open a new file with the following settings.

Select Pencil Tool with 1px and black color, then draw a line like this.

That’s all! Save this as a pattern by Edit > Define Pattern…

Back to our piece, select the Elliptical Marquee Tool and create the following shapes. Hold Shift while you’re creating the shapes. Shift serves to maintain a symmetrical ellipse and to hold the previous selections.

Without deleting the selections, click on Paint Bucket Tool and select Pattern instead of Foreground Color.

Then fill in the selections with the previously created pattern. Press Ctrl+I to invert from black to white. You should have something like this.

Step 28 – Lighting
To complete the piece, we need to lighten up some parts for better contrast. First use a white soft brush with relatively small size and brush on a few dots like this, and set the layer to Soft Light 40%.

Repeat the step, but this time using #fc5e73 and with several different sizes. Set this layer this Overlay 80%.

#fcbfd4, Overlay 50%.

#fce1e1, Overlay 40%.
#ebfaa2, Overlay 80%.

#fbf261, Overlay 65%.

#fff99c, Hard Light 60%.

#9fff72, Hard Light 80%.

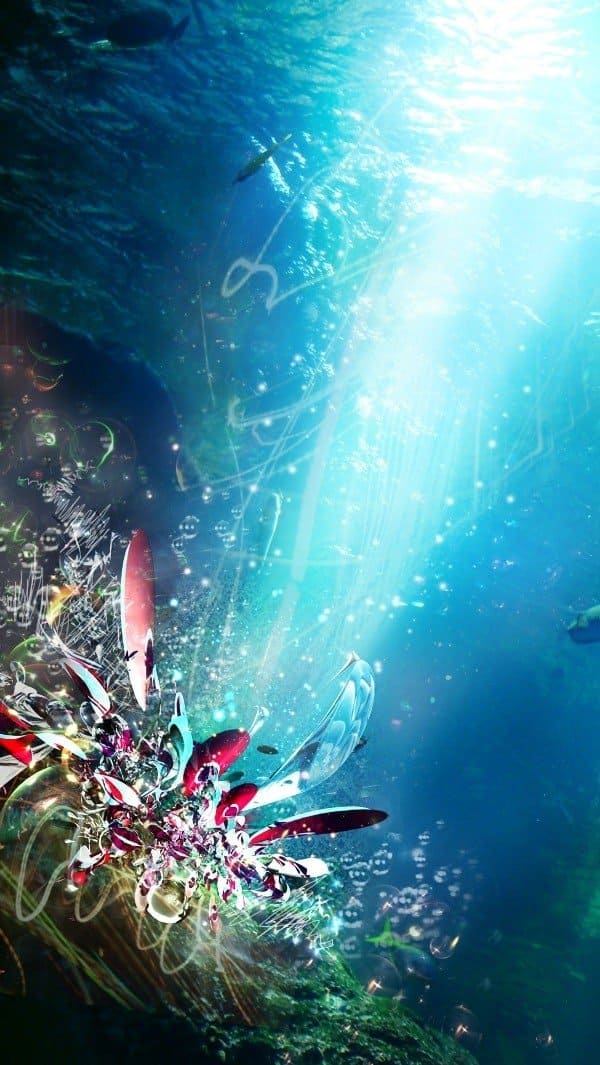
So now you should have something better like this.

Step 29 – Gradient Map
We’re almost done but don’t stop here. What’s left is some final color adjustment. Insert a gradient map and set it to Soft Light 30%. I used pre-made gradient maps downloaded from DeviantArt. Use colors ranging from #280042 to #654260 to #846962.

Another gradient map with #671d19, #a44c40 and #ce865a. Set the gradient map to Soft Light 10%.

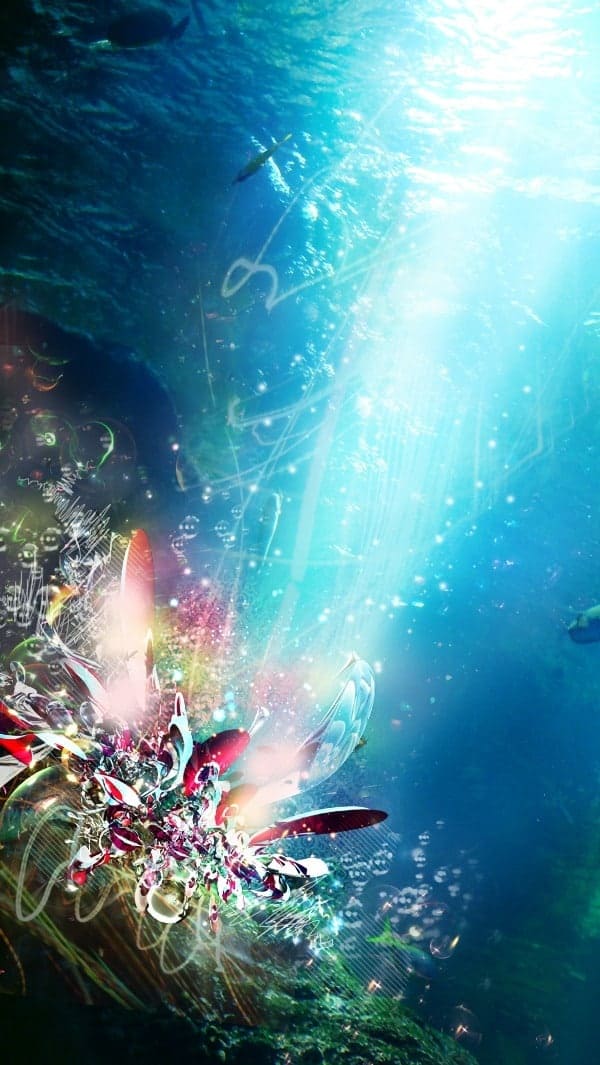
Outcome:

Step 30 – Color Balance
Insert Color Balance with the following settings.


Step 31 – Text
Add in some text if you want, and you’re done!
Final Results

Authors Comment
 Thank you for reading and I hope you had fun with Photoshop! Overall it shouldn’t be difficult to follow, just remember to experiment with your own settings and not adhere strictly to any tutorial.
– Pauline Sho
6 responses to “How to Create an Underwater Abstract Art in Photoshop”
-

Elle, Glad you got value from the post. I think it’s great too. And, I think people often unstmedeirate the curiosity and adventurous spirit in these age groups!
-
Thankyou for share bz this is extremely nice and useful
-
Some of these tutorials are extremely good, magazine like. Thanks for sharing!
-
Thank you for the tutorial. It turned into my first photoshop project; took me a few hours and some frustration, especially at the beginning, but I feel I understand it much better now :) your directions were also very clear!
-
I really can’t find the C4D craze from stinky666, can you maybe share the picture or a link to the picture?
-
كلشي ما فتهمت
Leave a Reply