


Step 34
Make a new layer and use a small brush with the color #b0dfec to paint some light details along the sea’s contour.

Step 35
Open the boat image and use the Move Tool to drag it onto the right of the sea’s surface. Use Ctrl+T to change the form of the boat a bit to fit the perspective of the sea.

Step 36
Make a Hue/Saturation adjustment layer and alter the Master values:

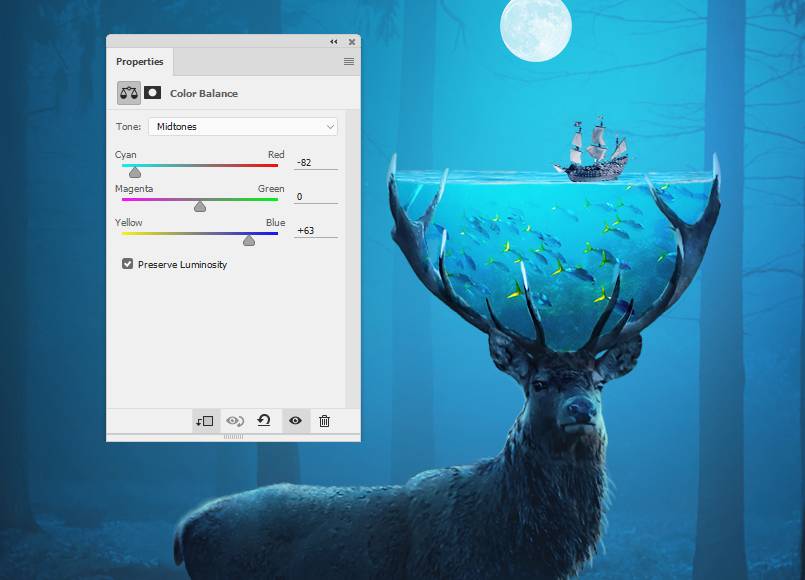
Create a Color Balance adjustment layer and change the Midtones settings:
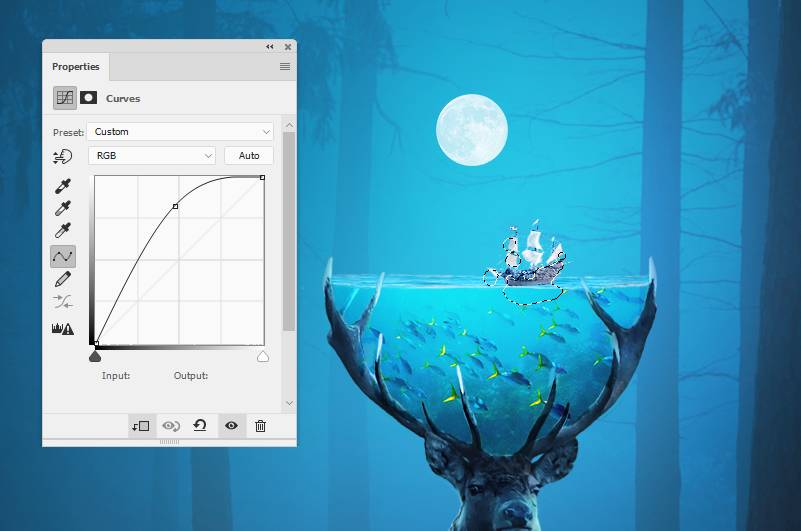
Step 37
Make a Curves adjustment layer to bring more light to the middle of the boats and some details which are a bit darker than the rest. The selected areas show where to paint on the layer mask.
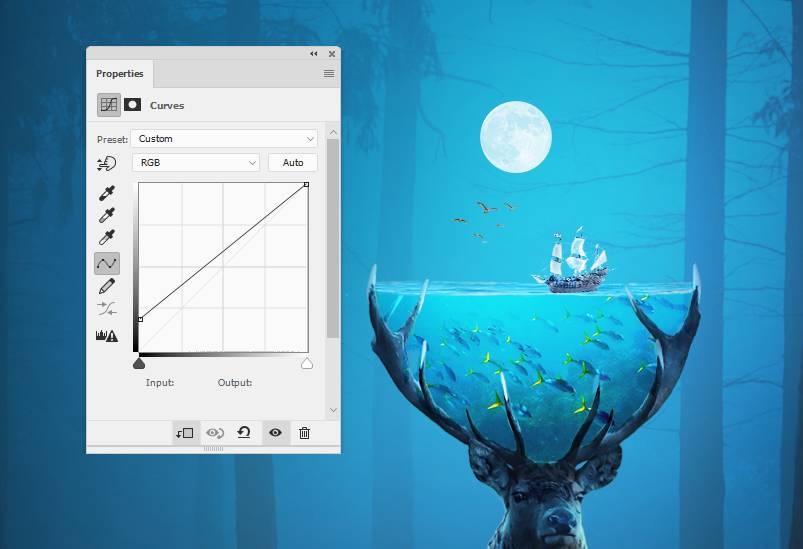
Create a Selective Color adjustment layer to give the boat some blue to fit the background.

Step 38
Make a new layer, change the mode to Overlay 100% and fill with 50% gray. Use the Dodge and Burn Tool to refine the light and shadow on the boat a bit.

Step 39
Isolate the birds and place them above the left of the sea’s surface.

Step 40
Make a Curves adjustment layer to bring more light and haze to the birds.
Add a Color Balance adjustment layer to give some blue/cyan to the birds.

Step 41
Create a new layer on top of the layers and use a soft black brush with the color #d1d9dd to paint some light for the tree on the right of the deer. Change this layer mode to Overlay 100%.


Step 42
Make a Photo Filter adjustment layer and pick the color #c8eaff.
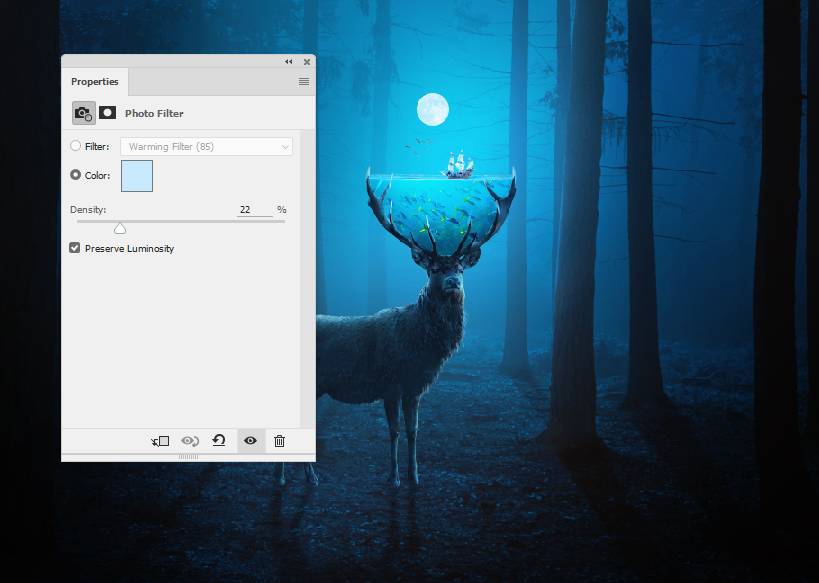
Make a Color Balance adjustment layer and change the Midtones settings:

Step 43
Make a Curves adjustment layer to brighten both sides of the scene a bit. On this layer mask, use a soft black brush to paint on the middle to keep its lightness.

Create a Vibrance adjustment layer to enhance the color of the whole scene. Use a soft black brush to reduce the red’s saturation on the trees, deer and shade areas.

Step 44
Make a new layer and hold Ctrl while clicking the deer layer to load its selection. Use a soft brush with the color #ae4c4c to paint on the legs, the bottom of the deer to give them some red. Change this layer mode to Soft Light 40%.


Final Result

Download the PSD
4 responses to “How to Create a Surreal Deer Photo Manipulation with Adobe Photoshop”
-

thank you for this tutorial!
-
I don’t understand step 24 with the curve
-
I don’t understand step 23 and 24 about the Curve layer, it darken the whole picture. I try to clipping mask step 23 but I don’t know how to do step 24, it make the whole picture dark with curve
-
If it makes the whole image darker, it means it’s not being clipped to a layer. The curve adjustment layer should be positioned above the deer. You can download the PSD to check the layer positions.
-
Leave a Reply