
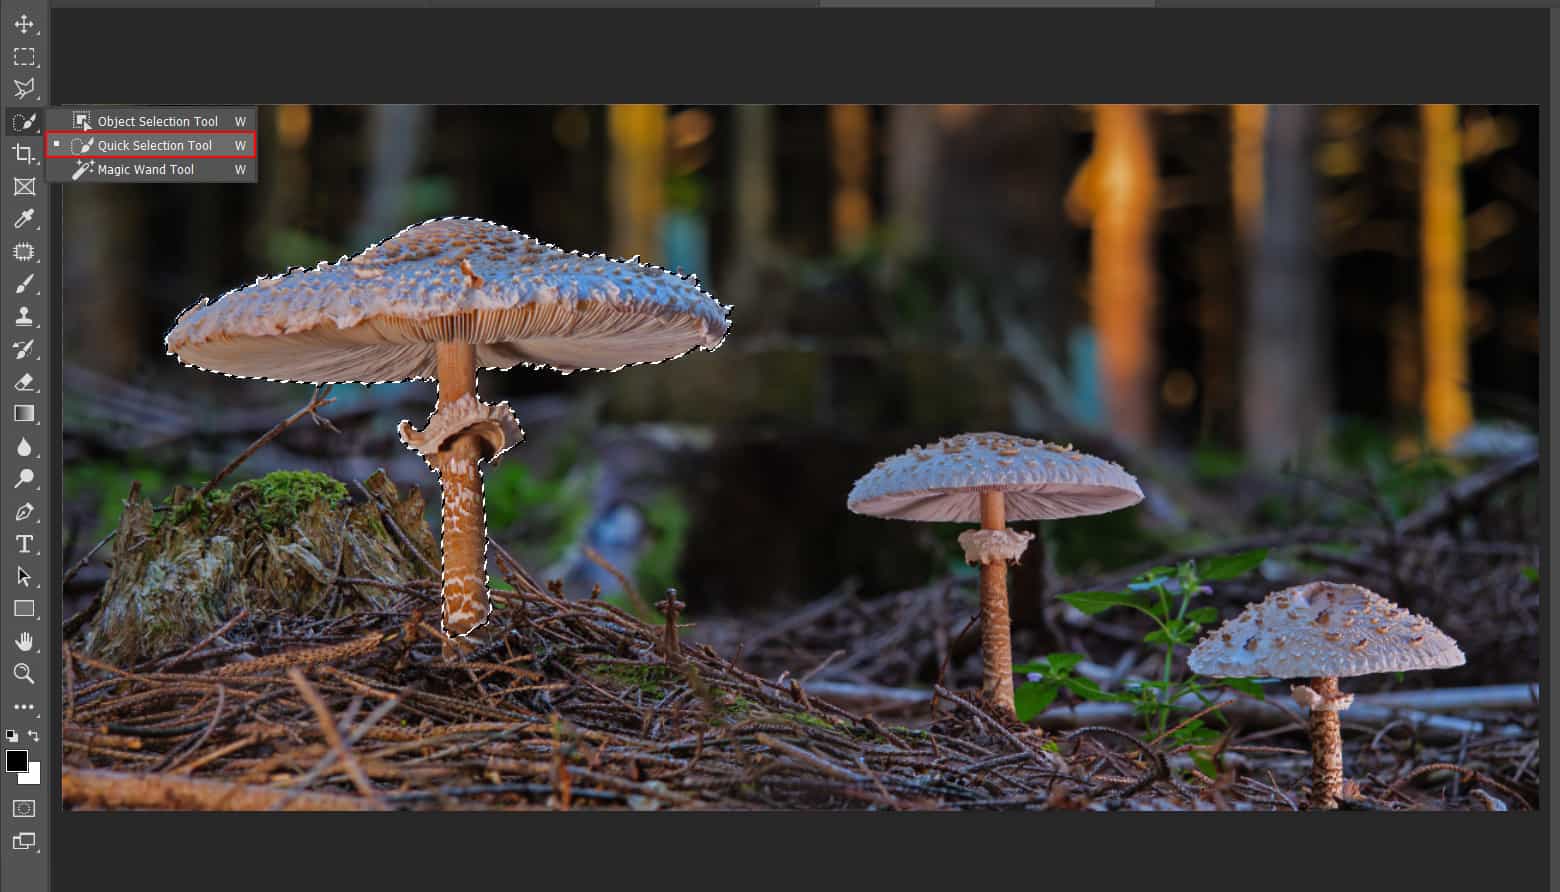
Subtract from the selection
To subtract from the initial selection, press the Option key (MacOS) or Alt key (Windows) as you select an area you want to remove from the selection. When you release the Option or Alt key, the Quick Selection tool switches back to its Add to selection option.
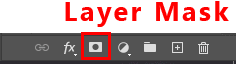
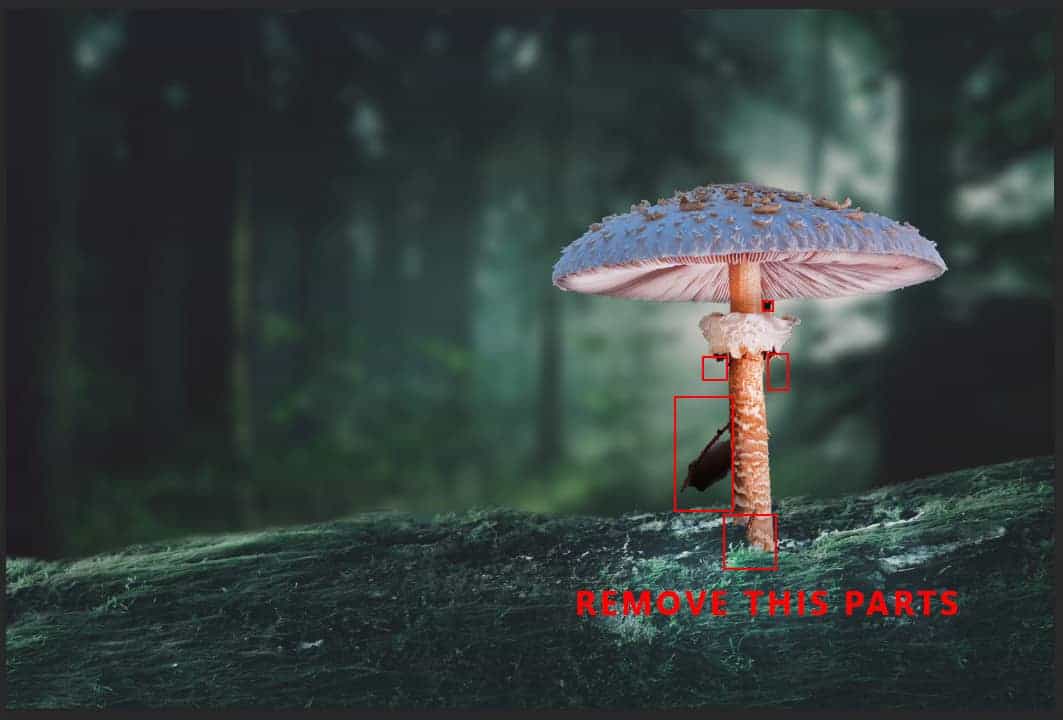
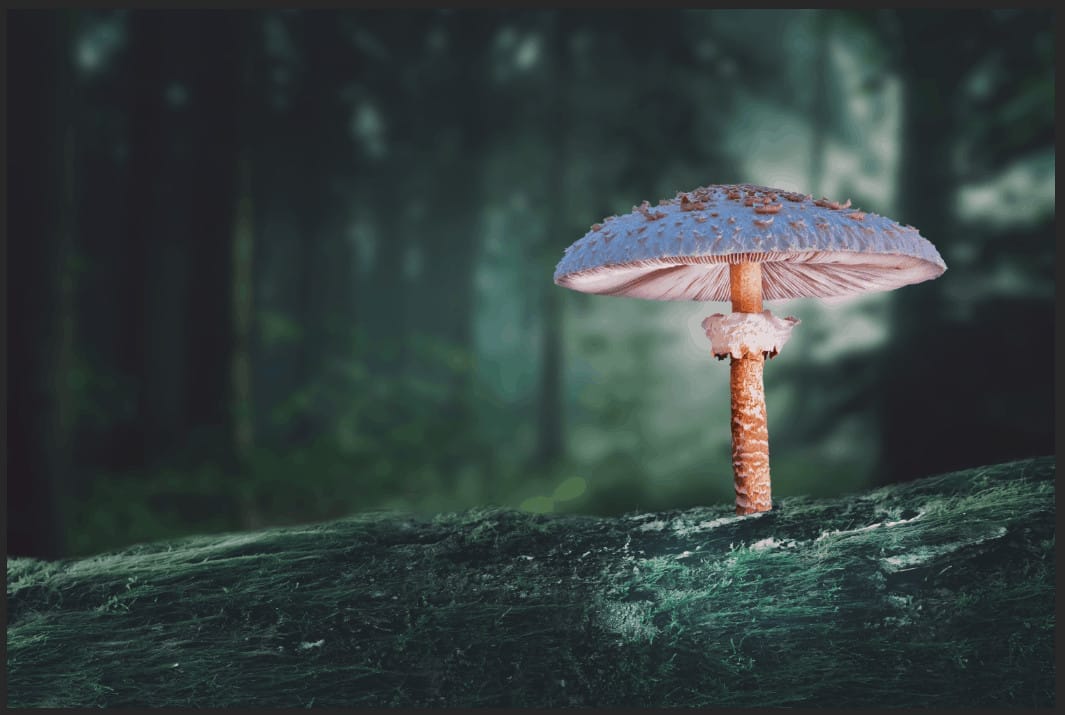
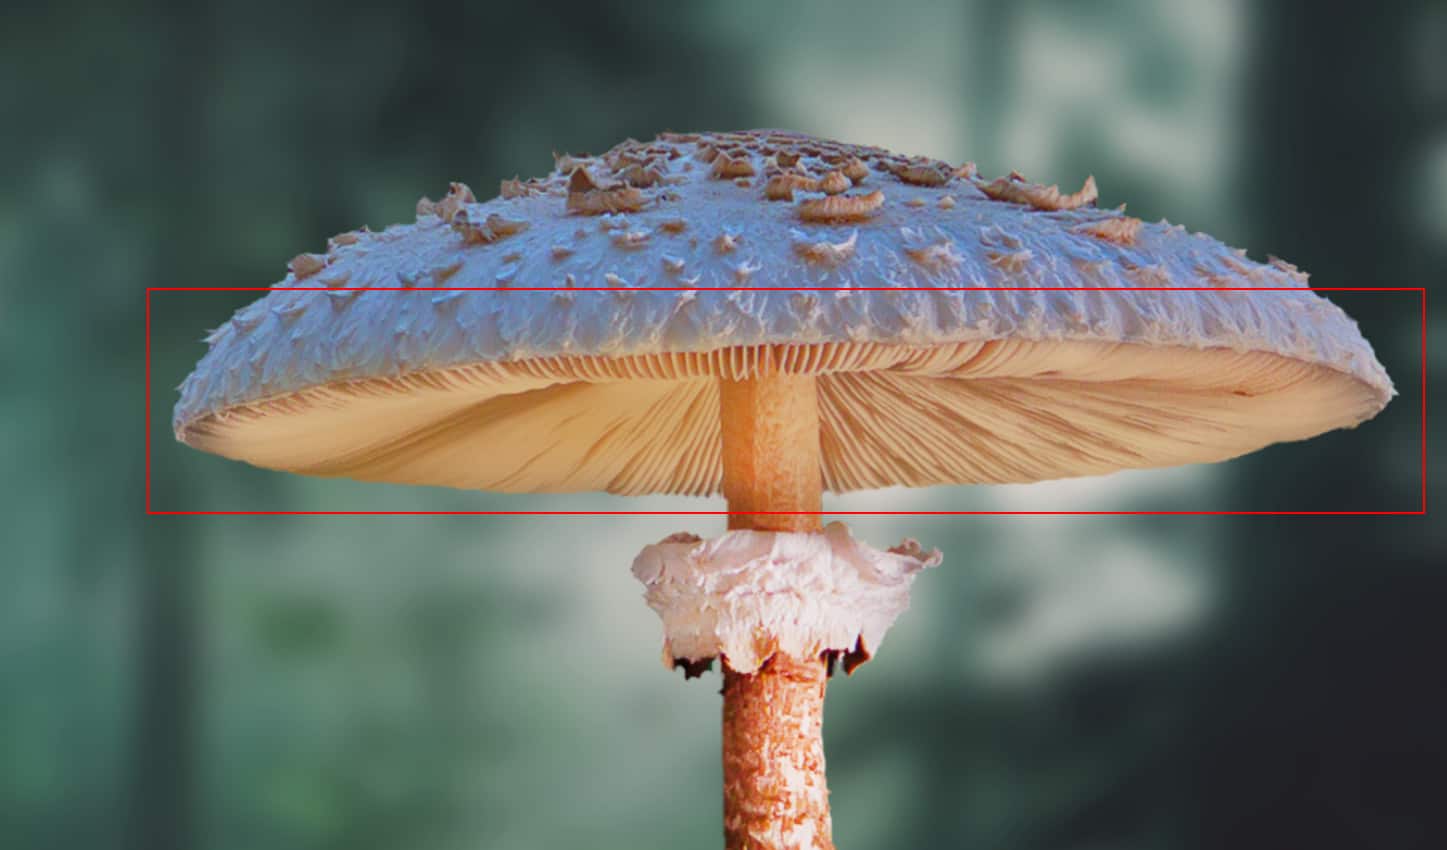
Create a layer mask to delete some parts on Mushroom. Use Brush Tool(B) Soft Round with foreground color black and start removing these parts.
Step 8
Now create a shadow, create a new layer and use a Brush Tool(B) Soft Round with foreground color black and start painting the shadow but first drop a flow to 10%. Blend mode change to Multiply.


Step 9
Select Mushroom layer and Duplicate it (Press Ctrl/Cmd +J) and move it below Mushroom layer. We’ll use it for a shadow, press Ctrl/Cmd + U to open Hue/Saturation Adjustment layer and set Lightness to -100.

Then open a Transform Tool(Ctrl/Cmd + T) and flip it Vertical. To have complete control hold Ctrl/Cmd and move bottom pointers to left side. Go to Filter > Blur > Gaussian Blur and set radius to 141px. Opacity reduce to 35%.


Step 10
Next, we will create a some light under mushroom. First create a new layer and set blend mode to Screen, then use Brush Tool(B) Soft Round with foreground color warm yellow (#cda066) then start painting. Opacity of Brush set to 75%.


Step 11
Create another layer and set blend mode to Overlay, then use Brush Tool(B) Soft Round with foreground color yellow (#d38929) then start painting. Opacity of Brush set to 75%.


Step 12
Add Adjustment Layer “Color Balance”

Step 13
Add Adjustment Layer “Levels”

Step 14
Add Adjustment Layer “Hue/Saturation”

Step 15
Add Adjustment Layer “Hue/Saturation”

Step 16
Add Adjustment Layer “Brightness/Contrast”

Step 17
Now, create serious light. Create a new layer and press right click “Create Clipping Mask”

Then go to Edit > Fill and Contenst: 50% Gray and press Ok.

Now use Brush Tool(B) Soft Round with foreground color white and Brush Opacity set to 10-20%. Then start painting light under Mushroom. Take a look at the example in the picture below how much you need to paint, where there is the most white color, draw the most.
4 responses to “Create a Surreal Mushroom Forest Night Scene in Photoshop”
-

Nice Work
-
Thank you! Inspiriing.
-
You have ten steps and twenty layers to spare, you complicate your life in an incredible way. To publish in Adobe you have to do so much foolishness ???
-
Good job with effective and easy comment.
Leave a Reply